How to Configure Payment Modules in Zen Cart
Updated on Dec 10, 2015
Zen Cart comes fresh out of the install with 10 payment modules you can configure for your store. In this tutorial we will show you how to activate and configure the most used payment modules.
To configure the Payment Modules in Zen Cart, you need to:
Step 1 Enable Cash on Delivery
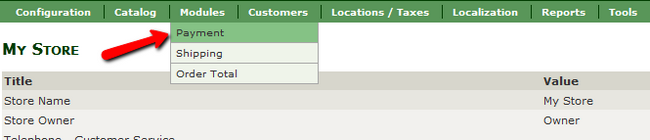
To access the payment modules you will need to login to your Zen Cart admin dashboard and navigate to the Modules>Payment section from the main admin panel.
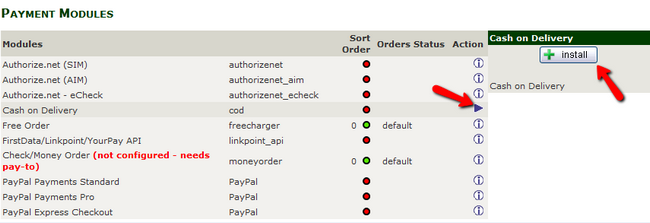
On this page you will see the available Payment Modules. Let us select the Cash on Delivery module by clicking on the info/play icon and then hitting the install button.
You will see that the Status light of the module has changed from red to green after we hit the install button. This means that the module is now active and can be used by your customers in product orders. If you wish to configure the module to be available only for specific zone you can do so in the newly shown options on the right.
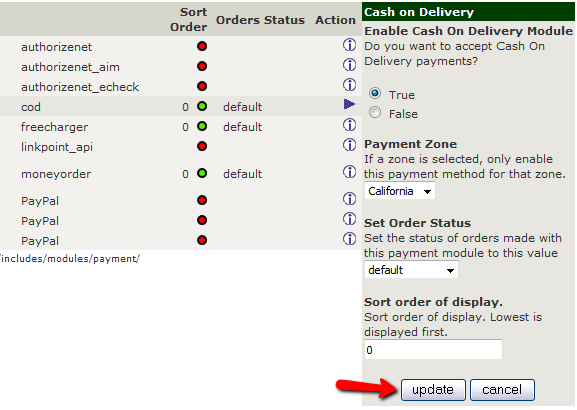
You need to hit the update button when you are done to apply the changes.
Step 2 Enable PayPal Express Checkout
A one of the most trusted payment methods, PayPal support should be one of your first priorities when configuring the Payment Gateways of your Zen Cart Store. To connect PayPal with your Store you will need a PayPal Account. If you don’t have an existing account you will need to visit PayPal and open a business account. If you already have a Personal account you will need to upgrade your account to a business plan by selecting the Upgrade your Account link from within your account. You will also need to have a bank account added and verified in your account which may take up to 2-3 business days to process.
Now you will need to configure the API Access for your account. Login in your PayPal account and access the Profile tab from the top navigation area. Click on the API Access option to proceed and then hit the View API Signature link which should be located under the Setting up PayPal API Credentials and Permissions section. Now you will be able to Request API signature and you will be presented with PayPal’s terms and conditions for this operation. If you agree with these terms click the Agree & Submit button and you will be presented with the API Username and Password, and an API Signature.
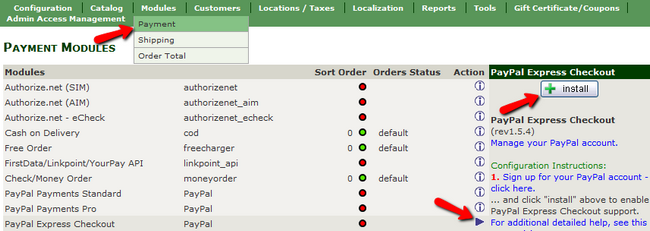
Now let us return to Zen Cart where you will need to access the Modules>Payment section, click on the info/play icon for the PayPal Express Checkout module and then hit the install button.
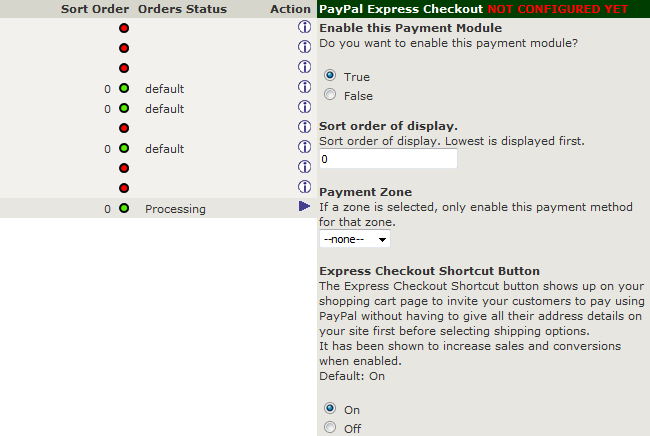
Now you will be presented with a lot of options ready to be configured. Note that most of the options are pre-defined and you can only add the API Signature details to complete the activation of this module. Here are all of the settings:
- Payment Zone – If you wish to enable PayPal Express Checkout only for a certain zone, select the zone from the drop-down menu
- Express Checkout Shortcut Button – Enabling this will add a button that will make payments faster for your customers as it will not ask for their address details right away.
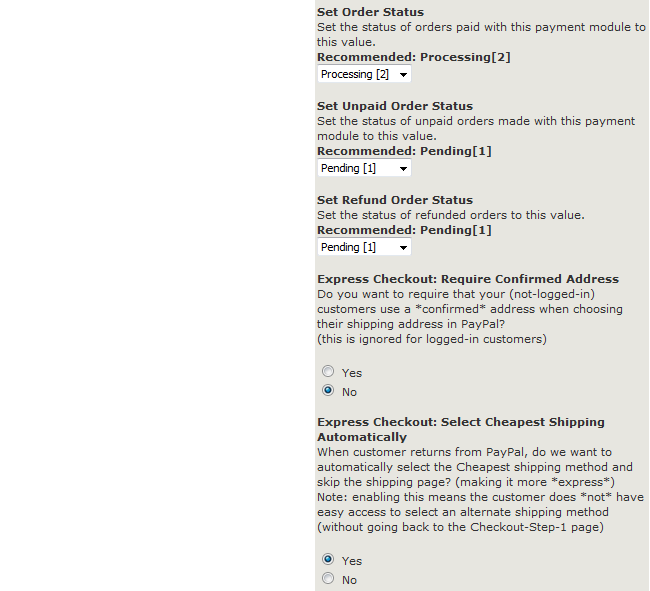
- Set Order Status – Here you can set the status of orders paid with this module
- Set Unpaid Order Status – Here you can set the status of unpaid orders made with this module
- Set Refund Order Status – Here you can set the status of orders refunded with this module
- Express Checkout: Require Confirmed Address – If you wish guests to confirm their address before making a purchase set this to Yes
- Express Checkout: Select Cheapest Shopping Automatically – Enabling this will skip the shipping method selection and go for the cheapest possible variant
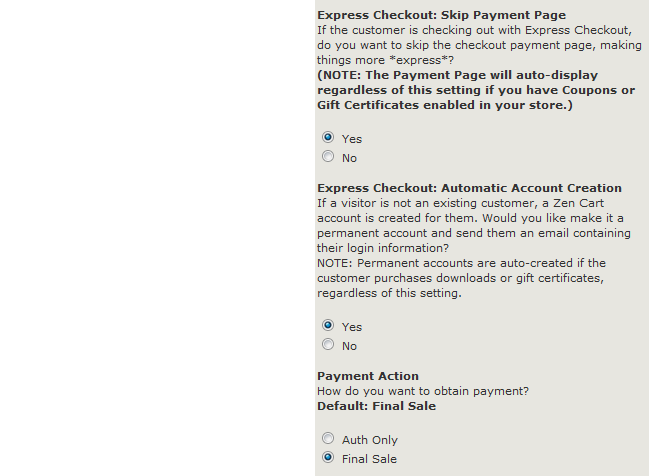
- Express Checkout: Skip Payment Page – Enabling this will skip the checkout payment page unless you have Coupons/Gifts enabled in Zen Cart
- Express Checkout Automatic Account Creation – Setting this option to Yes will make sure every visitor who is not an existing customer will get an account automatically created for him by Zen Cart when making a purchase. (If the visitor purchases digital media or a gift certificate, Zen Cart will create a new account for him regardless of this setting)
- Payment Action – Choose whether to Authorize Payments first or Finalize the Sale immediately
- Transaction Currency – Choose the currency you wish to be used when orders are sent to PayPal (If an unsupported currency is sent to PayPal it will be converted to USD automatically)

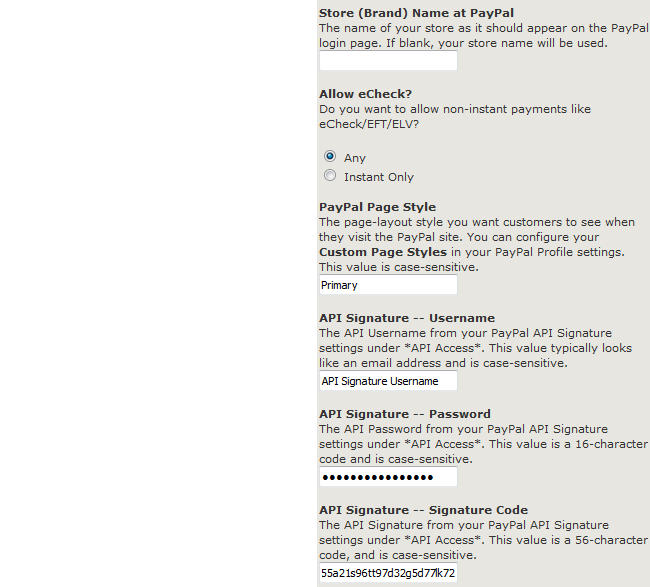
- Store (Brand) Name at PayPal – Select the name that will appear in PayPal when an order is made by a customer
- Allow eCheck? – Enable/Disable non instant payments
- PayPal Page Style – The PayPal Page Style you wish your customers to see when they visit PayPal
- API Signature – Username – The API Username from your PayPal API Signature settings
- API Signature – Password – The API Password from your PayPal API Signature settings
- API Signature – Signature Code – The API Signature used to connect your Zen Cart with PayPal
- PayPal Mode – If you wish to use an API system different from the default Express Checkout one, select the one corresponding to your account
- Live or Sandbox – Choose whether or not your account is Live or a Developers/Testing account
- Debug Mode – If you wish to receive a detailed log from the failed transactions enable this feature
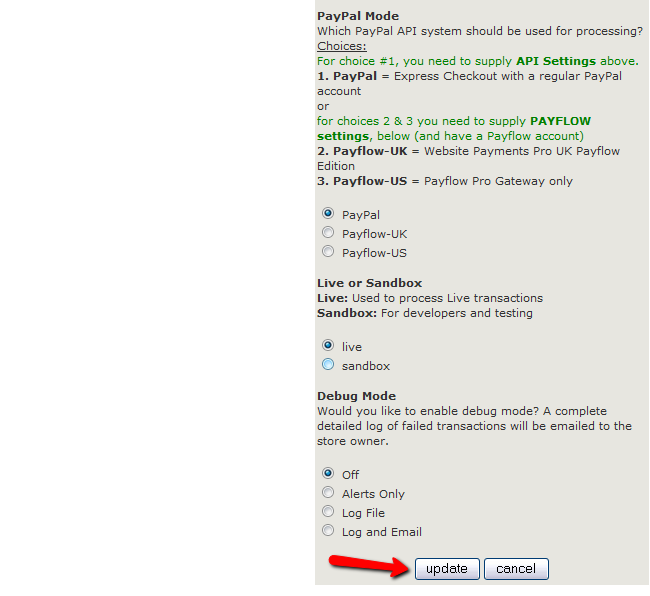
When you are done configuring this module, click on the update button to save the changes.
Congratulations, you have enabled PayPal Express Checkout for the customers on your Zen Cart based Store.

Zen Cart Hosting
- Free Zen Cart Installation
- 24/7 Zen Cart Support
- Free Domain Transfer
- Hack-free Protection
- Fast SSD Storage
- Free Cloudflare CDN
- Free Zen Cart Transfer
- Immediate Activation