How to Configure Currencies in Zen Cart
Updated on Dec 10, 2015
In Online Shopping, it is very important to have enough Currency available for your customers to use when purchasing items from your Zen Cart Store. In this tutorial, we will show you how to configure the Currencies on your website.
To configure Zen Cart’s Currencies, you need to:
Step 1 Add a New Currency
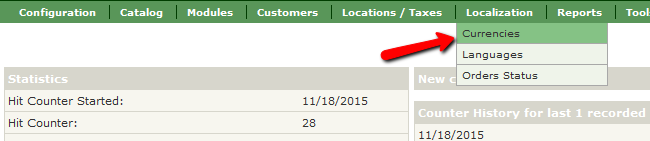
To add a New Currency to your Store, you will first need to login to the admin area of your website. Once there you need to navigate to the Localization>Currencies section.
Click on the new currency button to open the currency creation fields on the right.

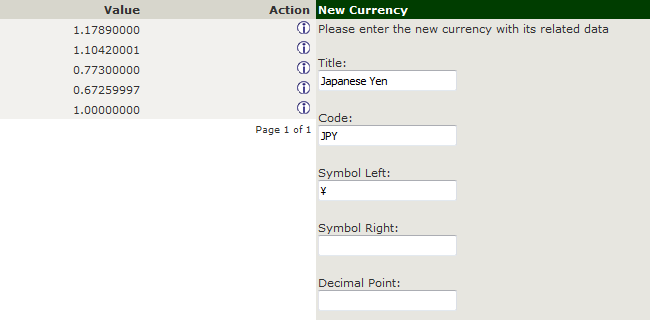
Here you have to configure:
- Title – The name of the Currency (Australian Dollar, Euro etc)
- Code – This is the three-character ISO 4217 international code for every currency
- Symbol Left – If you want the currency’s symbol to appear on the Left, input the symbol in this field (¥500). This is the Standard of showing currencies in most Countries.
- Symbol Right – If you want the currency’s symbol to appear on the Right, input the symbol in this field (500¥). Some countries, for example France, use this way of showing currencies.
- Decimal Point – This is the symbol that appears between whole and fractional amounts of the currency. For U.S. and Canadian dollars, this is a period but in some countries it is a comma.
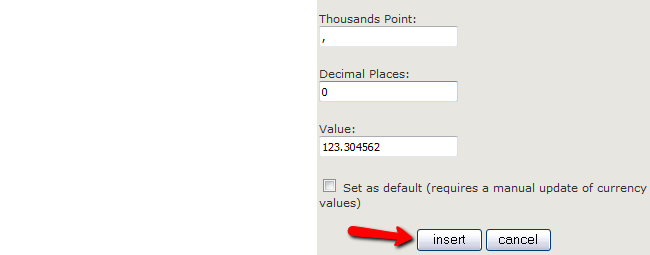
- Thousands Point – This is the symbol that appears between the “thousands” of the currency.
- Decimal Places – This indicates the number of characters before the decimal in a currency. U.S. and Canadian dollars have 2 digits after the decimal point. Some currencies may have up to 6.
- Value – The value of the currency relative to the default currency for your store. Your default currency should have a value of exactly 1. (As the current rate for Japanese Yen is 123.304562 we will use that for the value field. However, you can leave this field empty if you are not sure of the current rate and then click the update currencies button and let Zen Cart set the current rate for you(you will need a correct ISO 4217 code for this to work).
- Set as Default – This will set the currency as default for your Store
Step 2 Edit Currencies
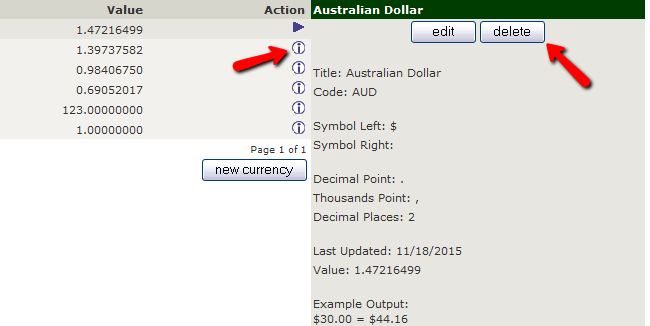
Editing currencies is easy in Zen Cart. Let us say that when adding the Australian Dollar as a currency, a mistake was made and the code is incorrect. To fix this, you need to click on the Info icon next to the currency.

After that you will see details regarding the currency and an Edit button which you should click.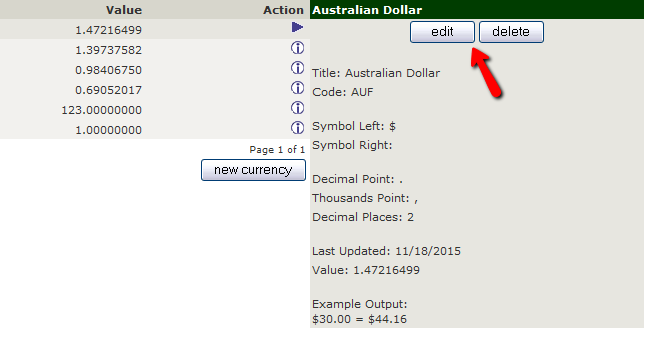
After correcting the typo, you need to click the update button to apply the change.
Step 3 Delete Currencies
To delete a currency, you need to navigate to the details of set currency and click the delete button.
Congratulations, now you know how to configure the Currencies used in your Zen Cart Store.

Zen Cart Hosting
- Free Zen Cart Installation
- 24/7 Zen Cart Support
- Free Domain Transfer
- Hack-free Protection
- Fast SSD Storage
- Free Cloudflare CDN
- Free Zen Cart Transfer
- Immediate Activation