How to Install SugarCRM CE via Softaculous
Updated on Mar 13, 2019
SugarCRM CE is fully supported on all our Shared Hosting packages and in the following lines of this tutorial we will show you how to easily install the application via the Softaculous auto-installed included in every SugarCRM Hosting package.
To Install SugarCRM CE via Softaculous, you need to:
Step 1 Access Softaculous
The Softaculous auto-installer is a feature provided in the cPanel service which is supported by every hosting package we offer. You will be able to find the auto-installer in the Software and Services section of the cPanel service:

Once you access Softaculous you will be able to find the SugarCRM application by using the Searching feature. It is available in the upper left corner and by simply typing "SugarCRM" there you will be presented with the link to the installation page.
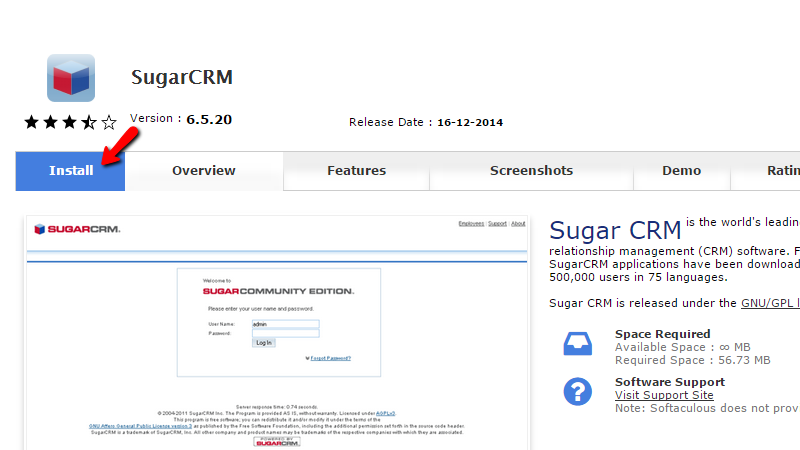
Clicking on that link will redirect you to the overview page for that application where you will be presented with the overall information about that application.
Step 2 Configure and run the installation
From the Overview page you will need to click on the Install tab colored in blue so you can start customizing the installation.

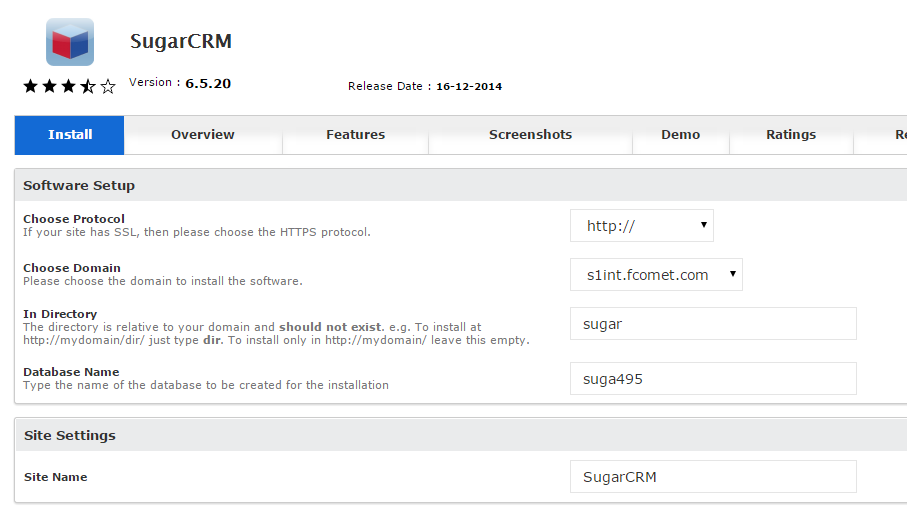
Then you will actually see few section of settings you will need to configure before the installation process can be initiated. The first section is called Software Setup and there you will find the following settings:
- Choose Protocol - The protocol your website should be accessible with. You can here choose https:// only if you have already active SSL certificate installed on your domain.
- Choose Domain - The domain/subdomain where the SugarCRM application should be installed.
- In Directory - If you would like to have the SugarCRM application installed in a subfolder, then you should enter the folder name in this field. If the application should be accessible directly on your primary domain please leave that field empty.
- Database Name - The name of the database which should be used by the auto-installer. Keep in mind that Softaculous is intelligent enough to create the database so you should not bother creating such.
The next section of settings is called Site Settings and there you should only input the Site Name.
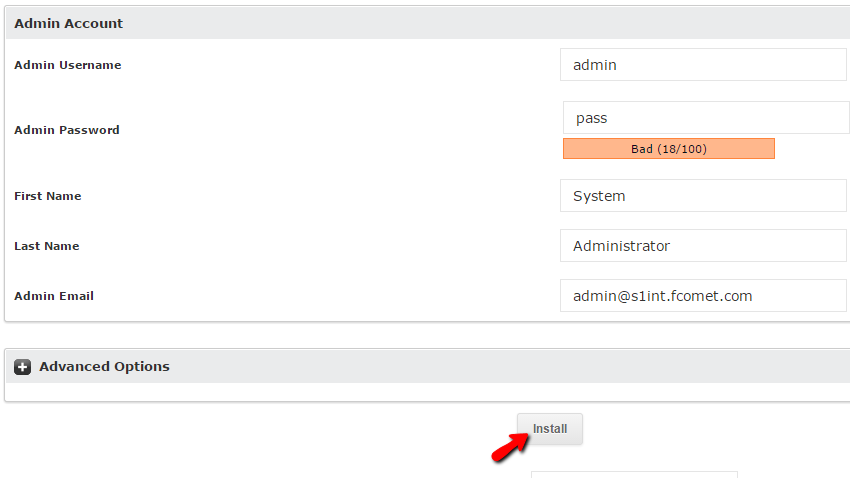
Once you are ready with all these settings you should move forward with the next section which is called Admin Account and there you will be able to find the basic information for the administrative account you will be using immediately after the setup in order to login.
When you are ready with the Admin Account settings please simply click on the Install button so the auto-installer can start the installation process.
In few seconds the installation process will be finished and you will be provided with the access information for your brand new website.
Congratulations! You have successfully installed the SugarCRM application on your website.

SugarCRM CE Hosting
- Free SugarCRM CE Installation
- 24/7 SugarCRM CE Support
- Free Domain Transfer
- Hack-free Protection
- Fast SSD Storage
- Free Ghost Transfer
- Free Cloudflare CDN
- Immediate Activation