How to manage the Emails
Updated on Mar 13, 2019
The Emails module which is part of the Activities module will provide you with the option to manage all the emails related to your SugarCRM CE installations. With that module you have all the features usually provided by desktop email clients – sending and receiving emails. In the next few lines of this tutorial we will provide you with detailed information on how you should be able to use that module.
To be able to manage your emails properly, you need to know how to:
Step 1 Access the Emails Module
In order to access the Emails module you will need to first and foremost login into your SugarCRM CE application. Once there you will need to hover over the Activities link in the top navigation menu and then to click on the Emails link.
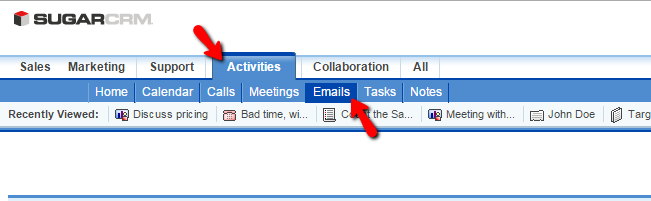
This link will land you directly on the Emails management page where you will be presented with a simple interface separated on three sections.
In the first section you will be able to see the email accounts linked for check and also their folders.
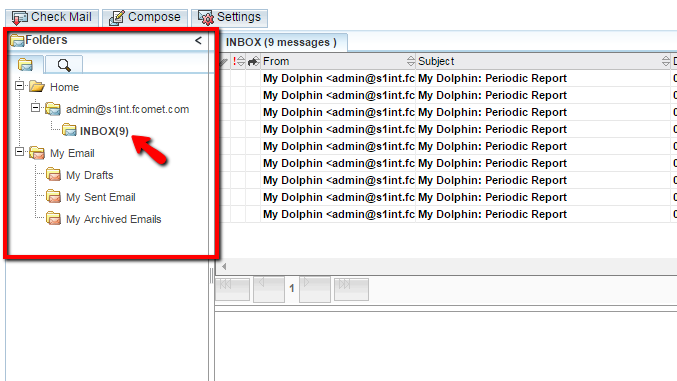
You can click on the different folders in order to browser different emails. The next section contains the received emails stored in the Inbox folder.
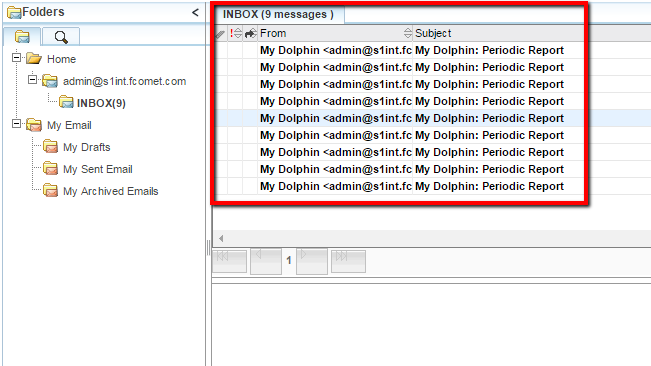
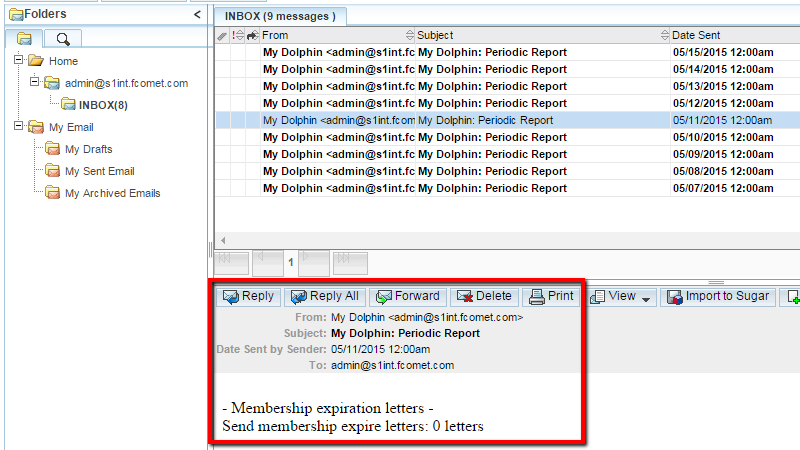
There if you click on a single email you will be able to see its content at the third and final section.
That is the basic structure of the Emails module and for more actions with this module you should move forward to Step 2 of this tutorial.
Step 2 Check Mail and Send Emails
In order to check the incoming emails associated with the email account you have configured in your SugarCRM CE instance you will need to simply press the Check Mail button.
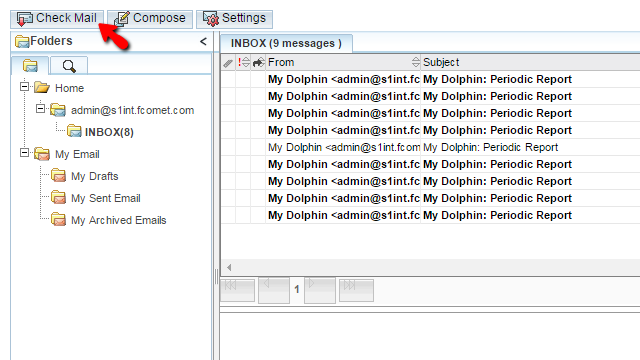
The button will initiate an Ajax script which will be used to check the emails and update the list of emails in the INBOX folder.
In order to send an email on the other hand you will need to click on the second button labeled Compose.
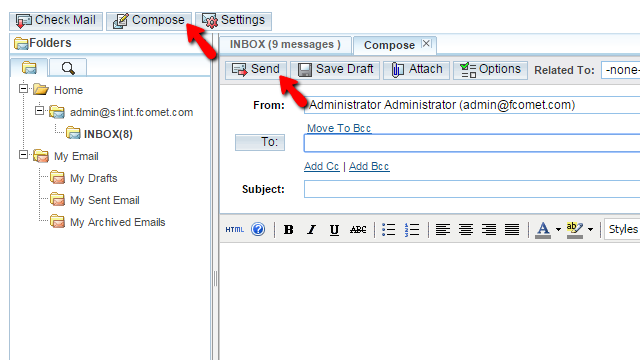
Once you click on that button you will be presented with a common mail sending interface where you need to simply add an email TO which you will be sending the message, of course the subject and the message itself. When you are ready, simply click on the Send button and the message will be successfully sent to your recipient.
Step 3 Configure the Settings for the Emails Feature
The setting for the Email feature of the Activities module will allow you to configure new email accounts for checking emails or other key settings for the displaying of the emails. In order to access this feature you will need to simply click on the Settings button located on the Emails page.
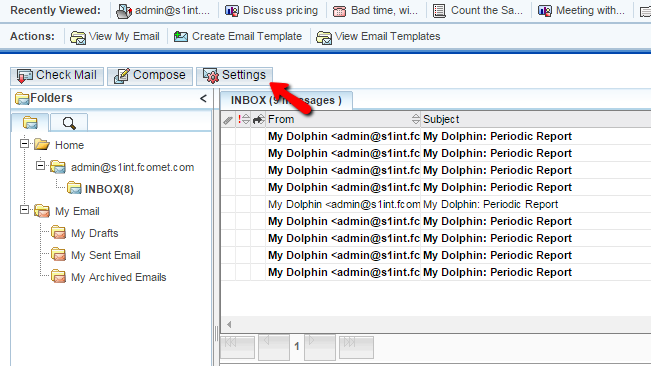
This will prompt a window where you will be able to configure two type of settings. The first one are the General settings and there you will find the following configuration options:
- Check for New Mail – Here you will be able to configure how often the emails for the configured email accounts should be checked
- Signatures – Here you can crate and assign signatures
- Send Plain Text Emails Only – If the outgoing emails should be sent in Plain text only
- Signature above reply – If the signature should be displayed when replying
- Character Set – The character set your emails should be using
- Emails per Page – The amount of emails displayed per page
- Available User Folders – The folders that should be checked
The other available configuration options are the Mail Accounts options where you will be able to configure new mail accounts and of course to add new SMTP servers.
Congratulations! You no know how to use the Mail module of your SugarCRM CE based website!

SugarCRM CE Hosting
- Free SugarCRM CE Installation
- 24/7 SugarCRM CE Support
- Free Domain Transfer
- Hack-free Protection
- Fast SSD Storage
- Free Ghost Transfer
- Free Cloudflare CDN
- Immediate Activation