How to install Bolt using FTP
Updated on Dec 10, 2015
This tutorial will review the process of installing Bolt on your hosting account via FTP. Note that there is a much easier way, installing Bolt via Softaculous. However, if you wish to handle that manually, you can count on us and proceed with this article and the information below.
The steps for installing Bolt via FTP are:
Download and Prepare Bolt for Installation
The first step of the process is to download the latest release of the application from the official Bolt website. once there, just click on the button that says Latest Bolt as ZIP.
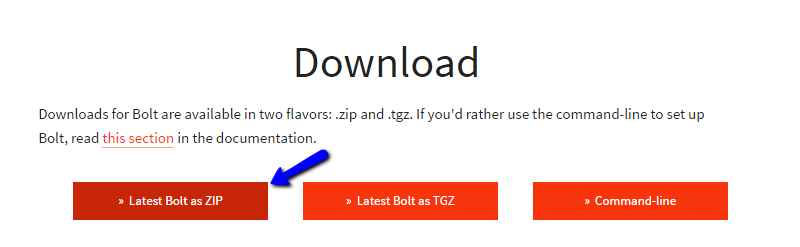
This will download the latest installation archive of Bolt on your local computer. You will have to unzip it on your local computer and this will create a folder that contains all of the files you need to complete a new Bolt installation. The next thing is to upload those file on your hosting account.
Upload Files
There are two ways of uploading your files to the server - using an FTP client, following our FTP tutorial, or uploading directly through your cPanel account → File Manager, following our cPanel tutorial.
Depending on where you would like to install Bolt, you will have to upload the installation files on a different location. If you wish to install Bolt directly on the primary domain set on your account, you need to upload the files to the public_html/ directory of your account. Alternatively, if you are installing Bolt in a subfolder or subdomain, the location will be different so keep that in mind.
.htaccess File
Make sure that you upload the .htaccess file otherwise Bolt won't work. If you are using an OSX OS, make sure that "hidden" files are displayed.
The next step is to change the permissions for some of the folders of your new Bolt installation. This is important, in order to make sure that the installation goes through smoothly. Use your FTP client in order to change the access permissions to the following directories.
- app/cache/
- app/config/
- app/database/
- files/
- theme/
- extensions/
The new permissions should grant full read, write and execute rights for all users. In octal notation the value that you must input is 777.
Create a SQLite User
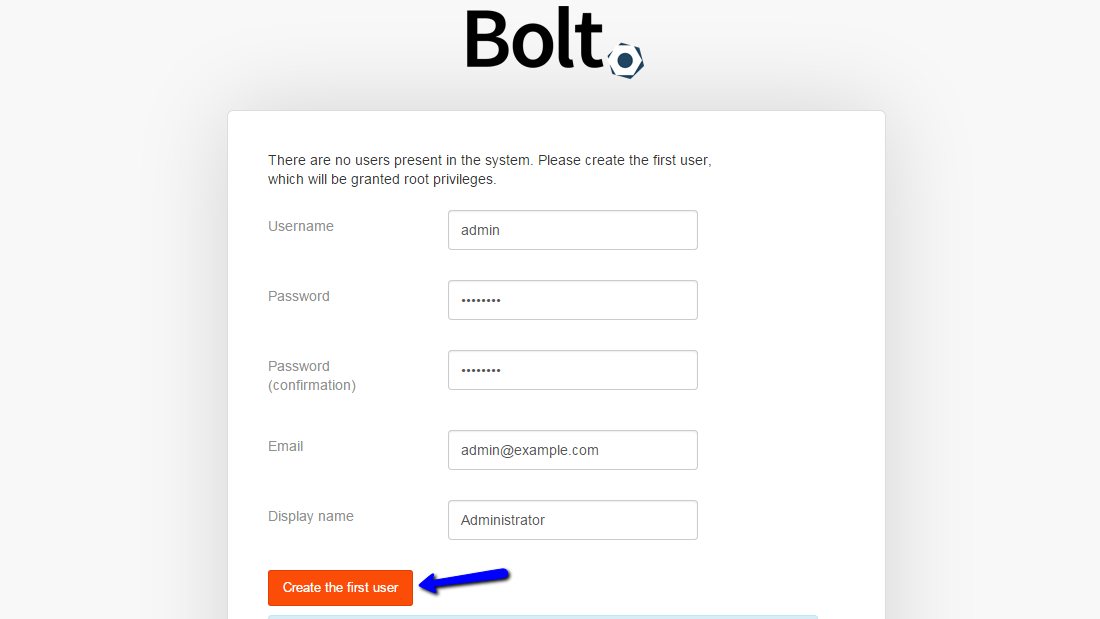
The next thing to do is to perform the actual installation process. For that purpose, simply access your domain via your favorite web browser. This will bring up the User Creation screen. This is the first step as you need to create a valid administrative user for your new Bolt website.
You may also notice that at the bottom of the document there is a warning that currently the database is configured with SQLite, this shouldn't bother you, as we will show how you can reconfigure it later. Edit the following options:
- Username - Enter a username
- Password: -Enter a password for the new user.
- Password (confirmation) - Enter the password twice for verification.
- Email - Enter the email address of the new user.
- Display Name - Enter a display name for the user.
Next, click on the "Create the first user" button so you can proceed with the installation. The system will complete the rest for you.
Then bolt will inform you of the successful creation of the user. You will be redirected to the login page and you need to enter the details you have specified in the previous step.
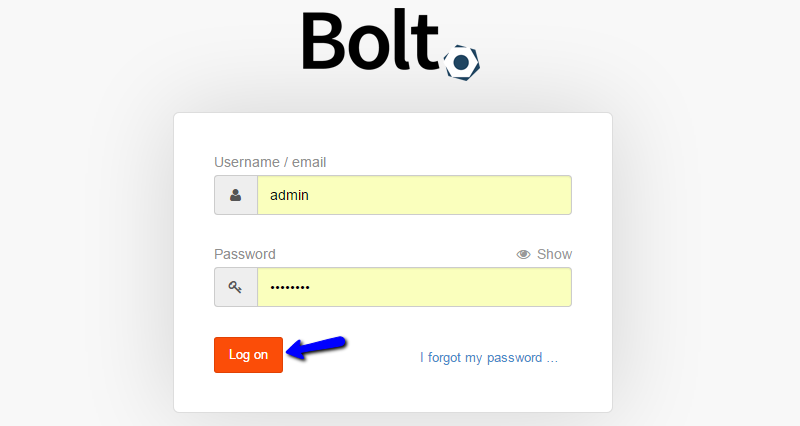
The installation of Bolt via FTP is now successfully completed. You can access the administrative area of your Bolt website and start adding content.
Bolt MariaDB Setup
If your project is going to be vast in size, we strongly recommend that you set up your website with a MariaDB database. It is much more reliable and you can review our tutorial on how to configure Bolt with MariaDB database.

Bolt Hosting
- Free Bolt Installation
- 24/7 Bolt Support
- Free Domain Transfer
- Hack-free Protection
- Fast SSD Storage
- Free Bolt Optimization
- Free Bolt Transfer
- Free Cloudflare CDN