How to create pages in Bolt
Updated on Dec 10, 2015
This tutorial will review the process of adding new pages on your Bolt website. This is easy and you can publish content with ease.
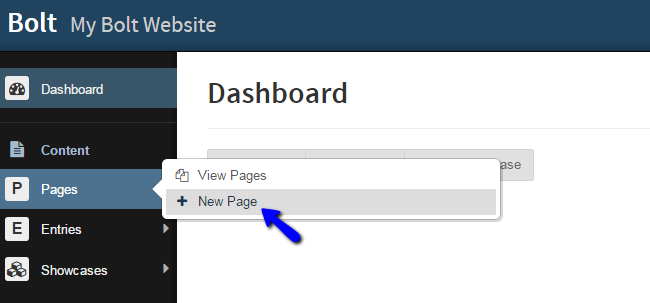
To start the process, you need to log into the administrative area of your website. Move your mouse pointer to the Pages tab on the left-side menu and then click on the New Pages option.
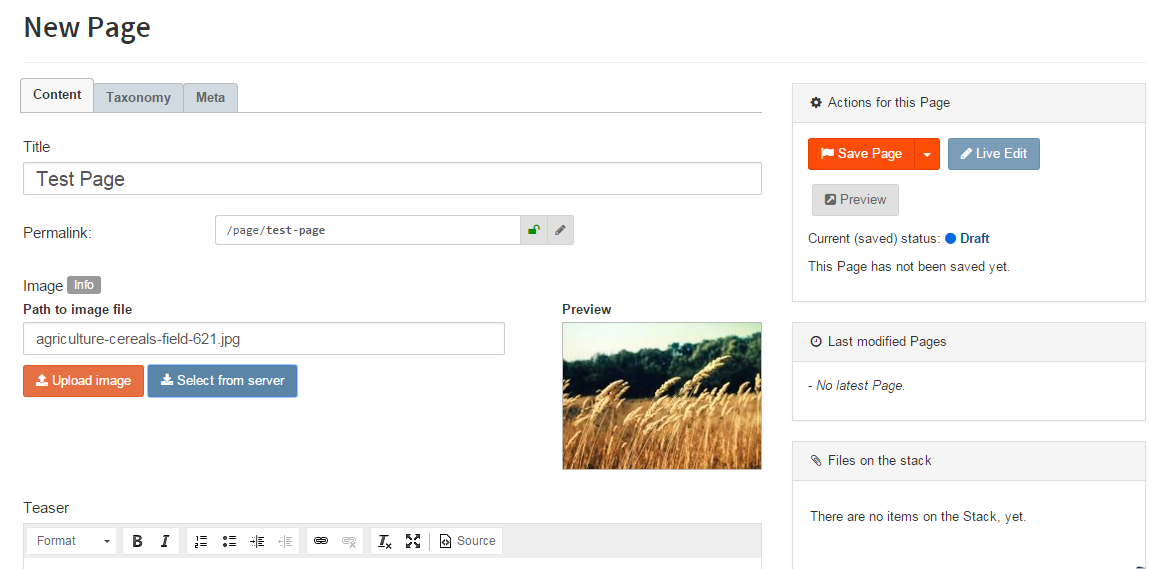
The system will open up the creation form for the new page. There are three main tabs with data that you will have to fill in. They are:
- Content - Enter the title of the page, image, teaser text, actual body of the page and the template you will use for it. There are pre-defined templates that will change the behaviour of the new page.
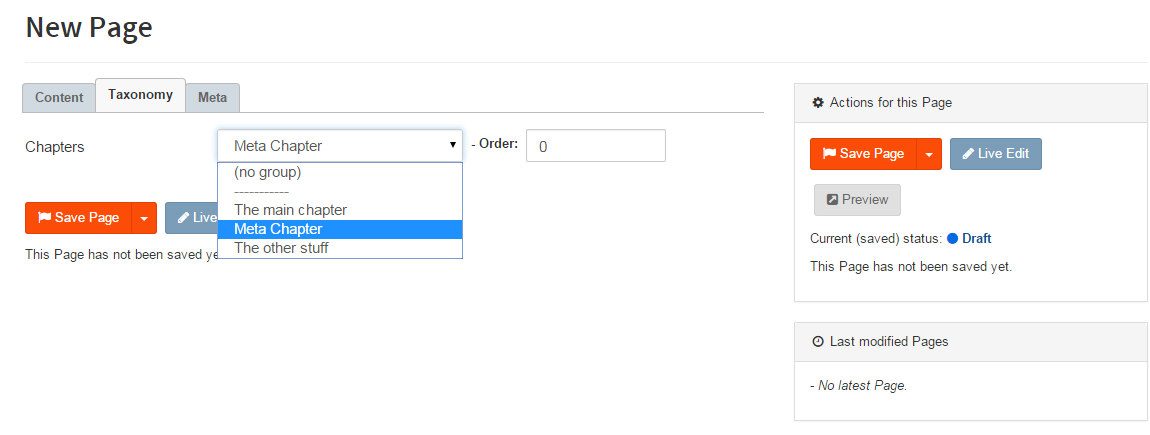
- Taxonomy - Choose the taxonomy options for the new page. This will group certain pages together, according to your preferences.
- Meta - The meta tab contains details such as page ID, status, date, author and more.
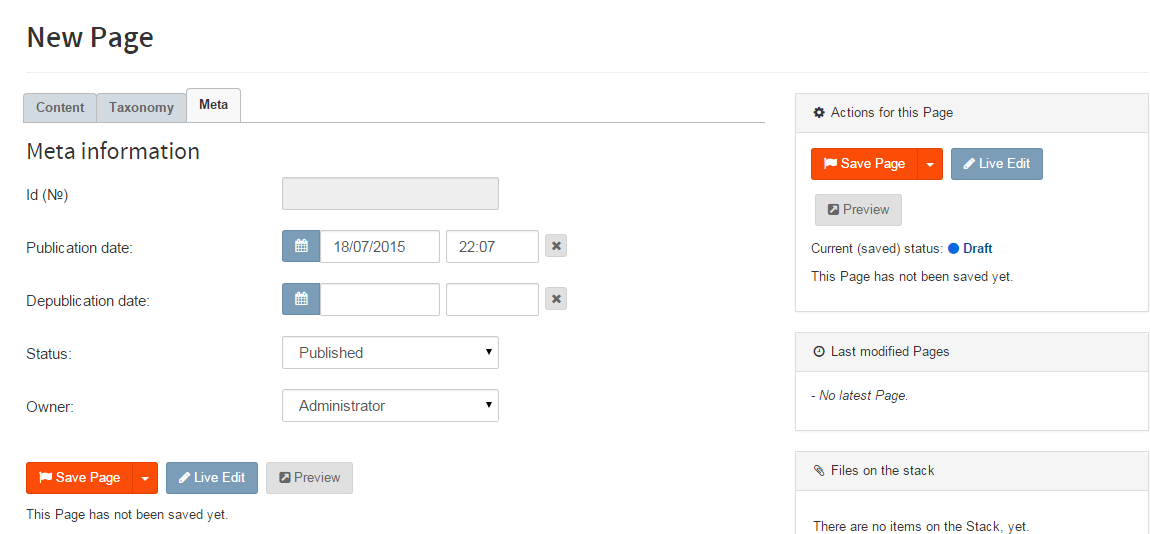
When you are ready with the changes on your new page, click on the Save Page button. After that, you will be informed that the page has been successfully saved, and the content type will now be displayed on your website.
On this page...

Bolt Hosting
- Free Bolt Installation
- 24/7 Bolt Support
- Free Domain Transfer
- Hack-free Protection
- Fast SSD Storage
- Free Bolt Optimization
- Free Bolt Transfer
- Free Cloudflare CDN