Manage Settings
Updated on Aug 9, 2023
Our website builder has several configuration options, and we will discuss them now. These options allow you to change things from the site title to custom fonts to permalinks and privacy settings.
This tutorial includes:
General
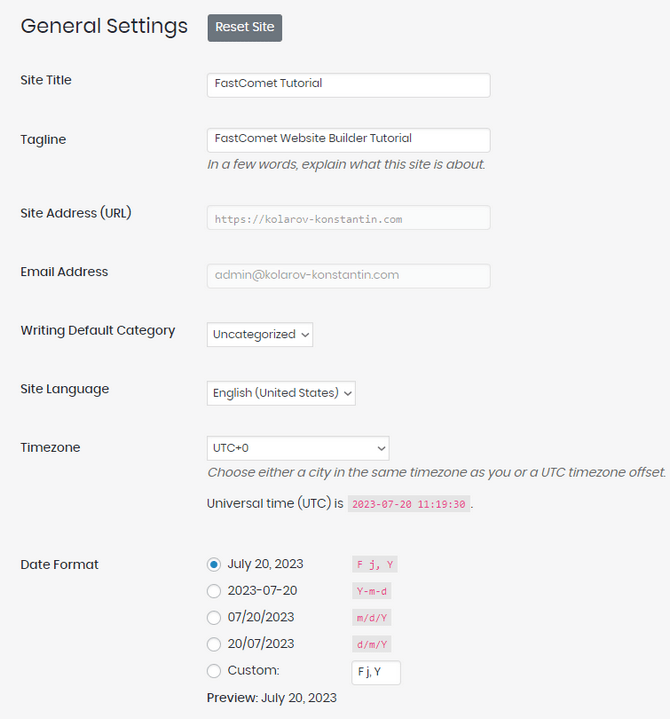
As the title suggests, the General settings offer a more overall set of options. Most of these would have been filled in when you created the website, and you can’t change some of them.
- Site Title - The title of your website, which will also be displayed as the SEO title;
- Tagline - Short description of what your website is all about. Some themes may display this in the header or sidebar of your site;
- Site Address - The URL of your website;
- Email Address - The email address you provided during the creation of your website will be filled in here;
- Writing Default Category - The default category for your blog posts;
- Site Language - Choose from more than 50 languages for your website;
- Timezone - Configure the local time of your website;
- Date Format - Choose date format;
- Time Format - Choose the time format;
- Enable Dev Mode - If you check this box, your website will be available only when you’re logged in;
- Week Starts On - Internationally, the first day of the week is Monday. However, in some parts of the United States, Canada, and a few other countries, Sunday is considered the starting day of the week;
- Site Icon - Upload and choose your site icon (aka Favicon).
Editor Settings
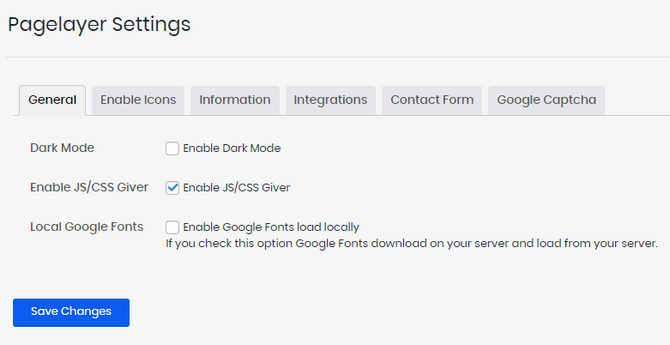
The Editor Settings offer options to change how your editor looks, behaves and what information it provides to viewers. They are all grouped in tabs, and we will review each of them briefly, but we encourage you to experiment with them.
- General - You can enable dark mode and JS/CSS Giver from here, and also have Google Fonts download and load from your hosting server instead of from your website;
- Enable Icons - From here, you can enable the usage of Font Awesome icons. Font Awesome is one of the most popular icon toolkits. If you turn this option on, you can then use those icons in the editor;
- Information - Use this tab to display your website’s contact information: address, phone number, social media, etc;
- Integrations - Connect to Facebook and Google Maps via their Facebook SDK Details and Google Maps API Key;
- Contact Form - Change the email address your contact form sends confirmations from, what message appears, and the success and failure messages;
- Google Captcha - Self-explanatory: configure the Google Captcha settings for your website.
Website UI
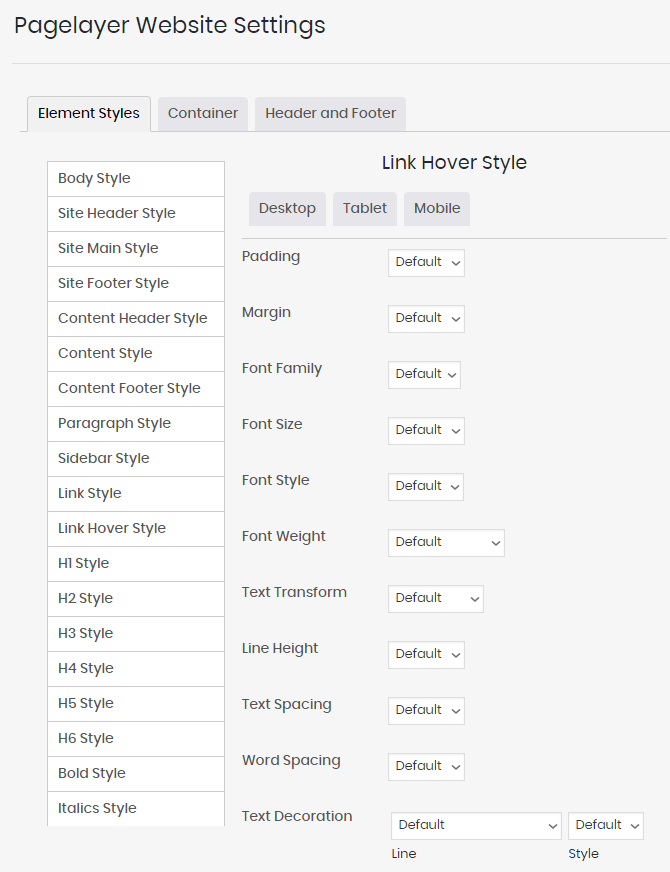
Under this menu, there are three tabs, and we will go through them now.
- Element Styles - You can set how various elements of your website (headings, footers, headers, etc.) appear. You can select specific font styles, margins, line values, and so on. That will change how the typography of these elements looks;
- Container - In this tab, you can set breakpoints and spacing for widgets. What the breakpoints will do is they will make your website more responsive to mobile devices. Typically, these values are assigned automatically by the theme you are using, so if it is mobile-friendly, you might not need to change anything here;
- Header and Footer - If you want to add custom code to your website’s header, footer, and body, you can do it here. That is a global change, affecting all pages that use those elements.
Custom Fonts

As the name suggests, you can upload custom fonts to use in your website’s editor. The process is straightforward and works the same way as uploading any other file: click Upload Font, find the file on your computer, and you are set.
Reading

The Reading settings will change how your posts appear.
- Homepage displays - You can choose the home page to display your latest blog posts or a custom static page;
- Blog pages show at most - If you decide to show your blog posts, you can limit how many are displayed per page;
- Full-width blog - Blog post content will be extended to full width;
- Hide User details on Blog - User Icon/Avatar and Username will be hidden on the Blog post;
- Hide Date on Blog - Post Date and Time will be hidden on the Blog post;
- Hide Navigation on Blog - Navigation (Previous/Next) will be hidden on the Blogs page;
- Search Engine Visibility - When developing your website, you can enable this to prevent search engines from indexing your content. However, it is up to the search engine to actually comply with that request. Also, make sure to turn this off once you have made your website live.
Media
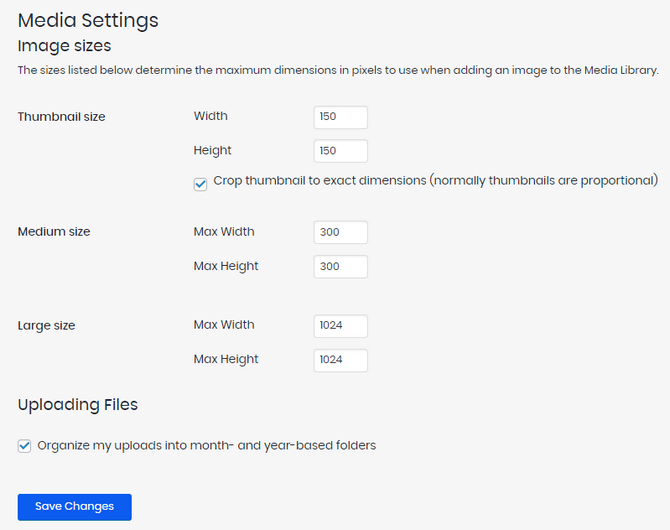
The Media settings will allow you to set limits on the size, in pixels, of images that can be uploaded to the media library. You can also choose to allow the system to organize your images into per-month and per-year directories.
Permalinks
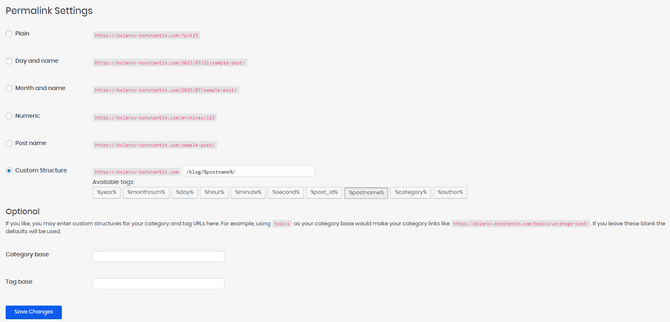
The Permalinks settings let you choose the structure of your website’s URLs. You can even write your own custom structure. That is handy if you want to ensure your website’s URLs appear logical and natural.
Privacy

In the Privacy settings page, you can select the page you want to use for your privacy policy page. You can create a page directly from this menu if you don’t have one. A privacy policy page is good because some international laws require websites to have it. As a general rule of thumb, having one is always good.

Website Builder Hosting
- Drag and Drop
- 24/7 Website Builder Support
- Free Domain Transfer
- Hack-free Protection
- Fast SSD Storage
- Free Cloudflare CDN
- Free Website Templates