Create a Website
Updated on Jul 24, 2023
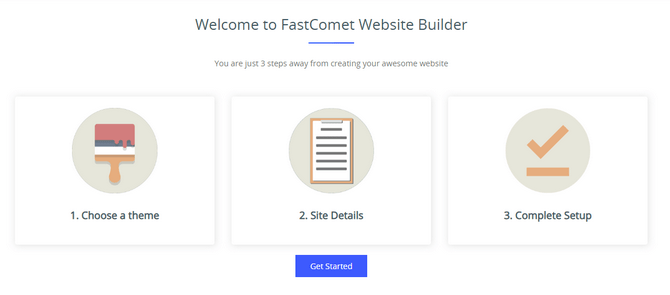
This section will show you how to get started with the FastComet Website Builder. After finding it in your Software section, you should see this screen if this is your first time creating a website with the builder.

Click on Create a New Site. On the next page, you will see a brief explanation of the steps to follow. Click Get Started to proceed.
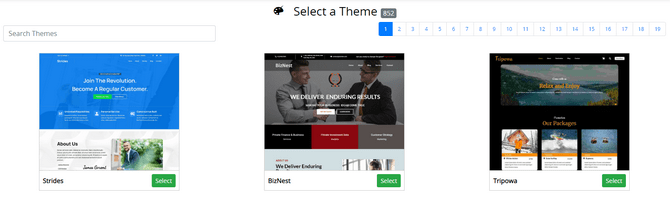
Now, you need to select a theme for your website. There are hundreds of them, so you can use the search bar to look for the specific motif you need. When you have found a theme you like, click on Select. If you want to change your theme later you can easily do that from the dashboard of your website. In the Interface Overview part of this tutorial we touch on that subject.
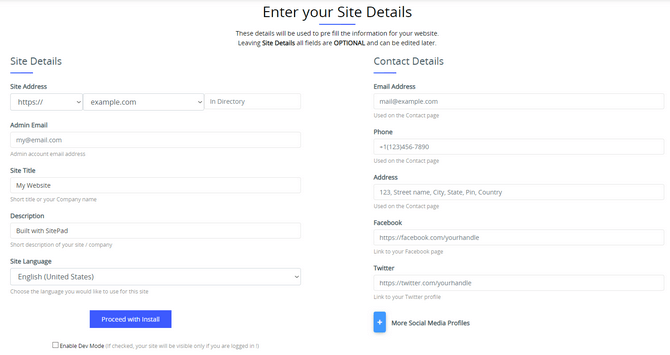
Next, select the domain you wish to use for the website. Remember that the domain must be hosted with our services for you to use it to create the website. Aside from that, you can also specify a subdirectory for the website to reside in if you wish. Then, input the Admin Email, Site Title, and Description, and select your website’s language. Finally, feel free to fill in the fields on the right as well, but they are not mandatory. There is also a Dev Mode option you can tick, but only do that if you want your website to be visible only when logged in. When ready, click Proceed with Install.
The process will take a few moments, after which you can either view your website online or continue to the dashboard, where you can edit it.

And there you have it! You have successfully installed a website with the FastComet Website Builder. Next, we will look into how actually to view, edit, clone, and delete pages.

Website Builder Hosting
- Drag and Drop
- 24/7 Website Builder Support
- Free Domain Transfer
- Hack-free Protection
- Fast SSD Storage
- Free Cloudflare CDN
- Free Website Templates