Manage Pages
Updated on Jul 24, 2023
The central part of creating a website in our Website Builder has to do with editing and adding pages as well as drag and drop widgets and configuring them to your needs. Log into your cPanel and then go to the builder, as we showed you at the beginning of this tutorial. Then, click the Login to Site button when hovering over the website. That will take you to the website’s dashboard.
Click on Pages from the tabs on the left, and you should see All Pages and Add New. Let’s start with the former.
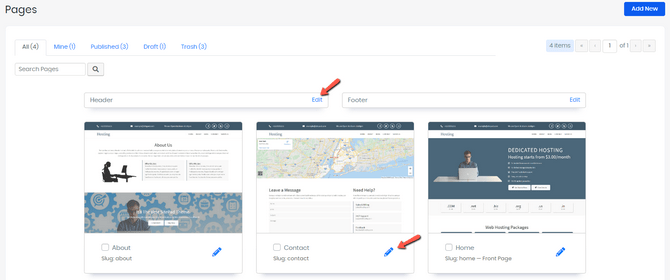
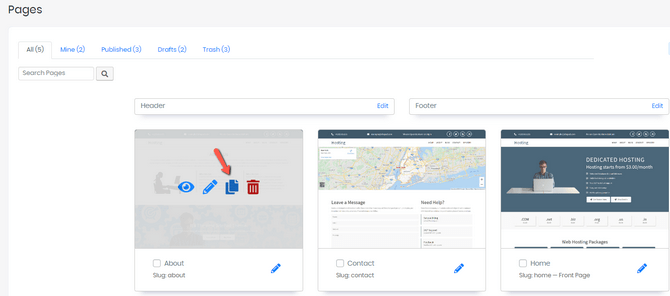
All Pages will show you all the pages that the website currently has. From here, you can edit them, but you can also edit the header and footer of the website. Simply click Edit next to the page you wish to edit.
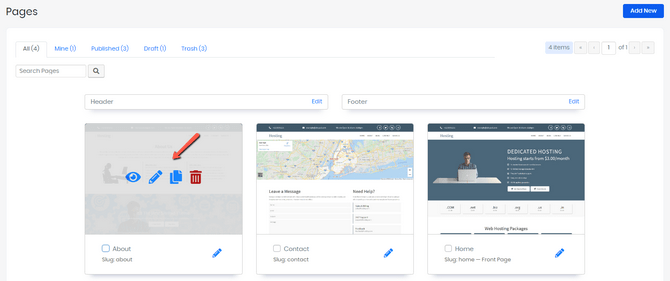
You can also view, edit, clone, or delete a page by hovering over it and selecting the appropriate button.
Finally, whether you click the blue Add New button in the top right or from the bar on the left, you will be taken to the website builder’s main attraction: the editor. Let’s take a closer look at it!
This tutorial includes:
Editing Pages
Whether you create a new page or edit an existing one, you will be taken to the FastComet Website Builder’s editor. Depending on whether it is a new or existing page, there will be a Publish button in the top right next to Update. You will see an empty page with your website’s header and footer and several places you can edit if you are creating a new page.
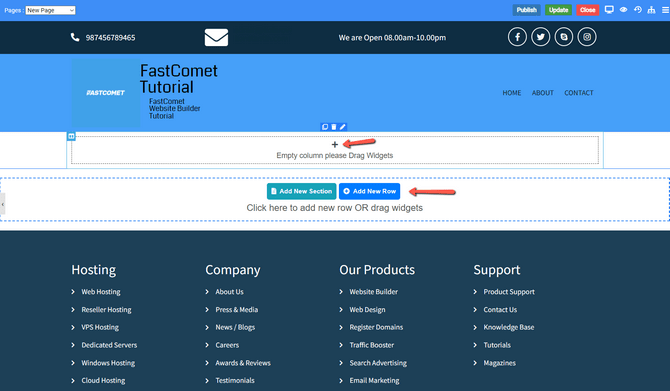
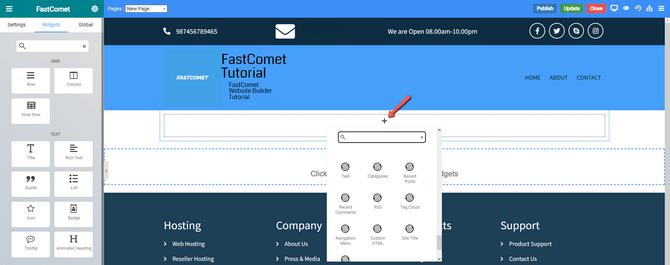
Clicking on the + icon will open the widgets tab. The widgets are what allow you to customize your website. From adding simple text to images and videos, to timelines and contact information, they will let you create the pages you want. You can either drag and drop them from the menu on the left or select the + icon.
Every area and widget between the header and the footer also has its own settings. Click on the area or widget you wish to edit, and the settings will appear on the left.
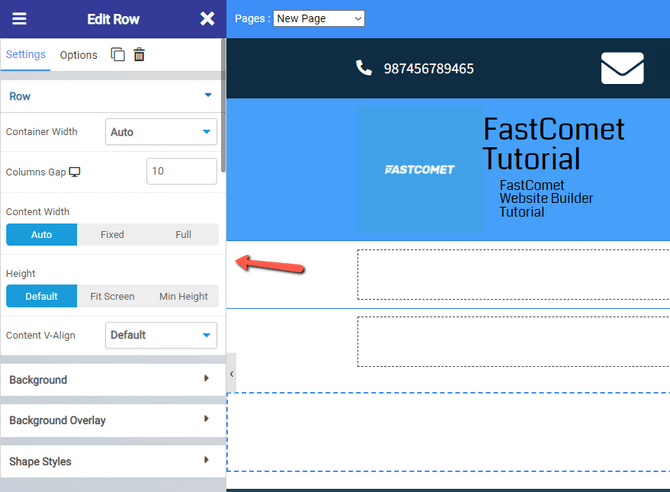
From there, you can edit the color, background, borders, font, animations, motion effects, and responsiveness and add custom CSS to the selected element, be it an area of the widget. These functionalities are split between the Settings and Options tabs you can see in the previous screenshot. These options will further allow you to customize your website to your preferences.
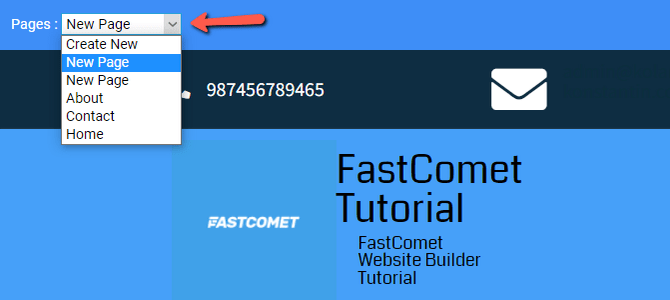
Additionally, you can switch between pages from the drop-down menu at the top of the screen when editing a page.
You might have also noticed there were some settings on the left before you even clicked anything, right after you opened the editor. Those are the page’s overall settings.
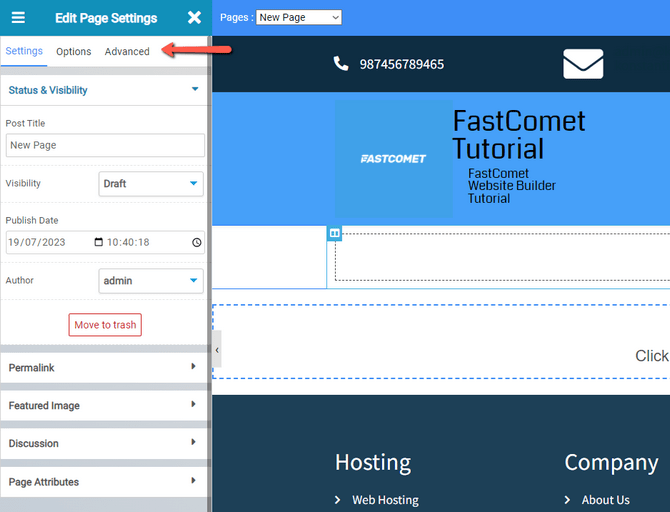
These three tabs will let you control the page’s general settings, instead of the specific settings of a widget, for instance.
Page Settings
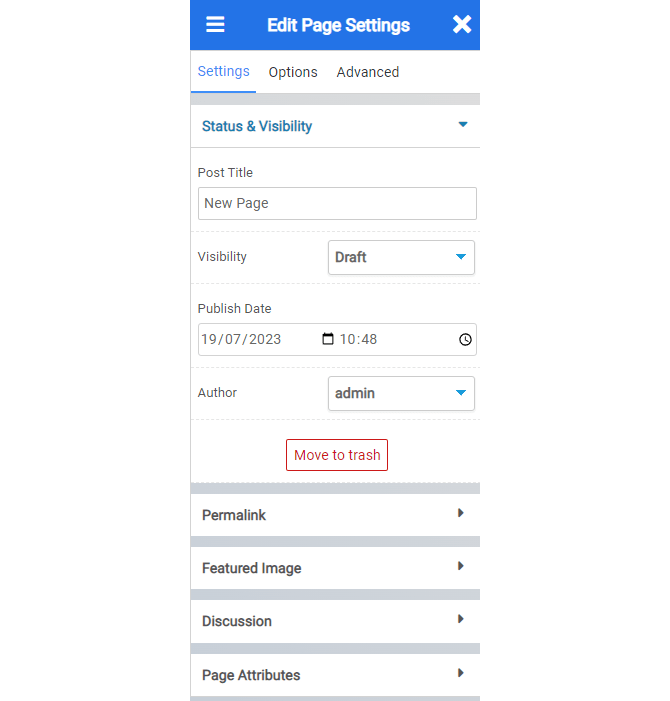
These are the things you can do from the Settings tab:
- Status & Visibility - Change the page (post) title, the visibility of the specific page (post), the publish date, and the author. You can also delete the page by clicking Move to Trash;
- Permalink - Edit the URL slug of the specific page;
- Featured Image - Choose a featured image for your page (post);
- Discussion - Options to allow or restrict comments for your page (post);
- Page attributes - Choose a parent page for your current one and specify the order.
Page Options
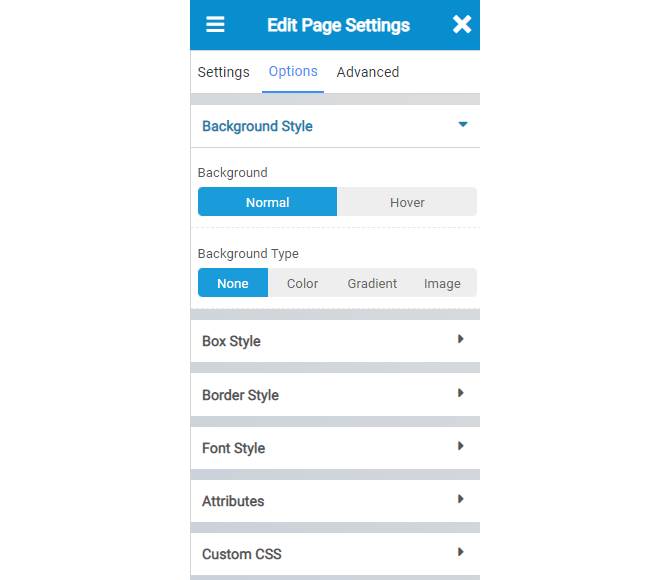
The Options tab lets you edit your page in terms of style.
- Background Style - No backg-round, just a specific color, a gradient combination of colors, or even an image of your choosing;
- Box Style - Modify the size of any box that is currently selected, as well as stylize it the way you prefer;
- Border Style - Modify the border type and border radius of a presently selected box;
- Font Style - Specify the Font Family, Font Size, Font Style, Font Weight, etc;
- Attributes - Set custom attributes for wrapper elements;
- Custom CSS - include custom CSS for any content on your page.
Page Advanced
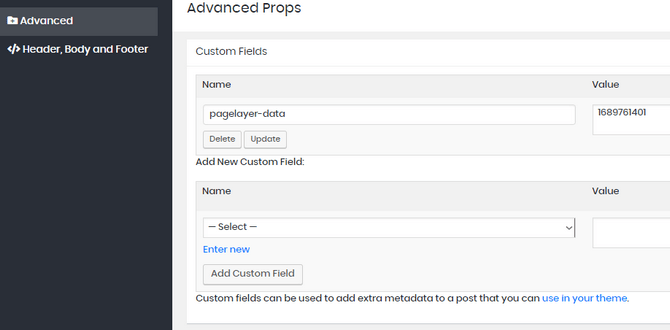
Clicking Advanced will open a popup window to add metadata to your page or post. Additionally, you can add custom HTML code to the page’s header, body, or footer, so this tab is definitely for those who already know how to do these things.
Cloning Pages
To clone a page, you only need to click on the icon that says Clone this Page. Once you have clicked on the icon, you will immediately get the page cloned and go into editing mode of the cloned page. From there, edit it to your liking, but don’t forget to change its name from the Settings tab and either save or publish it.
Deleting Pages
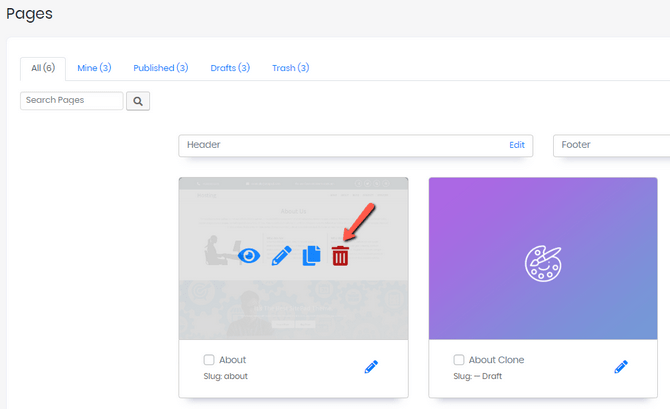
You can delete a page either by clicking Move to Trash in the editor, as we mentioned earlier, or by clicking the red button on the main dashboard.
Remember that you will not be asked to confirm whether you want the page moved to the trash; it will immediately go there after clicking the icon. However, you can go to the Trash tab on the same page and get back your deleted items or remove them for good.

Website Builder Hosting
- Drag and Drop
- 24/7 Website Builder Support
- Free Domain Transfer
- Hack-free Protection
- Fast SSD Storage
- Free Cloudflare CDN
- Free Website Templates