How to Manually Install SocialEngine
Updated on Dec 22, 2015
In this tutorial, we will review the process of installing SocialEngine manually on your account. You may need to complete that once only, but we will introduce you to the entire process so you can get a better understanding of it and complete it on your end easily.
To complete the SocialEngine installation, please follow these steps:
Step 1 Get SocialEngine license
SocialEngine is a paid product and you need to have a valid license for your domain so you can install it on your account. As an official SocialEngine reseller, FastComet offers 20% discount on all SocialEngine Licenses. Alternatively, you can also purchase such a license via the official SocialEngine website.
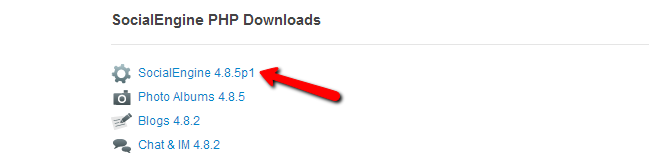
Once you purchase your license, you need to access your SocialEngine account dashboard and to download the script.
Step 2 Prepare files for the installation
The next step is to extract the files of your SocialEngine script on your local computer. Make sure that you extract the files within a folder that you create prior to the process. This will ensure that all of the files are correctly placed into the folder you created and you will not forget any at the time of the upload to the server.
Up until this moment, you will have a folder on your local computer that contains all of the SocialEngine files and folders. It is time to upload them to the server and more precisely, to the location on the server where you would like to install SocialEngine.
You can upload the files via FTP or directly using the File Manager service within your cPanel account.
Upload Files
There are two ways of uploading your files to the server - using an FTP client, following our FTP tutorial, or uploading directly through your cPanel account > File Manager, following our cPanel tutorial.
Note that you will usually upload the SocialEngine script within the public_html/ directory of your account. If you do so, the files will be accessible through the main domain set on your account. For example, if your domain is example.com and you need to install SocialEngine directly on it, this means that you need to upload the files within the public_html/ directory. However, if you would like to install the script in a subfolder called “social” and access your website via example.com/social/, this means that you need to create a folder called “social” within the public_html/ directory of your account and then upload the SocialEngine files in it.
Step 3 Run installation
The last step of the process is to run the installation script of SocialEngine. It will request some information about the new installation and then complete it for you automatically.
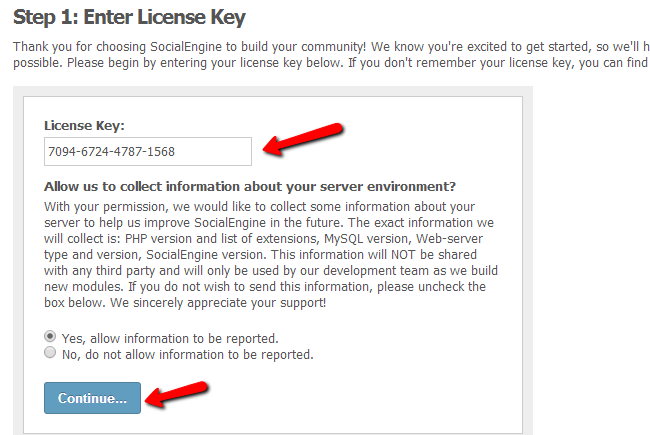
To initiate the script, you need to access the location, where you have uploaded your SocialEngine script. The first screen will request the license for your purchase and you can see that information within your account at the official SocialEngine website.
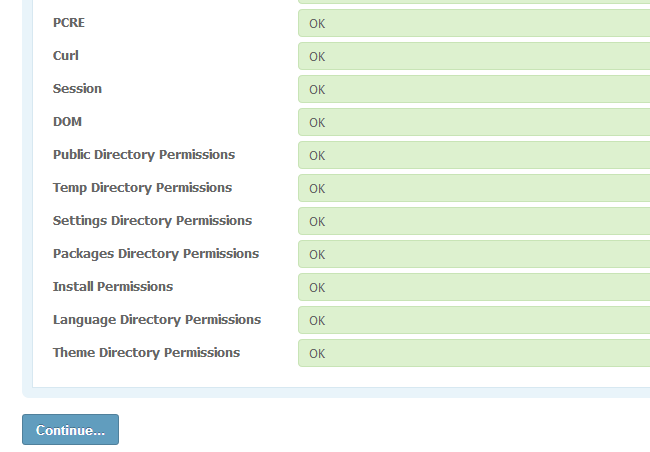
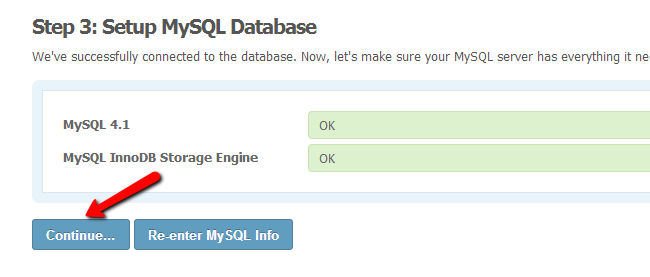
Next, the system will perform an environment check in order to determine if the server matches all of the SocialEngine requirements. You will not have any issues throughout this step so you can simply click on the Continue button to proceed.
The third step of the SocialEngine installation will request the database details that will be used on your website. For that purpose, you need to create a new database and a user assigned to it with full privileges.
MariaDB Configuration
You can create a new database and a user assigned to it via cPanel. Simply follow our Database Wizard tutorial for information on that.
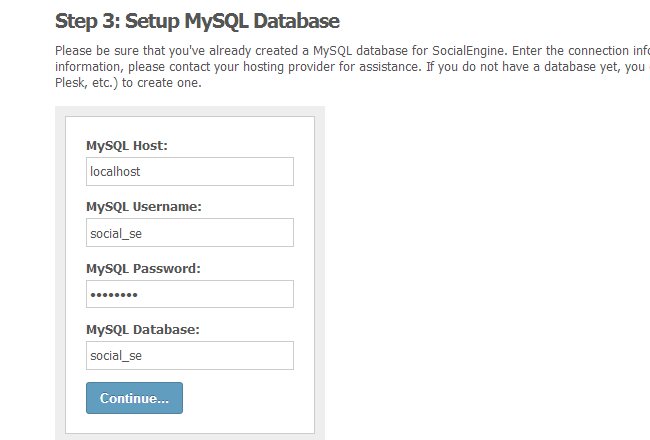
The system will check if the database details are correct and inform you about that. Simply click on Continue to proceed or enter the database details again if there was an issue.
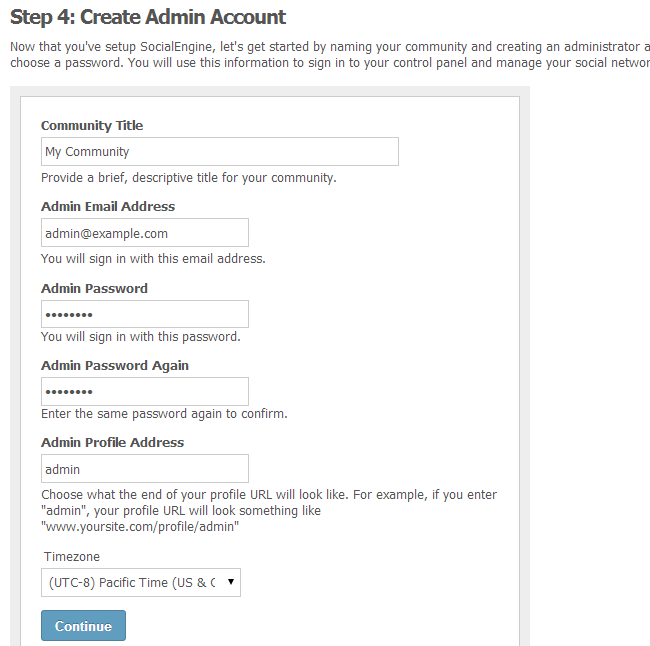
The next step is to configure the administrative account on your website. This account will be used for the actual development of your website and the way it is configured. This is important part of the process so make sure that you keep a note of the details that you set here.
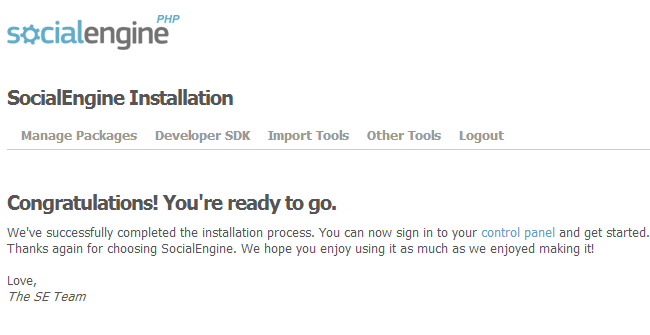
The installation of SocialEngine is now completed. You can proceed to your new website and enjoy!

SocialEngine Hosting
- Free SocialEngine Installation
- 24/7 SocialEngine Support
- Free Domain Transfer
- Hack-free Protection
- Fast SSD Storage
- Free Cloudflare CDN
- Free SocialEngine Transfer
- Immediate Activation