osCommerce Installation via Softaculous
Updated on Dec 10, 2015
This tutorial will review the installation of osCommerce via the Softaculous auto-installer available in cPanel. The process is easy and requires a few clicks for a full completion. We will review all available options for a new osCommerce installation, so you can get a better understanding of that.
To Install osCommerce via Softaculous, you have to:
Access Softaculous in cPanel
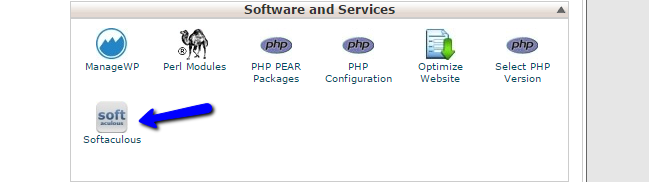
The first step is to access the Softaculous auto-installer. You need to log into your cPanel account and navigate to the Software and Services tab. Click on the Softaculous icon to proceed further.
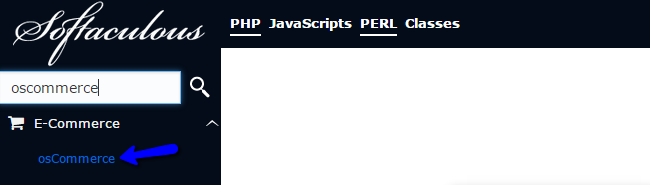
You will be presented with a list of all applications available for installation through Softaculous. They are categorized on the left-side of the screen by their functionality. There is also a search box at the top of this list. Locate it and enter osCommerce in the field, then select the application.
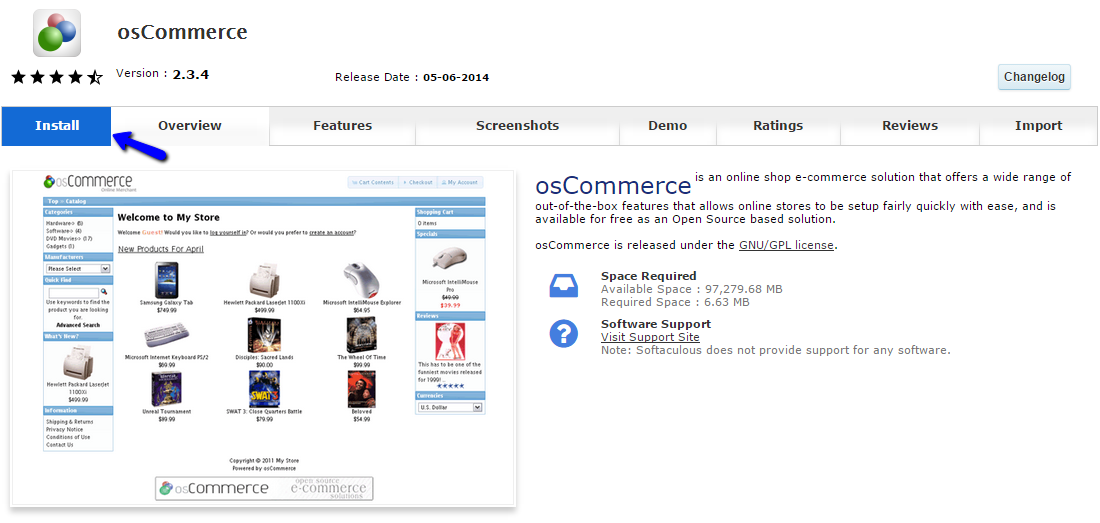
You will be presented with a short description of osCommerce, ratings for it, live demo and more. If you decide that you wish to use it, click on the Install button to proceed further.
Configure the osCommerce Installation
The next step will allow you to set some pre-installation options for your new website. This is important, as it is the basic configuration of osCommerce on your account. Let us review each of the available sections.
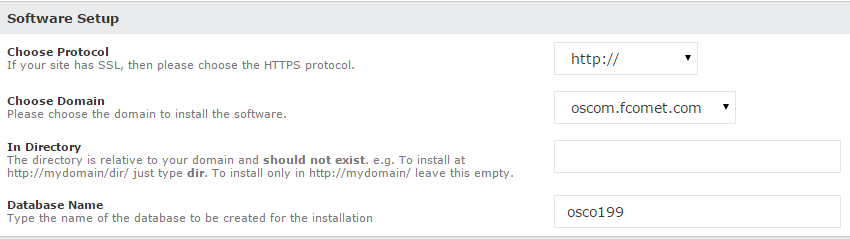
The first section is called the Software Setup. The available options on it are:
- Choose Protocol - Choose the protocol to be used on your website. Do not select the secured HTTPS protocol, if you do not have an active SSL certificate installed on your domain. This is an extra service that you can get via your Client Area/cPanel;
- Choose Domain - Select the domain, where you wish to install osCommerce. If you have any addon or subdomains, you will be able to select them here;
- In Directory - Enter the name of the subfolder, where you wish to install osCommerce. If you do not wish to use a subdomain, simply leave the field blank;
- Database Name -Enter the name of the database for your new website. The system will automatically create it for you.
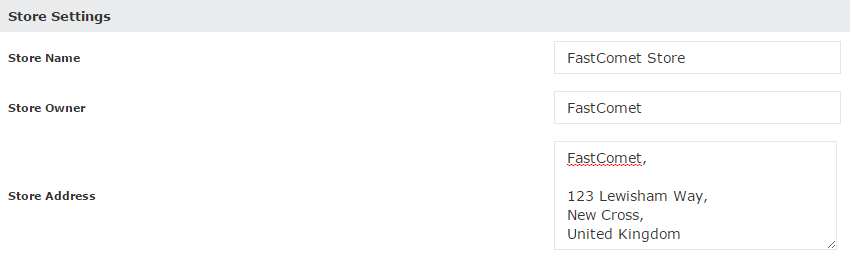
The next section is the Store Settings. The information you can add here is:
- Store Name - Enter the name of your new store;
- Store Owner - Enter the owner of the new store;
- Store Address - Enter the physical address of your store.
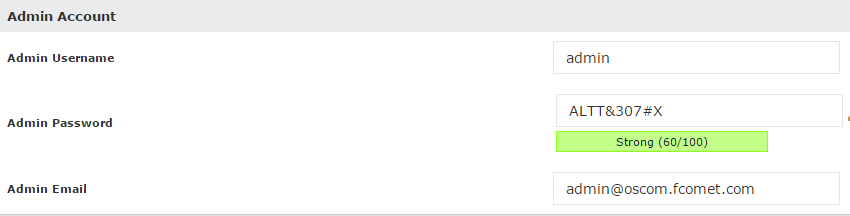
The last section is the Admin Account. It offers the following options:
- Admin Username - The username for the administrative account on your website;
- Admin Password - The password for the administrative user;
- Admin Email - The email account of the admin user. Make sure that you keep this information safe as it will allow you to edit and manage your website once the installation is completed.
When you enter all of the options in the previous step, you can safely proceed with the actual installation process. Click on the Install button below and the system will handle the rest for you.
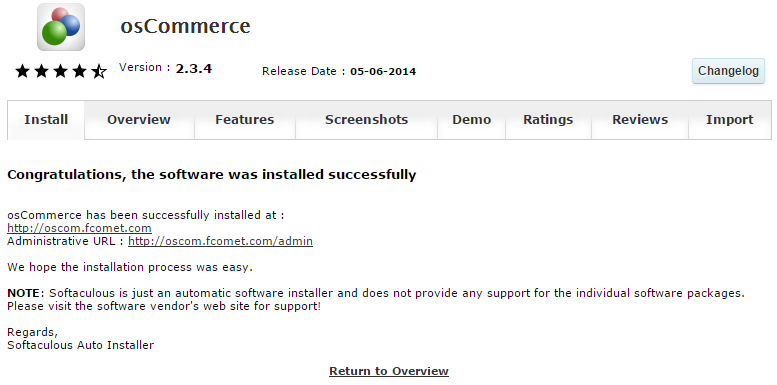
This may take a few seconds and you will be presented with a summary of your new installation.

osCommerce Hosting - free features
- Free Install
- 24/7 Expert Support
- Free Domain Transfer
- Hack-free Protection
- Fast SSD Storage
- Free Transfer
- Free Cloudflare CDN
- Immediate Activation