How to Manage Products in osCommerce
Updated on Dec 10, 2015
In this tutorial, we will follow the steps for adding a product on your osCommerce website. This is one of the most important aspects of your website development, when you create an online store and it is easy to complete.
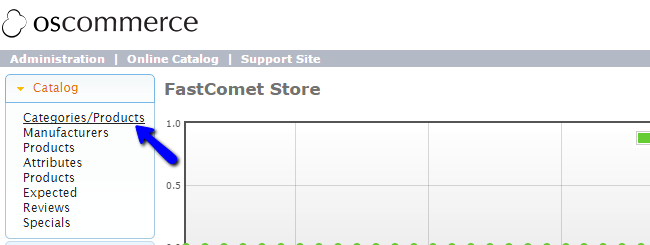
To create a new product on your osCommerce website, you first need to log in as administrator. Click on the Catalog button at the left-side menu and then Categories/Products.
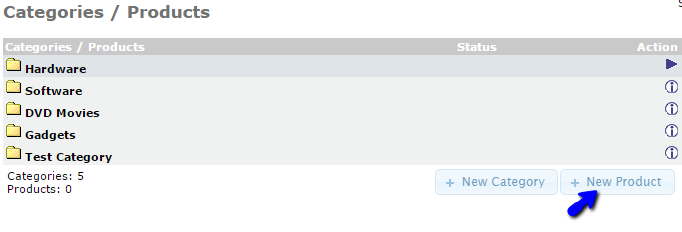
Click on the New Product button to create one.
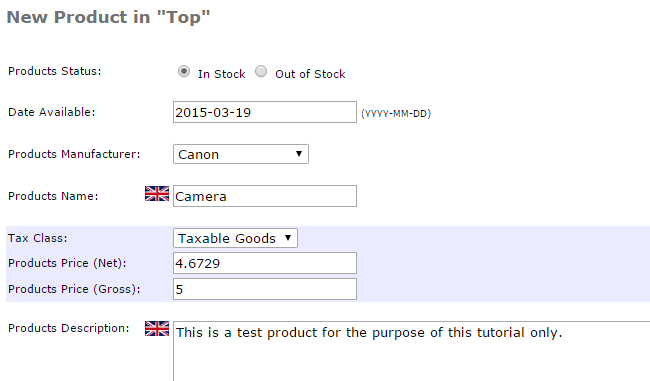
Edit the following details of the new product:
- Product Status - Set the status of the new product;
- Date Available - Set the date when the product will be available on your website;
- Products Manufacturer - Choose the manufacturer of the new product;
- Products Name - Enter the name of the new product;
- Tax Class - Set the tax class for the new product;
- Products Price (Net and Gross) - Set the pricing of the new product;
- Products Quantity - Enter the quantity for the new product;
- Products Model - Enter the model of the new product;
- Products Image - Upload an image for the new product for easier view.
Click on the Save button and the system will automatically create it for you.
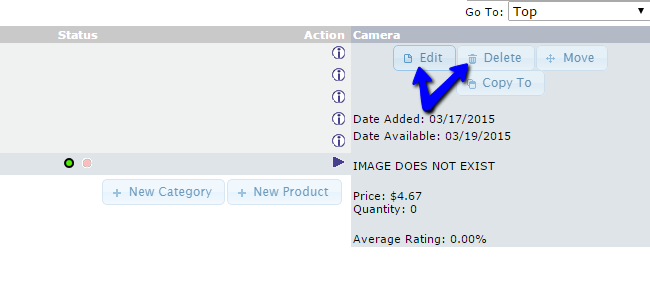
If you wish to edit or delete products from your website, you need to first select them. Then, on the right-side of the screen, you can then click on the Edit or Delete buttons.

osCommerce Hosting - free features
- Free Install
- 24/7 Expert Support
- Free Domain Transfer
- Hack-free Protection
- Fast SSD Storage
- Free Transfer
- Free Cloudflare CDN
- Immediate Activation