How to Manage Banners in osCommerce
Updated on Dec 10, 2015
This tutorial will provide a closer look on how to manage the banners on your osCommerce website. This process is easy and it will allow you to display advertisements on different positions on your website.
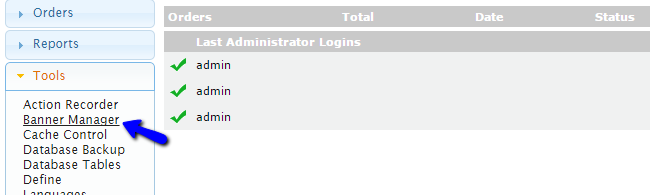
To create a new banner in osCommerce, you need to log in as administrator first. Click on the Tools option from the left-side menu and then Banner Manager.
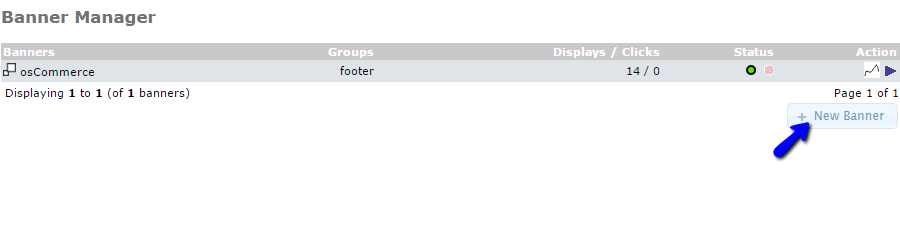
Click on the New Banner button to create one.
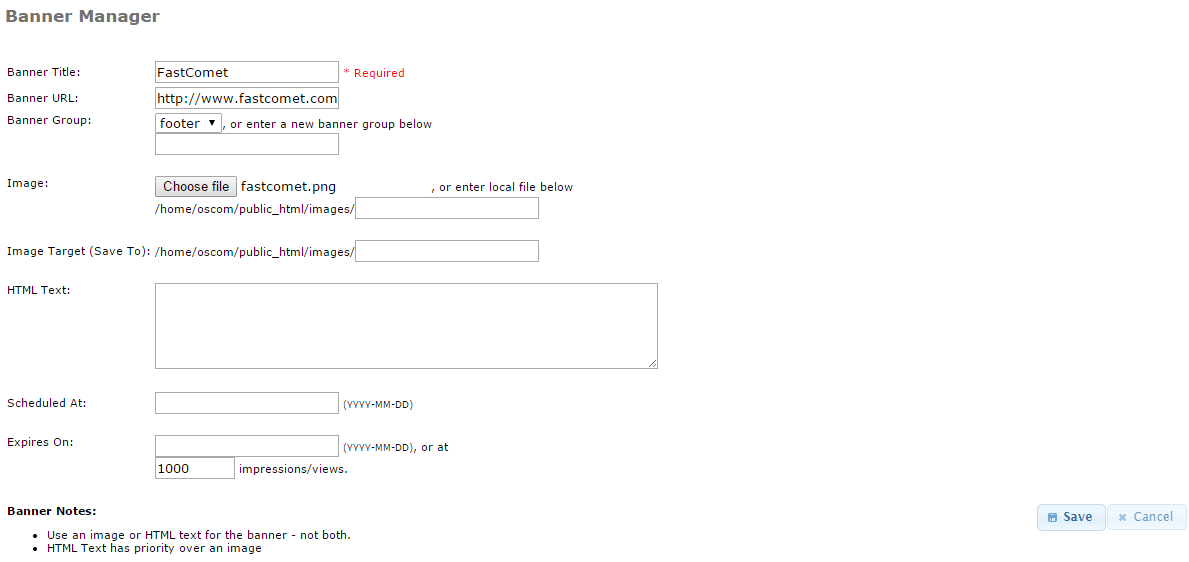
Enter the following details for the new banner on your osCommerce website:
- Banner Title - Enter the name of your new banner;
- Banner URL- Enter the URL, where you will redirect users who click on the banner;
- Banner Group - Select a group for your banner or create a new one. This will make the management of your banners easier;
- Image - Upload an image for your banner, or specify a location on the server, where it is already uploaded;
- Image Target - Specify a location where the banner file will be saved;
- HTML Text - You can enter an HTML text for your banner. Note that this has higher priority than the image;
- Scheduled A - You can specify a start date for your new banner;
- Expires On - You can specify an end date. You can also set a limit for impressions and when those are reached, the banner will be disabled.
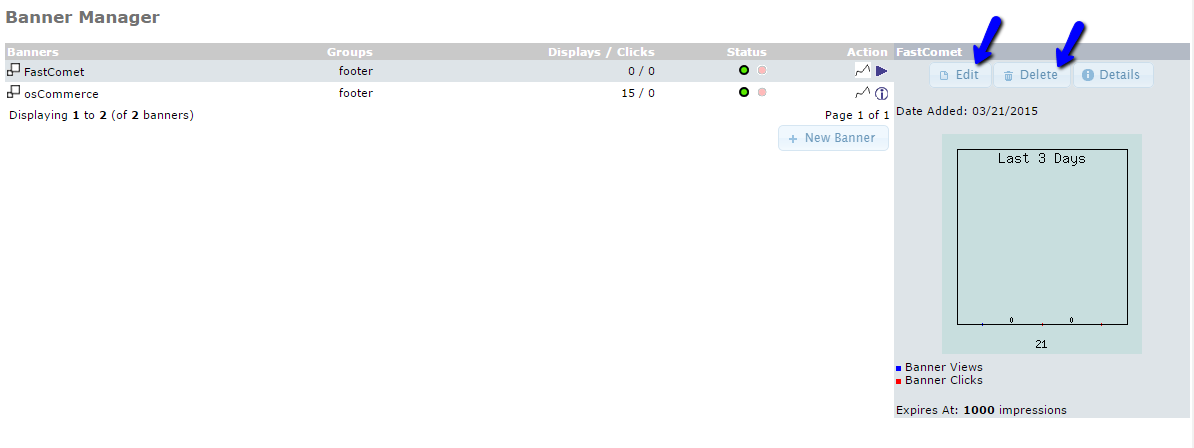
Click on the Save button to keep the changes. You will be taken back to the Banner Manager. If you wish to edit or remove an existing banner on your website, you can simply select it first. Then, click on the Edit or Delete button on the right-side box.

osCommerce Hosting - free features
- Free Install
- 24/7 Expert Support
- Free Domain Transfer
- Hack-free Protection
- Fast SSD Storage
- Free Transfer
- Free Cloudflare CDN
- Immediate Activation