Install Loaded Commerce Manually
Updated on Dec 10, 2015
In this tutorial, we will review the manual installation of Loaded Commerce on your account. The process is easy to complete and we will review the steps for that so you can configure the application per your needs.
Automated Installation
There is an easier way of installing Loaded Commerce on your account. It provides an automated setup of Loaded Commerce via Softaculous.
The steps for a manual Loaded Commerce installation are:
Download Loaded Commerce
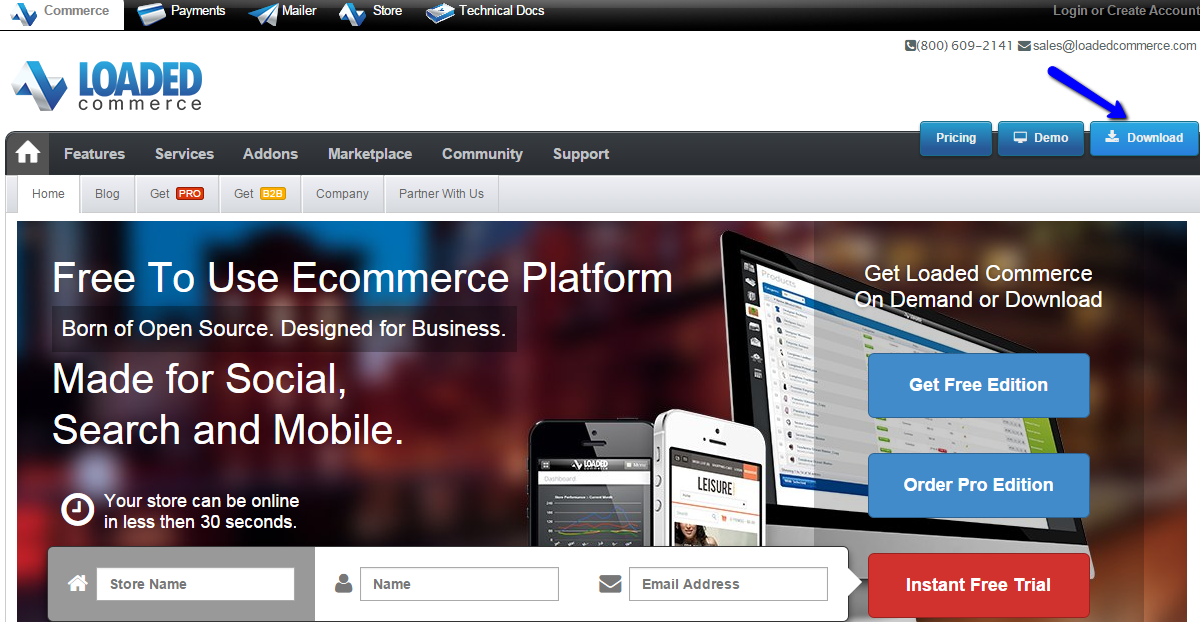
The first step of the process is to download the application. You can do so via the official Loaded Commerce website. Click on the Download button at the top-right section of the screen.
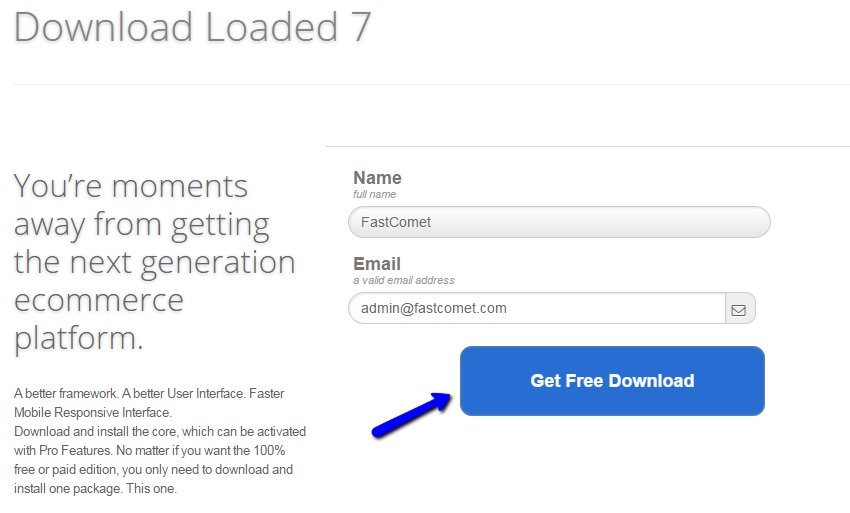
Enter your name and email address and then click on the Get Free Download button to proceed.
Prepare the Loaded Commerce Files
The next step is to prepare the Loaded Commerce files for installation. You need to extract the contents of the archive you have downloaded on your local computer. This will create a loaded7-master/ directory, which includes all of the files that you need for the installation. Within that directory, you will notice another one, which is called catalog/. This directory contains all of the files you need to perform the installation on your account.
The next step is to upload the files of the catalog/ folder to the server. The important thing here is to make sure that you upload them to the exact directory where you wish to install Loaded Commerce. For example, if you wish to install the application on your primary domain, simply upload the files directly to the public_html/ directory of your account.
Upload Files
There are two ways of uploading your files to the server - using an FTP client, following our FTP tutorial, or uploading directly through your cPanel account > File Manager, following our cPanel tutorial.
Initiate the Installation
Up until this moment, you will have a location on your account, which contains the Loaded Commerce files. To initiate the actual installation, you need to access it via your favorite browser. The system will automatically call the installation script for you.
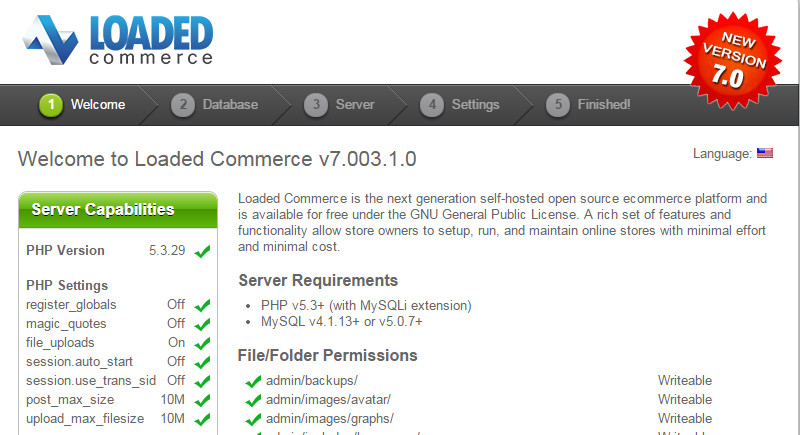
The first step is to perform a system check. This will test if the server meets the requirements of Loaded Commerce, before it can proceed with the installation. FastComet servers are fully optimized for the application so you will not have any issues on this step.
Check the requirements for your information and then click on the New Install button to proceed.
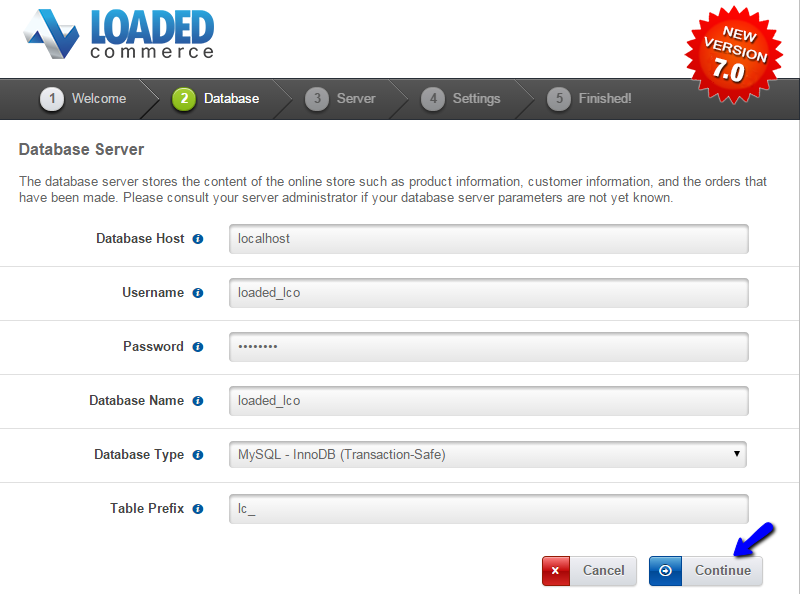
The next step is the Database configuration. You will need to create a new and empty database for your website and a user assigned to it with full privileges.
MariaDB Configuration
You can create a new database and a user assigned to it via cPanel. Simply follow our Database Wizard tutorial for information on that.
When you have your new database ready, you can proceed with the following database options for the new Loaded Commerce installation:
- Database Host - Set this to "localhost" (without the quotes), if your database is located on the same server
- Username - Enter the username assigned to your database;
- Password - Enter the password for it;
- Database Name - Enter the name of the new database you have created above;
- Database Type - Choose the database type you will use for your website;
- Table Prefix - Set a prefix for the tables on your new Loaded Commerce installation.
When you edit these options, click on the Continue button to proceed to the next step.
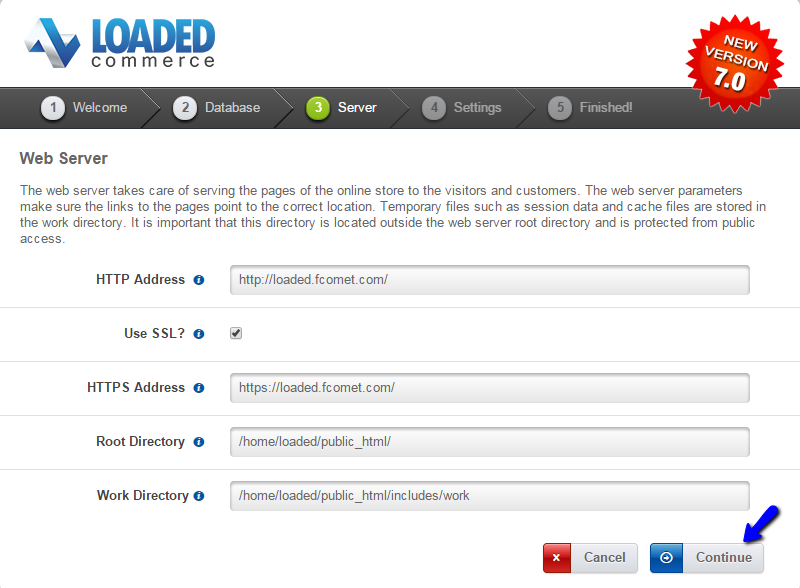
The next step will configure Loaded Commerce on the server. Edit the following options:
- HTTP Address - Enter the URL for your website. This option will be automatically detected by the system;
- Use SSL - Enable this option only if you have a valid SSL certificate installed on your domain by our technicians;
- HTTPS Address - If you use SSL for your website, enter the https address here;
- Root Directory - The directory of your Loaded Commerce installation on the server. The system will automatically detect that for you.
- Work Directory - The work directory of your installation. The system will detect this path for you.
Click on the Continue button to proceed with the installation.
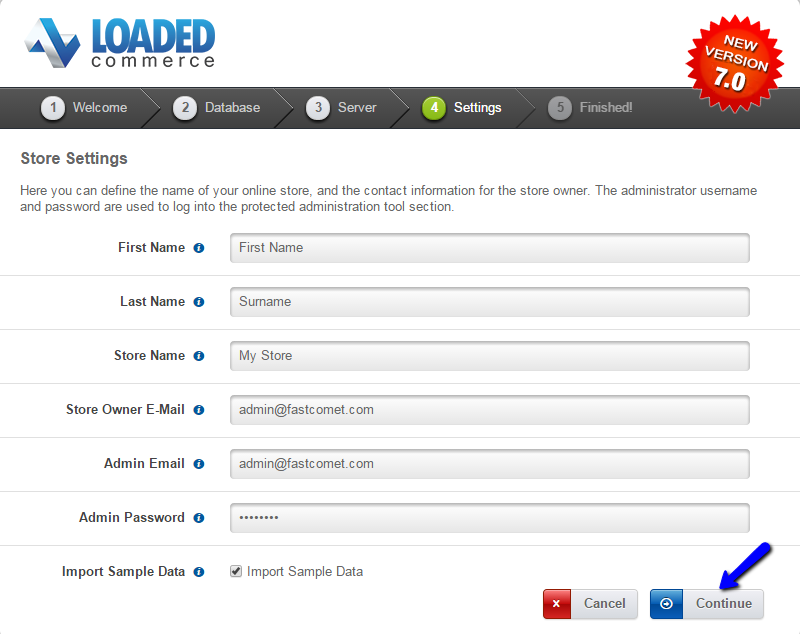
The last configuration step for your new website is the Store Settings. This will create the main administrative account for your new website. The options you can edit are:
- First Name - Enter your first name;
- Last Name - Enter your last name;
- Store Name - Enter the name of your store;
- Store Owner E-Mail - Enter the email address of the store owner;
- Admin Email - Enter the email address of the administrator for your website;
- Admin Password - Enter the password that will be used for the administrator account;
- Import Sample Data - You have the option to import sample data on your website. If you are new to Loaded Commerce, it is recommended to import such data as it will be easier to review the different features of the application.
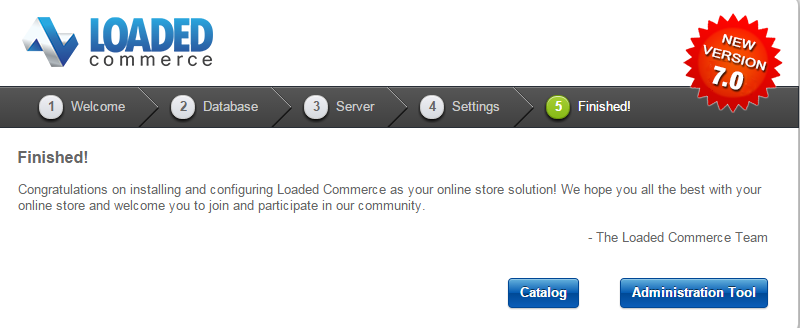
Complete the Installaton
The installation of Loaded Commerce is now successfully completed. The system will display a notification for you, which includes direct links to the front and back end of your new website.

Loaded 7
- Free Installation
- 24/7 Tech Support
- Free Domain Transfer
- Hack-free Protection
- Fast SSD Storage
- Free Cloudflare CDN
- Free Website Transfer
- Immediate Activation