How to Manage User Groups in Loaded 7
Updated on Dec 10, 2015
This tutorial will review the management of user groups in Loaded Commerce. This is a useful feature that will allow you to group different users on your website together, allowing them certain permissions for your website.
There are two types of user groups that you can create. The first one is for the customers on your website and the second is for the administrators of your website. We will review them both so you can get a better understanding of the options they offer.
The User Group Management in Loaded Commerce includes:
Customer User Groups
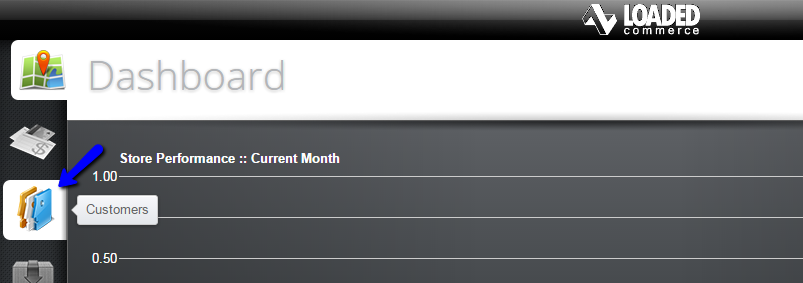
The customer user groups will allow you to provide discount to a number of customers on your website at the same time. This is an excellent feature that allows you to group valued customers together. To create or manage such user groups, you need to access the administrative dashboard of your website first. Click on the Customers tab on the left side menu.
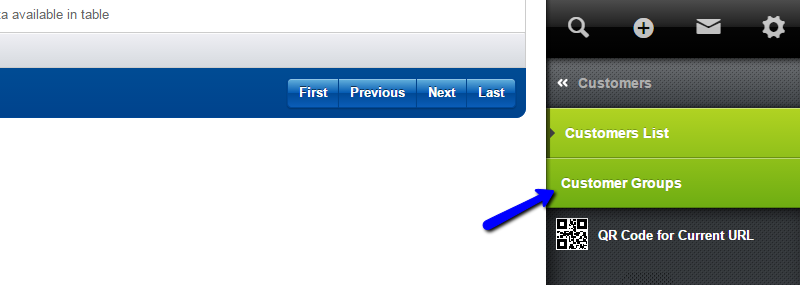
Select the Customers Groups from the menu on the right side of the screen.
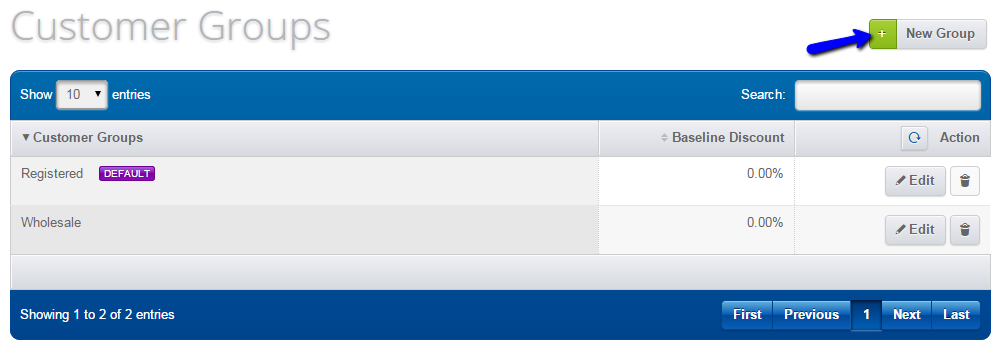
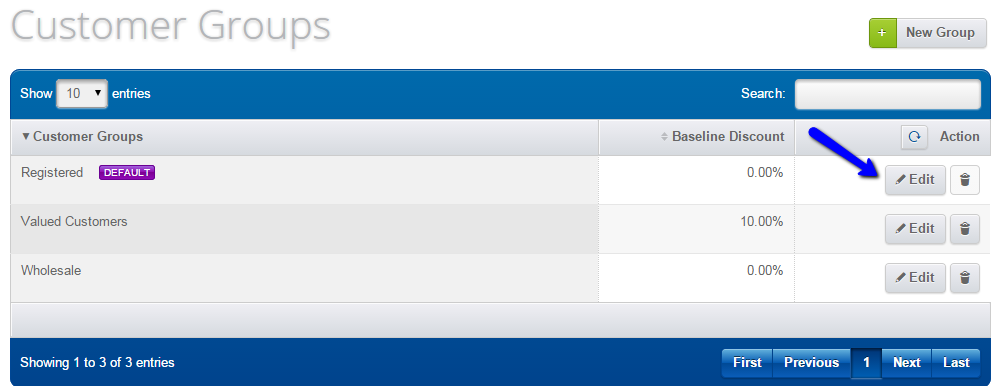
The system will display all of the available customer groups on your website. Click on the New Group button at the top of the screen to create a new one.
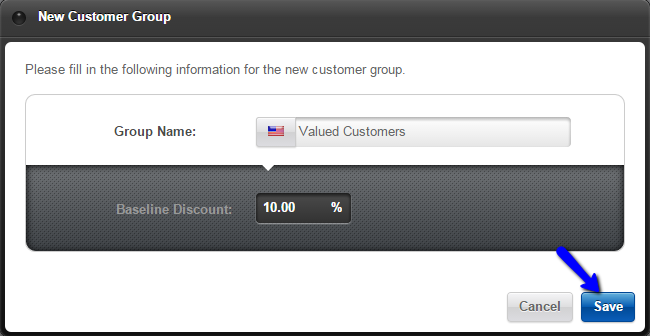
Edit the following details:
- Group Name: Enter the name of the new customer group
- Baseline Discount: Enter a discount for the new customer group
You also have the ability to edit or remove existing customer groups from your website. From the list of available customer groups, you will notice the Edit and Delete options next to each group.
Administrator User Groups
The second user group management feature allows you to create additional administrative accounts on your website. If you have a number of employees that require access to your website for different purposes, you will be able to provide such accounts for them. You will also be able to specify the access/edit rights they have on your website.
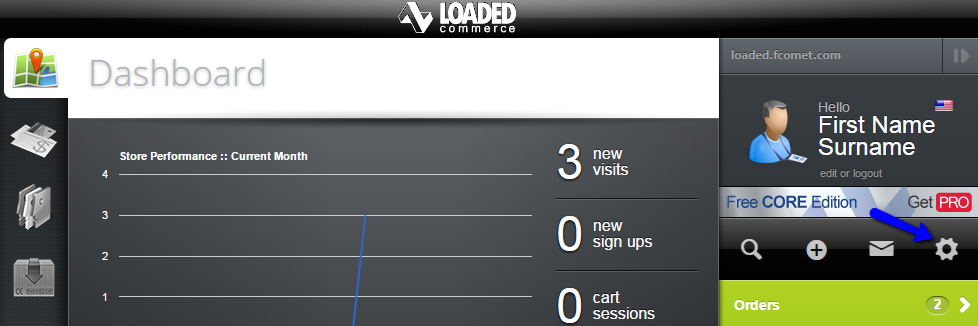
To manage such groups, you need to access the administrative dashboard on your website. Click on the Settings button at the right side menu.
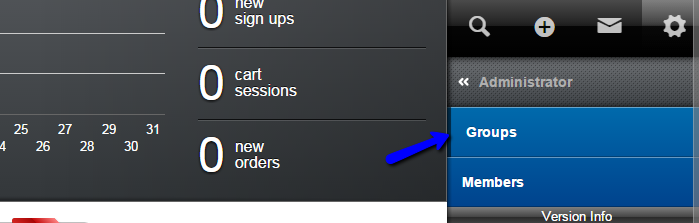
Click on Setup → Administrator and then the Groups option.
To create a new administrative group on your website, simply click on the Add Group button at the top.
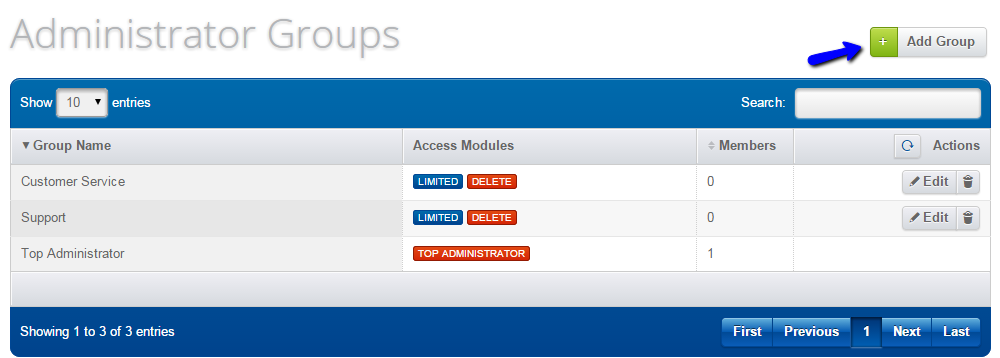
Enter the name of the new user group and specify the permissions it will have on your website.
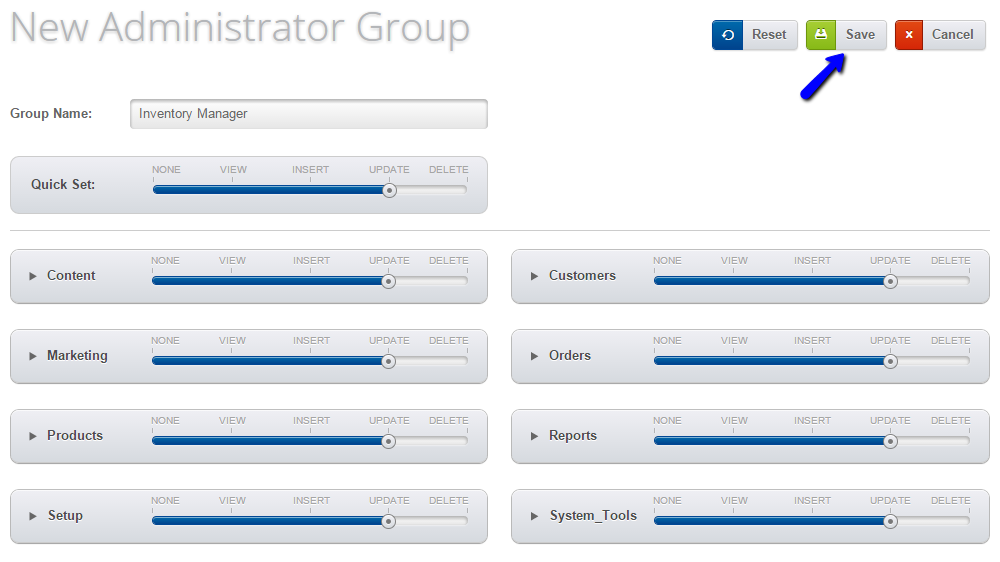
Click on the Save button to keep the changes and create the new user group. This will bring you back to the group manager, which displays the existing administrator groups on your website.
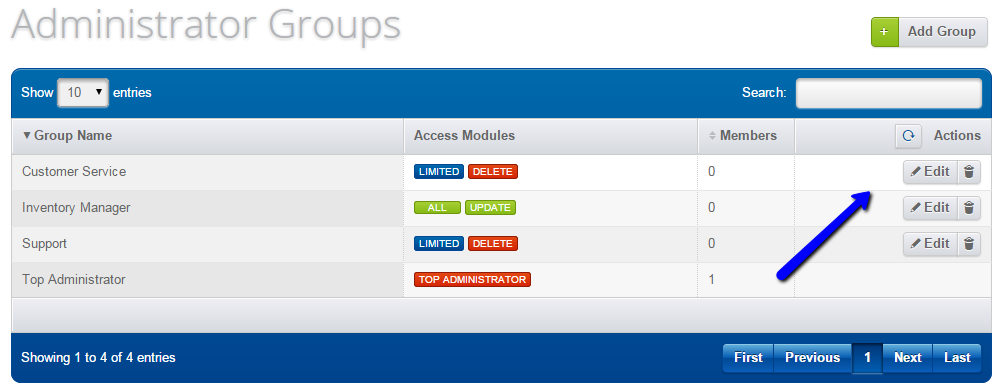
You will be able to Edit or Delete existing groups directly from there.

Loaded 7
- Free Installation
- 24/7 Tech Support
- Free Domain Transfer
- Hack-free Protection
- Fast SSD Storage
- Free Cloudflare CDN
- Free Website Transfer
- Immediate Activation