How to Manage Products in Loaded 7
Updated on Dec 10, 2015
This tutorial will review the products management in Loaded Commerce. This is the most important part, as it will allow you to sell online, using the application.
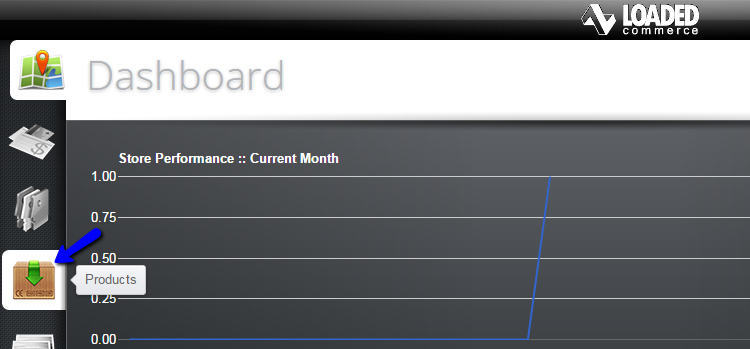
First, you need to access the product manager on your Loaded Commerce website. Simply log in as administrator and click on the Products button from the left side menu.
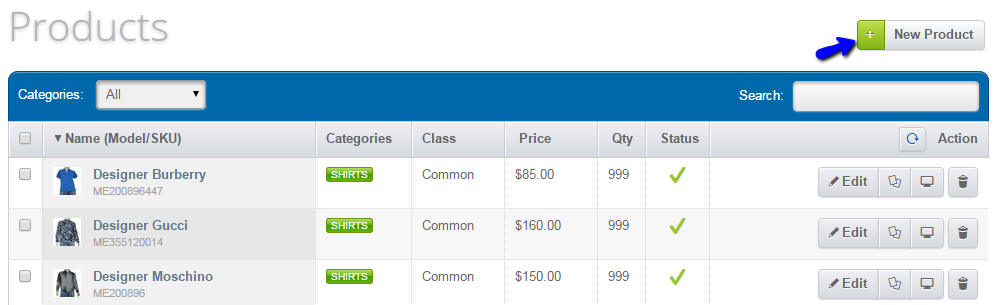
You will see a list of all products available on your website. There is a set of action buttons next to each product, which will allow you to edit, clone or remove products from your website. However, if you wish to create a new one, simply click on the New Product button at the top.
The system will require a lot of information for the new product, to ensure that it is set properly on your website. This is a good feature that allows you to provide as much details for the product as you wish. Edit the following tabs:
- Content - Enter the main details of the new product, such as name, description, URL, etc.;
- Data - Edit the manufacturer of the new product, the model, etc.;
- Options - Edit Product Options, such as a coloer, size, etc.;
- Pricing - Edit the base price of the new product, any discounts for Customer Groups, etc.;
- Shipping - Set up the weight of the new product and the shipping rules for it;
- Relationships - Set the Product Category so you can group it with similar ones.
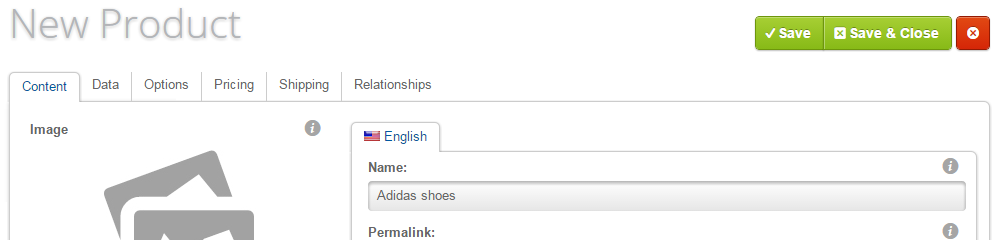
Don't forget to Save when you are done so your product's configuration is preserved.

Loaded 7
- Free Installation
- 24/7 Tech Support
- Free Domain Transfer
- Hack-free Protection
- Fast SSD Storage
- Free Cloudflare CDN
- Free Website Transfer
- Immediate Activation