Setup Ghost General Settings
Updated on Nov 23, 2022
In this tutorial, we will show you how to configure your General Ghost settings, change your Ghost cover and upload your Ghost blog logo.
To access your Ghost General Settings page, please log in to your Ghost Dashboard via httsp://example.com/ghost/ - please change "example.com" with your actual domain name or IP address.
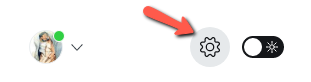
- From the Ghost Dashboard, click on the Settings menu from the bottom left corner navigation:
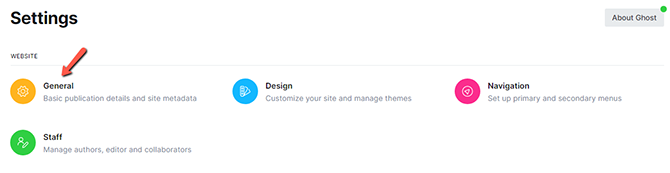
- Click on General Settings:
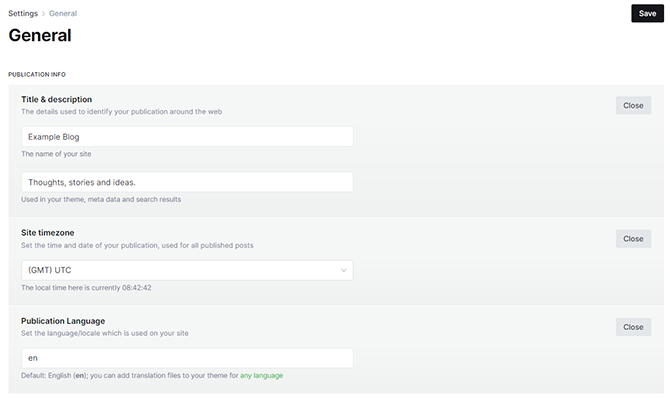
- In the Publication Info section, you can change the Blog Title and your Ghost Blog Description, which are displayed on your Ghost blog frontend. You can also set the Site TimeZone and change the site publication language:
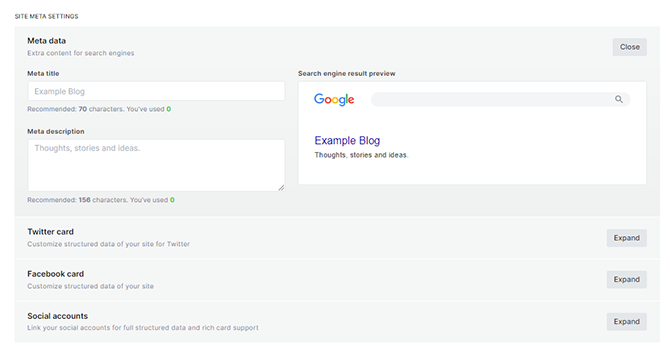
- The next section is for the Site Meta settings. There, you can add Meta Data, a Twitter card, a Facebook card, and other Social accounts:
- In the Advanced settings section, you can choose to make your website private, which means all search engine optimization and social features will be disabled:

Congratulations, you’re one step closer to understanding all the basics when running your Ghost Blog!
On this page...

Ghost Hosting
- Free Ghost Installation
- 24/7 Ghost Support
- Hack-free Protection
- Fast SSD Storage
- Free Domain Transfer
- Free Ghost Transfer
- Immediate Activation
- Free Cloudflare CDN