How to Install CakePHP on Shared Hosting
Updated on Jan 27, 2025
In the ever-evolving world of web development, picking the proper framework for your project is a critical step that should not be taken lightly. If you are looking to start a PHP project, then you have a sea of options, but what if there was one that was as delightful to work with as it is to eat a slice of cake? Enter CakePHP.
The phrase "Eating your cake and having it, too," perfectly encompasses CakePHP's whole design philosophy. It is an open-source PHP framework designed to streamline the development process while adhering to industry best practices. It emphasizes the good and fun parts of development while minimizing the frustrating and repetitive ones.
This post includes:
What is CakePHP?
CakePHP is the perfect framework for web applications, from the simplest blog post websites to complex enterprise solutions. It has many standout features that distinguish it from other PHP frameworks.
- MVC Architecture - CakePHP uses the popular Model-View-Controller architecture to separate the application's logic, user interface, and control flow. That division ensures the code structure is clear, cleanly cut, and offers immense modularity;
- Convention Over Configuration - Using this design principle, CakePHP cuts down on the amount of manual configuration developers must perform. It works by providing sensible defaults and predefined rules instead of requiring developers to define every detail of their application explicitly;
- ORM - Built straight into the framework, Object-Relational Mapping allows developers to manage database records as objects, making CRUD operations much more straightforward;
- Code Generation Tool - CakePHP has its own code generation tool called bake. With it, developers can generate boilerplate code for controllers, models, and views, cutting down on manual coding significantly;
- Built-in Features - The framework also comes with tools and features to facilitate authentication and user authorization, form handling and validation, and data protection;
- Plugins - Because it is a PHP plugin, CakePHP can take advantage of the vast libraries of PHP plugins and modules that exist online;
- RESTful Routing - You do not need any additional setup for REST APIs. CakePHP supports them by default.
These key features make CakePHP the ideal PHP framework for rapid prototyping of web applications, building RESTful APIs for frontend-backend communication, or even enterprise-level applications that demand structured and organized development.
How to Install CakePHP on Shared Hosting?
Before installing CakePHP on your Shared Hosting environment there are several requirements that must be met. Here is what you will need.
- PHP 8.1+
- Composer
- mbstring
- intl
- SimpleXML
- PDO
Because CakePHP can work with databases, you will also need a database engine if you intend to use one.
- MySQL (5.7 or higher)
- MariaDB (10.1 or higher)
- PostgreSQL (9.6 or higher)
- SQLite 3
Our Shared Hosting services cover these requirements, meaning all you need to do is install CakePHP and start developing! You can use two methods: Composer or an application installer such as the Softaculous Apps Installer our services provide. Let us begin with Composer.
Composer
To install CakePHP via Composer, run this command in your terminal of choice. Our customers can use the Terminal tool in their cPanel account to do that.
composer create-project --prefer-dist cakephp/app:~5.0 my_app_name
That will create a my_app_name directory and download the latest version of CakePHP. You can change the directory's name to any you need. Pay attention to the installation, as it will ask if you want it to set the default permissions for the directories.
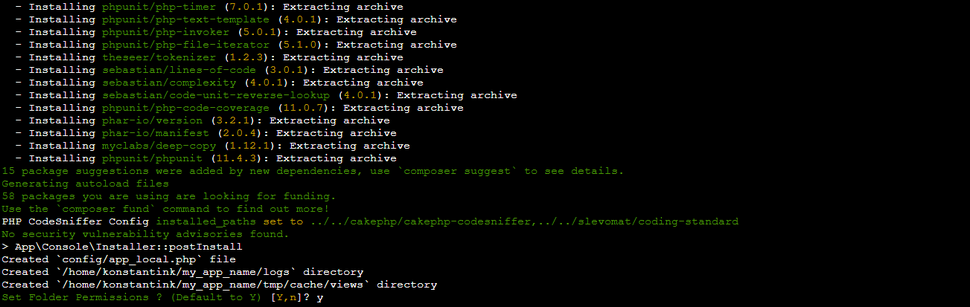
After you make your choice, the installation will conclude, and CakePHP will be successfully installed on your Shared Hosting environment. It's as simple as that!
Softaculous
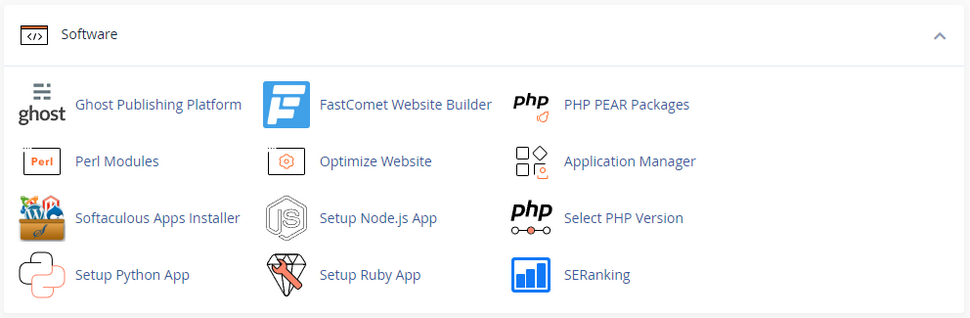
Next, let us take a look at the Softaculous Apps Installer. The process is very straightforward there as well. First, log into your cPanel account with us and locate the installer in the Software section.
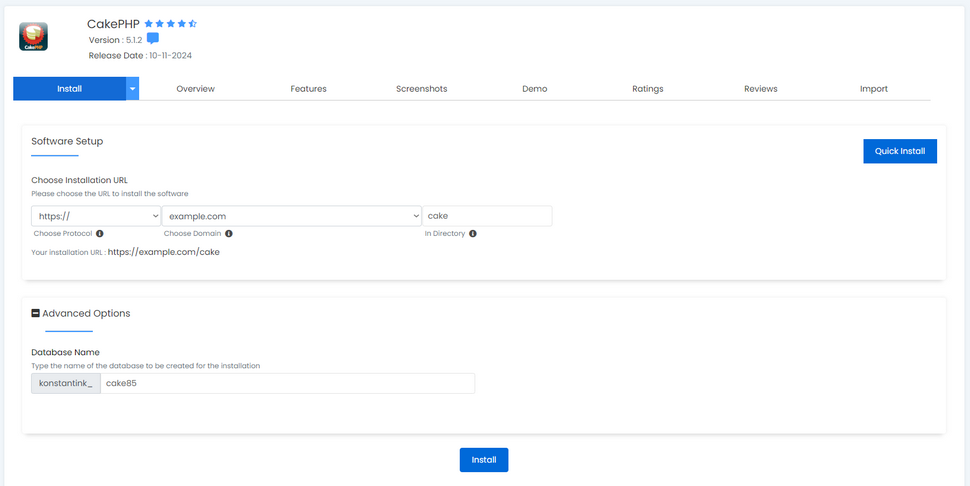
Then, search for CakePHP in the bar on the left and click Install when you find it. You can select the domain and directory you want to install it on. Clicking on Advanced Options allows you to choose the database name. When ready, click Install.
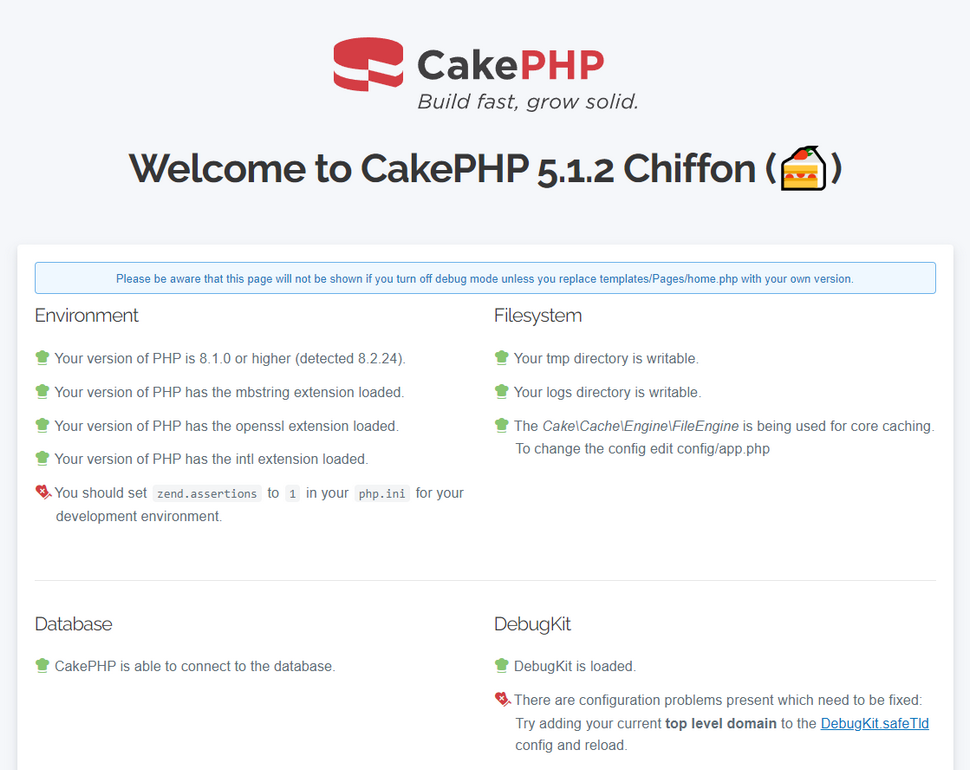
The process will take a few moments, after which you will see this page.
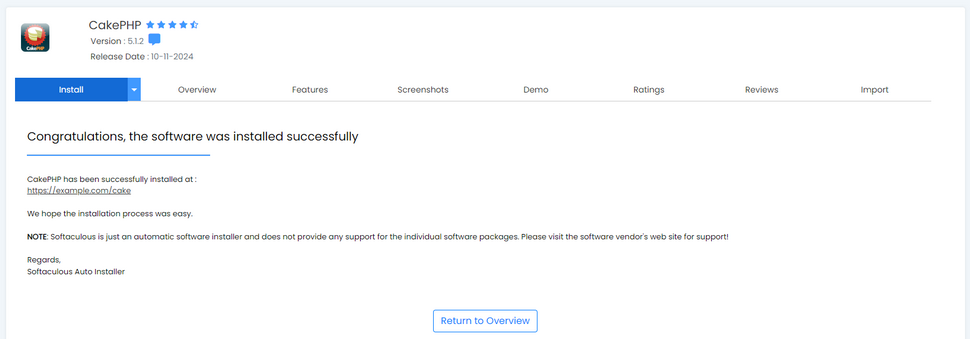
You can click on the URL to go to the default homepage for CakePHP.
There you have it! CakePHP can be installed via two different methods, but they are equally easy and straightforward, and they guarantee that CakePHP will work on your Shared Hosting environment.
Example Application
Now that we know how to install CakePHP on a Shared Hosting environment, we should check that it works with a quick and simple application. We will create a to-do list that you can add entries to, then edit or delete them. This application will show off the MVC structure as we will have to create one of each as well as some basic CRUD operations.
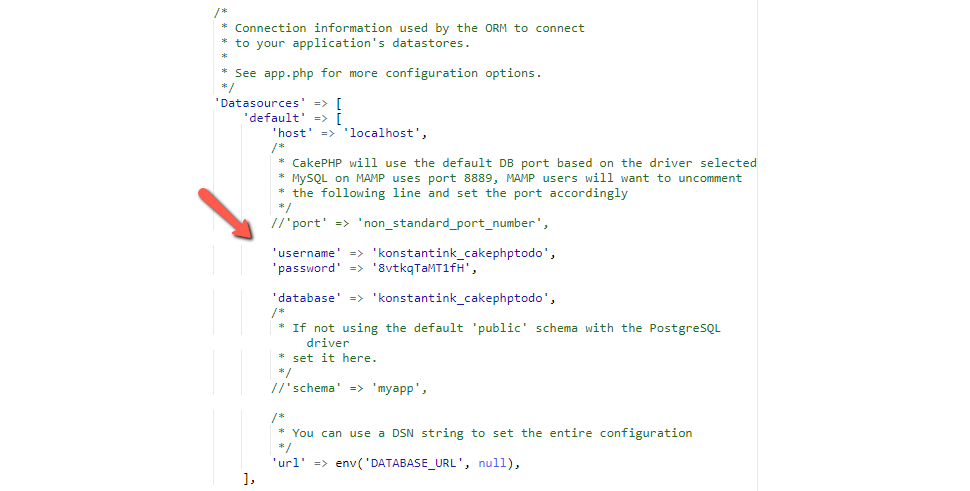
To begin, we have to install CakePHP so go ahead and use one of the two methods we described in the first part of this article. Softaculous will also create a database for you, and add its name, user and password to the application’s configuration. If you choose the terminal and command method you will have to do those yourself. Check our tutorial on how to create a database for further information. Once you have your database (remember to note down the name, user and password), go to your application’s directory and open the config/app_local.php with your preferred method. You can use the File Manager in your cPanel or the terminal. Find the database section and fill in the database, username and password fields.
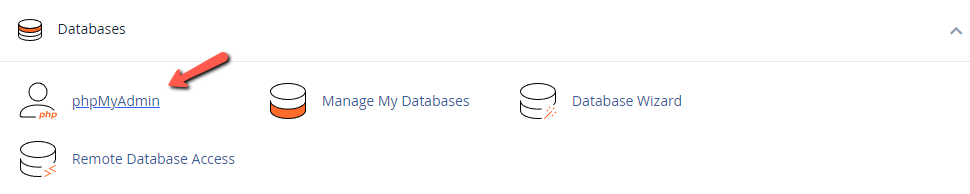
The next step is to add a table to your database. This table will be where our tasks get added and modified. Find the phpMyAdmin tool in cPanel and open it.
Then find your database, click on SQL at the top, add this code to it, and then click Go.
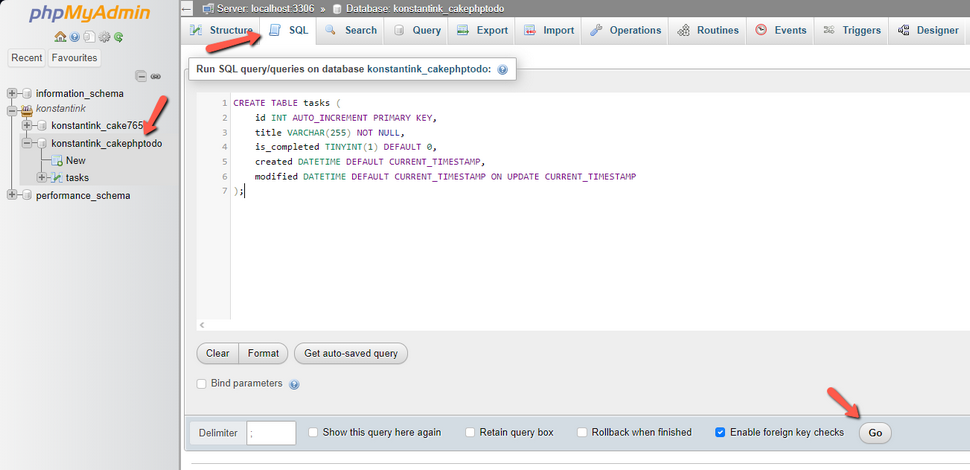
You can then go back to your database and you will see the tasks table in the list. Now that we have a place for our tasks to live, it is time we fill out the skeleton of our application and add all the necessary logic. Fortunately for us, CakePHP makes it as easy as a single command to create a Model, a Controller and a Template (View). Go to your application’s directory and run this command.
bin/cake bake all Tasks
The command will create all the necessary files that we will need to create our application. All that is left is to fill them out. Firstly, head to the src/Controller/TasksController.php file and replace the code you see in it with this instead.
TasksController.php
<?php
declare(strict_types=1);

namespace App\Controller;

class TasksController extends AppController
{
    public function index()
    {
        $tasks = $this->Tasks->find('all');
        $this->set(compact('tasks'));
    }

    public function add()
    {
        $task = $this->Tasks->newEmptyEntity();
        if ($this->request->is('post')) {
            $task = $this->Tasks->patchEntity($task, $this->request->getData());
            if ($this->Tasks->save($task)) {
                $this->Flash->success(__('The task has been saved.'));
                return $this->redirect(['action' => 'index']);
            }
            $this->Flash->error(__('Unable to add your task.'));
        }
        $this->set('task', $task);
    }

    public function edit($id = null)
    {
        $task = $this->Tasks->get($id);
        if ($this->request->is(['post', 'put'])) {
            $task = $this->Tasks->patchEntity($task, $this->request->getData());
            if ($this->Tasks->save($task)) {
                $this->Flash->success(__('The task has been updated.'));
                return $this->redirect(['action' => 'index']);
            }
            $this->Flash->error(__('Unable to update your task.'));
        }
        $this->set('task', $task);
    }

    public function delete($id = null)
    {
        $this->request->allowMethod(['post', 'delete']);
        $task = $this->Tasks->get($id);
        if ($this->Tasks->delete($task)) {
            $this->Flash->success(__('The task has been deleted.'));
        } else {
            $this->Flash->error(__('Unable to delete the task.'));
        }
        return $this->redirect(['action' => 'index']);
    }
}
Then, time to edit the frontend of the application which will round out the process. The first file is templates/Tasks/index.php. Replace the code in it with this.
index.php
<h1>To-Do List</h1>
<?= $this->Html->link('Add Task', ['action' => 'add'], ['class' => 'button']) ?>
<table>
<thead>
<tr>
<th>Title</th>
<th>Completed</th>
<th>Actions</th>
</tr>
</thead>
<tbody>
<?php foreach ($tasks as $task): ?>
<tr>
<td><?= h($task->title) ?></td>
<td><?= $task->is_completed ? 'Yes' : 'No' ?></td>
<td>
<?= $this->Html->link('Edit', ['action' => 'edit', $task->id]) ?>
<?= $this->Form->postLink('Delete', ['action' => 'delete', $task->id], ['confirm' => 'Are you sure?']) ?>
</td>
</tr>
<?php endforeach; ?>
</tbody>
</table>
Finally, the templates/Tasks/add.php and templates/Tasks/edit.php files will have the same code in it. Open them each and replace their content with this.
add.php and edit.php
<h1><?= $task->isNew() ? 'Add Task' : 'Edit Task' ?></h1>
<?= $this->Form->create($task) ?>
<?= $this->Form->control('title', ['label' => 'Task Title']) ?>
<?= $this->Form->control('is_completed', ['type' => 'checkbox']) ?>
<?= $this->Form->button(__('Submit')) ?>
<?= $this->Form->end() ?>
There you have it. The application is ready for testing so head to the domain you installed the application on and add /tasks to the end of it (example.com/tasks).
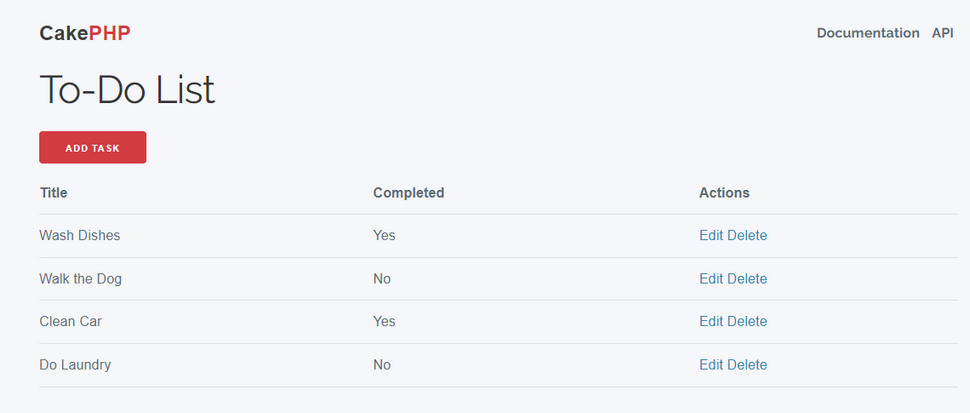
You will be able to add tasks, edit them, mark them as completed and also delete them. This application is not only practical but also shows that CakePHP works perfectly fine on a Shared Hosting environment.
We hope you find this article useful. Discover more about FastCloud - the top-rated Hosting Solutions for personal and small business websites in four consecutive years by the HostAdvice Community!

SSD Cloud Hosting
- Free Domain Transfer
- 24/7 Technical Support
- Fast SSD Storage
- Hack-free Protection
- Free Script Installation
- Free Website Transfer
- Free Cloudflare CDN
- Immediate Activation