How to install SilverStripe via Softaculous
Updated on Dec 10, 2015
This tutorial will show the steps for a Softaculous automated installation of SilverStripe. The actual process is quite easy and it will allow you to install the script within a few minutes.
To Install SilverStripe via Softaculous, you will need to:
Access Softaculous
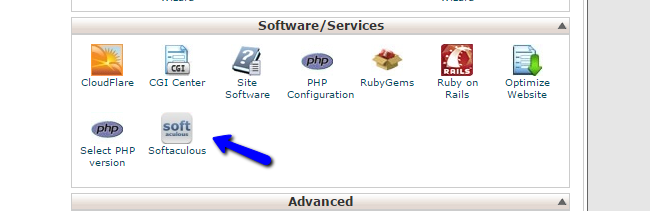
First and foremost, you need to access the Softaculous service within your cPanel account. FastComet allows the use of Softaculous on all shared hosting plans and at no additional cost.
You need to log into your cPanelaccount and then navigate to the Software/Services section in it. Locate the Softaculous icon and click on it to proceed further.
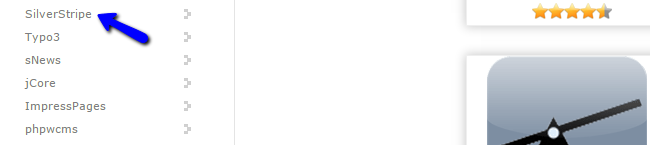
The next step is to locate the script that you would like to install on your account. Softaculous provides 250+ available scripts for easy and automated installation and they are categorized by their functionality. The categories are located on the left-side of the screen, which will make things easier to review. You can find SilverStripe in the Portals/CMS section.
Setup the Installation
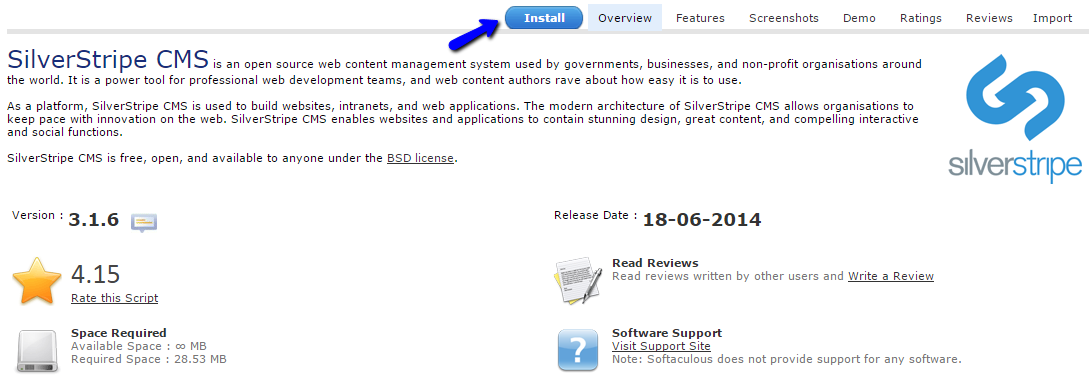
Once you select SilverStripe from the list of available scripts, you will be taken to a brief description of the product. Here, you can see what the script is actually built for, review a Live Demo, Screenshots, Raings, Reviews and much more. This will help you decide if you really want to use SilverStripe for your website. IF you do, simply click on the Install button to proceed.
The next step of the SilverStripe installation through Softaculous is the most important one. The reason behind that is the large number of different options for the new installation. Those options will allow you to configure the new website per your exact needs.
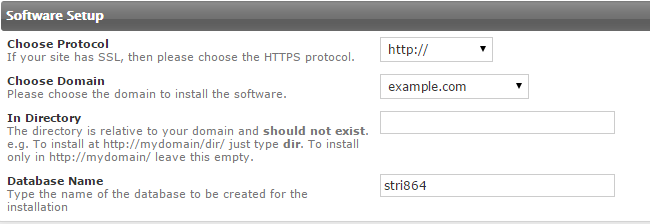
The first section is called Software Setup and it is regarding the actual configuration of your new website.
- Choose Protocol - You need to choose the protocol for your website. NOTE: Do not choose the https protocol if you do not have SSL certificate installed on your domain by the FastComet technical support team. This is a paid service that you can get from within your Client Area.
- Choose Domain - The domain that you will be using for your installation. If you have any addon or subdomains on your account, you will be able to choose any of them here. If not, only the primary domain name of your account will be visible.
- In Directory -This will specify if you would like to set your installation in a subfolder on your account or the root of your domain name, selected above. If you want to install SilverStripe into the root directory of your domain name, leave this field blank.
- Database Name -Choose the name of the database for your SilverStripe installation. The system will create it for you automatically and assign a user with appropriate permissions to the database.
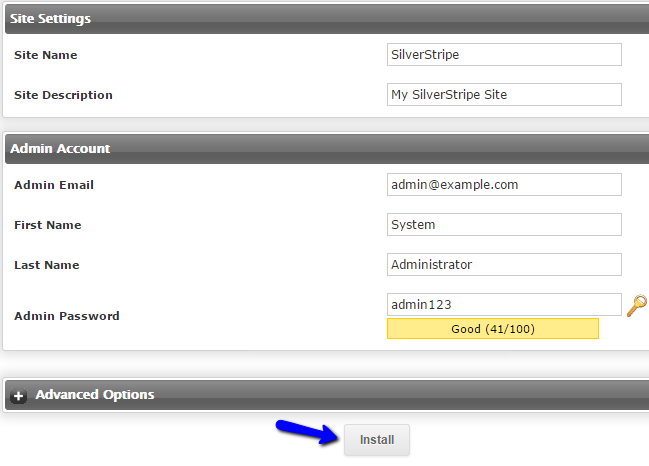
- Site Settings -The name of your new website and a description for it.
- Admin Account - Set the root access for the administrative area of your new website. From there, you will be able to manipulate your new CMS system and build it per your needs.
The SilverStripe installation via Softaculous is now completed successfully.
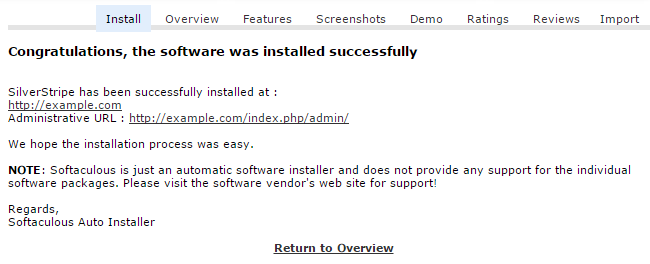
You can take a note of the main URL for your new website and start building your new system using FastComet as a hosting provider. Enjoy!

SilverStripe Hosting
- Free Installation
- 24/7 Support
- Free Domain Transfer
- Hack-free Protection
- Fast SSD Storage
- Free Transfer
- Free Cloudflare CDN
- Immediate Activation