How to install Concrete5 manually
Updated on Dec 10, 2015
We will review the steps for a manual installation of Concrete5 on your account. The different steps of the process are quite straight forward and we will review them all so you can get a better understanding on how to install the script on your FastComet account.
To install Concrete5 manually, follow these steps:
Download Concrete5 and Prepare the Files
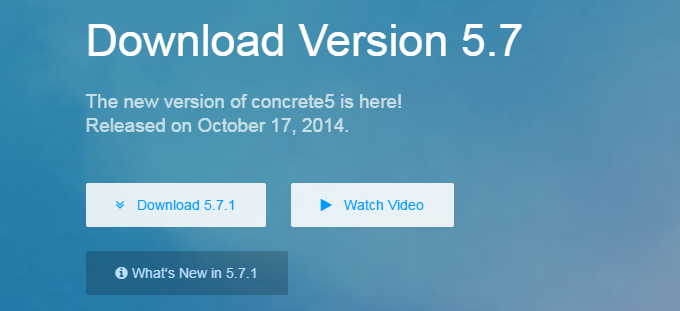
The first step is to download the latest stable release of Concrete5. You can complete that via the official Concrete5 website. The link will lead to the download page of the product and you can simply click on the Download button for the latest release. This will guarantee that you stay up-to-date with the latest Concrete5 improvements.
Now, you can easily proceed further with the upload of the Concrete5 files to your account on the server. If you wish to install the script and access it directly using your domain name, you can simply upload the files to the public_html/ directory of your account. However, if you wish to install Concrete5 in a subfolder, you will first have to create it in the public_html/ directory and then upload your Concrete5 files to it.
Then, it is important to perform an upload check and see if all of the files are present on your account and within the exact location, where you would like to install it.
Configure and Complete the Installation
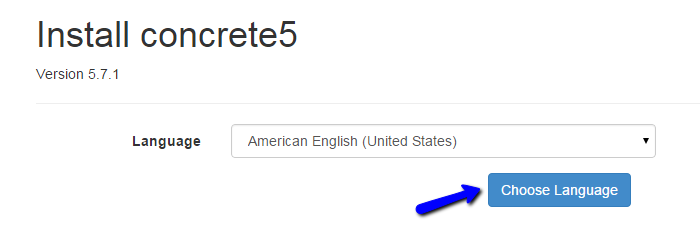
The first step of the process is to choose the language for the installation process. Select the one that you wish to use and click on Choose Language to proceed further.
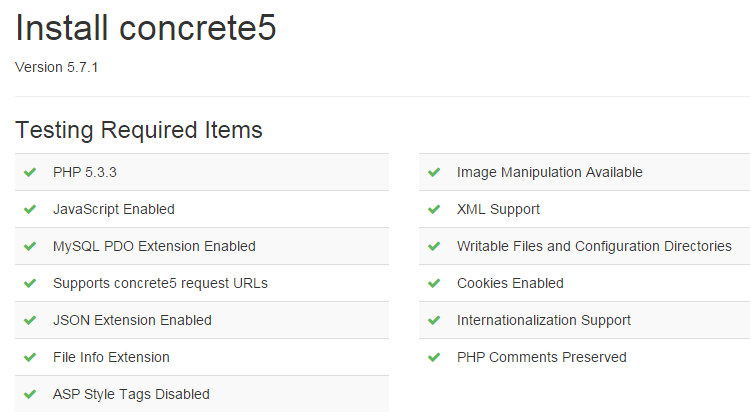
Next, the system will test if the hosting environment is optimized for a Concrete5 installation. Our servers meet all of the requirements for the application so you can simply click on the Continue to Installation button to proceed.
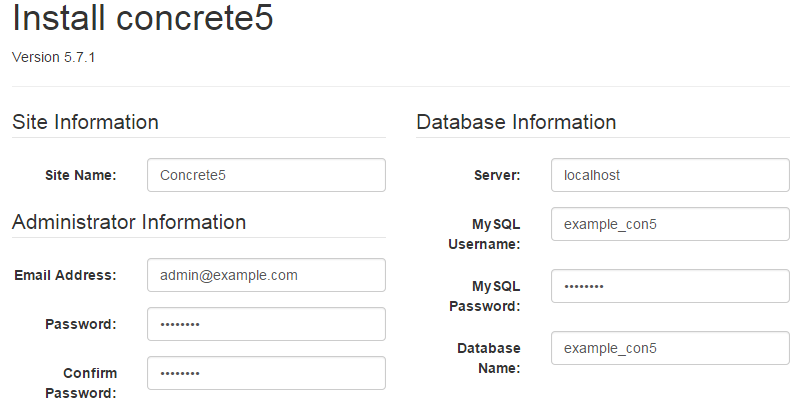
The next step will request more information on the new website and how it should be configured. The fields that you need to edit are:
- Site Information - Enter the name of your new website.
- Administrator Information - Enter the email address and the password for the administrative user on your new website. It will be used for the management of your new Concrete5 installation so keep them carefully.
- Database Information - Enter the hostname of the server (usually "localhost" if your database is stored on the same server as your Concrete5 installation). the new database to be used, the user assigned to it and the password.
MariaDB Configuration
You can create a new database and a user assigned to it via cPanel. Simply follow our Database Wizard tutorial for information on that.
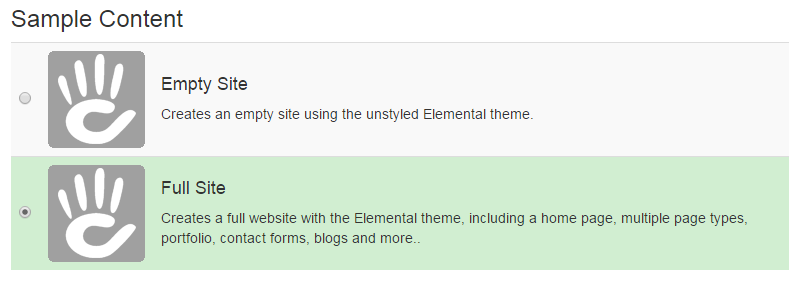
- Sample Content - Choose if you wish to have sample data on your website or an empty installation. As the message says, if you are a beginner to the use of Concrete5, it is best to choose the Sample Data option.
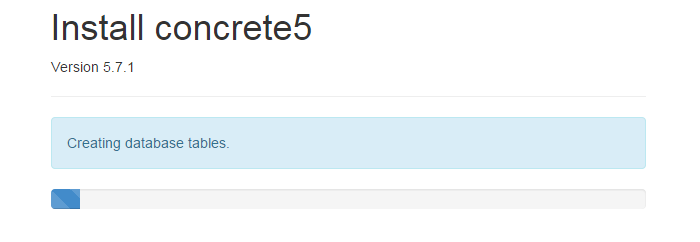
Once ready, click on the Install Concrete5 button to proceed. The system will automatically initiate the actual installation on the server and display a progress bar for this process.
Congratulations! The installation process is now completed and you will be presented with a message notifying you about that.
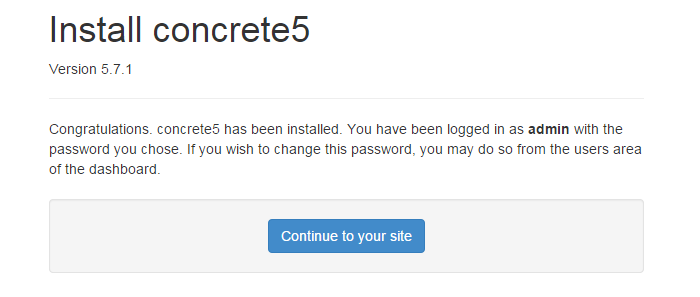
Click on the Continue to your site button to access your new Concrete5 website.

Concrete5 Hosting
- Free Installation
- 24/7 Support
- Free Domain Transfer
- Hack-free Protection
- Fast SSD Storage
- Free Transfer
- Free Cloudflare CDN
- Immediate Activation