How to install OSSN via Softaculous
Updated on Dec 10, 2015
The easiest way to install Opensource-Socialnetwork is via the Softaculous auto-installer. Softaculous is an application installer available in the cPanel control panel on all Opensource-Socialnetwork Hosting plans, which allows you to browser, review and install more than 150 open-source applications in just a few clicks. This is a great tool which not only provides an easy-to-use user interface but also can save you a lot of time by automating most of the steps required for a successful OSSN installation.
Start a OSSN website in just 3 minutes:
To help you get started with OSSN our Technical Support team provides Free OSSN Installation.
- Free OSSN Installation by our Support Team
- Free Domain Name for Life
- 24/7 Technical Support team
- Optimized SSD OSSN Hosting
- Fast and Secure Servers
The OSSN installation via Softaculous includes the following steps:
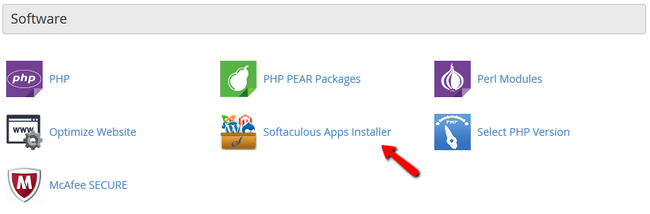
Step 1 Locate the Softaculous Auto-Installer in cPanel
To access your Softaculous auto-installer simply login in your cPanel and navigate to the “Software” section and click on the Softaculous Apps Installer icon.
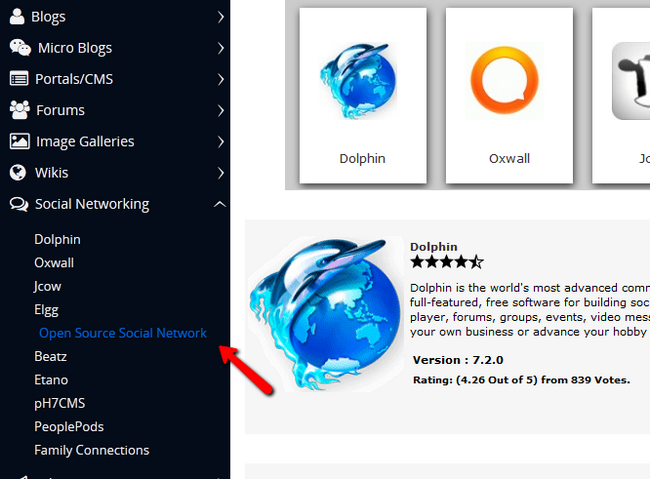
On the next page you will be referred to the Softaculous OpenSource catalog. From there you should navigate to the „Social Networking” section from the menu on the left and click on Magento.
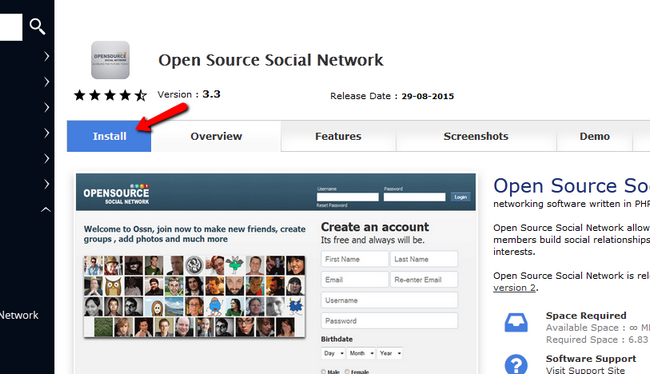
From the Open Source Social Network (OSSN) page you can Install, review the OSSN features, read reviews and ratings or check the demo. In this tutorial we will proceed with the installation process by clicking on the Install button.
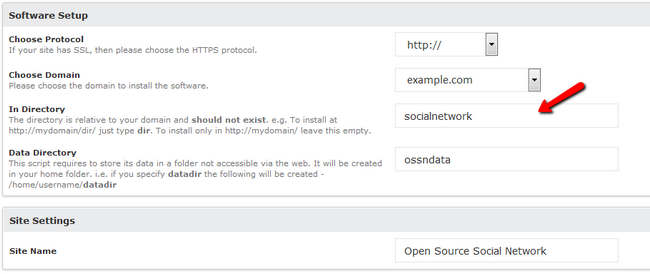
Step 2 Configure OSSN Installation Settings
First need to specify the protocol. In case you do not have a SSL certificate purchased and installed yet, you should leave this option to http://.
HTTP vs HTTPS
Installing your OSSN application for the https:// protocol, without having a valid SSL certificate, might affect your website accessibility or result in security warnings. If you need a hosting solution with SSL certificate to secure your store, you may review our Opensource-Socialnetwork Hosting plans.
The next option allows you to choose the domain name for which your OSSN will be installed. In case you have any addon domain or a subdomain on which you would like to have your social network configured, please select it via the drop down menu.
The last option you need to configure here is the name of the directory under which you would like to have your Open Source Social Network installed. If you would like to have your social network accessible directly via your domain name (ex: http://example.com) then you should leave this box empty. In case you would like to have your OSSN accessible via any subdirectory (ex: http://example.com/socialnetwork/), please fill in your directory name.
Step 3 Complete OSSN Installation Process
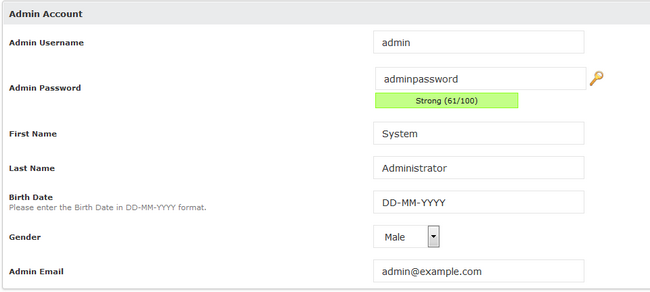
At the bottom of the page you need to configure your OSSN Administrative username and password. This will be the account name and password required to login the OSSN Admin Dashboard panel via which you can configure your social network later. Please fill in your preferences and click the "Install" button.
After clicking Install a progress bar which appear to help you track the installation process. In a few seconds your Open Source Social Network installation should be completed and you will be provided with links to both your OSSN website and admin dashboard.
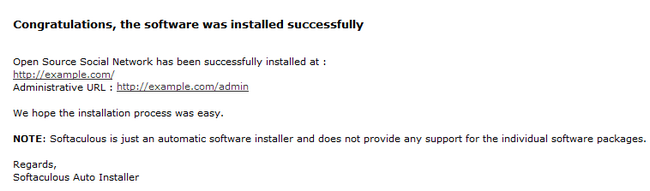
Congratulations, you have successfully installed Open Source Social Network on your hosting account.

OSSN Hosting
- Free Installation
- 24/7 Support
- Free Domain Transfer
- Hack-free Protection
- Fast SSD Storage
- Free OSSN Transfer
- Free Cloudflare CDN
- Immediate Activation