Configure the Basic Information in SuiteCRM
Updated on Mar 13, 2019
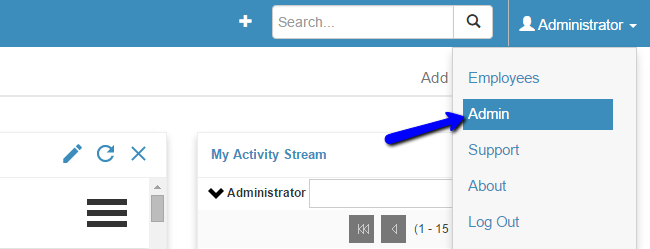
This tutorial will review the basic configuration of SuiteCRM and how to set your website per your needs. For this purpose, you first need to log into your website as administrator. Click on the Administrator button at the top-right corner of the screen and then the Admin option.
In the System tab, click on the System Settings option to proceed with the configuration.
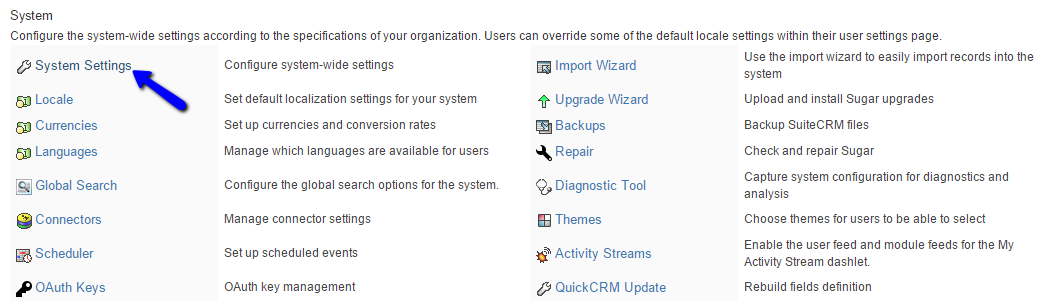
There are a few sections with different configuration options for your SuiteCRM. They are:
- User Interface - You can specify the look and feel of the basic SuiteCRM features. You can set a name for your website and upload a logo as well
- Proxy Settings - You can configure a proxy service for your website
- SkypeOut - You can enable a SkypeOut integration on your SuiteCRM website
- Advanced - Advanced configuration options for your website. In most cases, those options will enable different statistics for your website, but they will also slow it down
- Logger Settings - Configure logging of system messages on your website
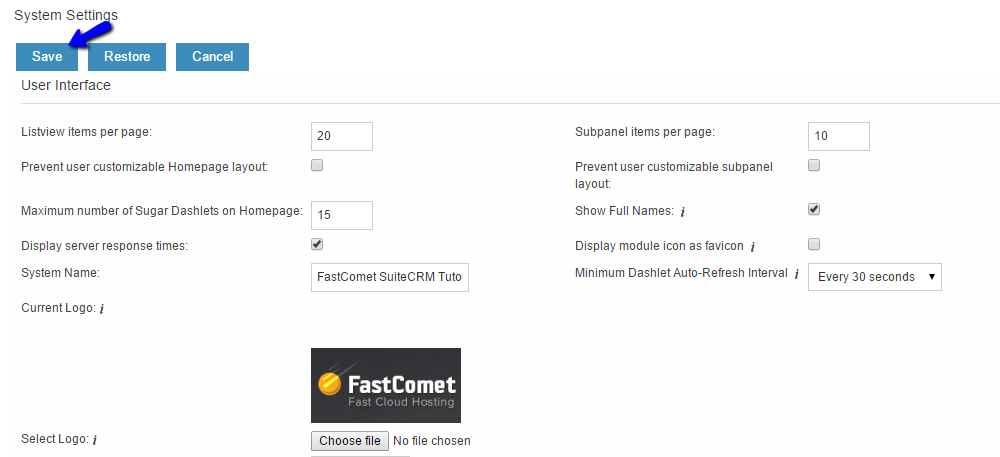
When ready, simply click on the Save button at the top to keep the changes.
On this page...

SuiteCRM Hosting
- Free Installation
- 24/7 SuiteCRM Support
- Free Domain Transfer
- Hack-free Protection
- Fast SSD Storage
- Free SuiteCRM Transfer
- Free Cloudflare CDN
- Immediate Activation