Installing Pimcore using Softaculous
Updated on Mar 13, 2019
Pimcore is also included in the Softaculous autoinstaller which we are providing on all of the packages we are offering. Softaculous is an easy to use autoinstaller which will allow you with few clicks and configuration options to install fast and secure any opensource application you would like to.
To complete the Pimcore Installation, please follow these steps:
Access Softaculous and locate Pimcore
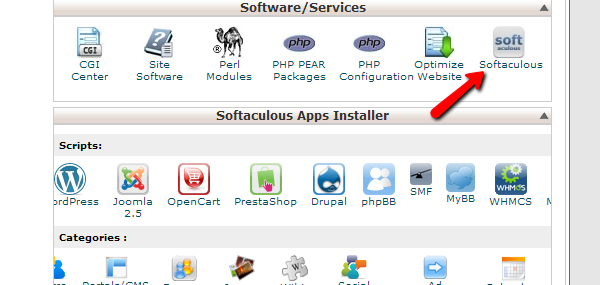
In order to access the Softaculous application you will need to login into the cPanel service we are providing you with and to find the Softaculous icon under the Software/Services section.
Once you access Softaculous you will need to find the Pimcore application. There are two possible ways of doing so. The first one is if you simply expand the CMS category with applications from the left vertical category list.
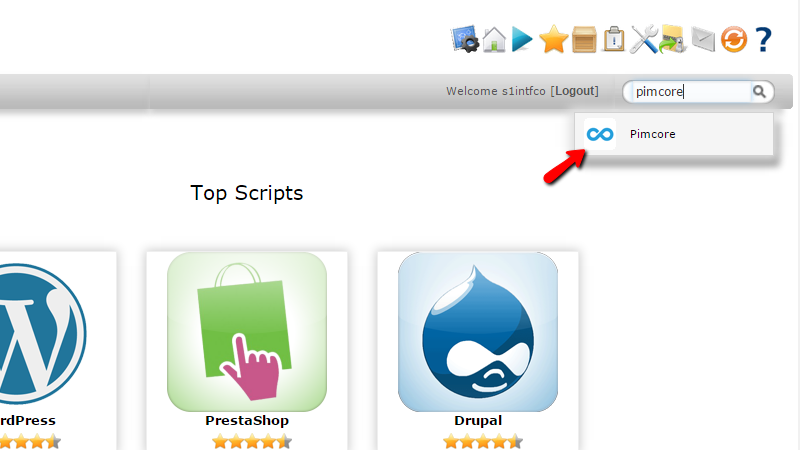
The second and the faster one is to simply put Pimcore in the search box provided in the upper right corner of the Softaculous application.
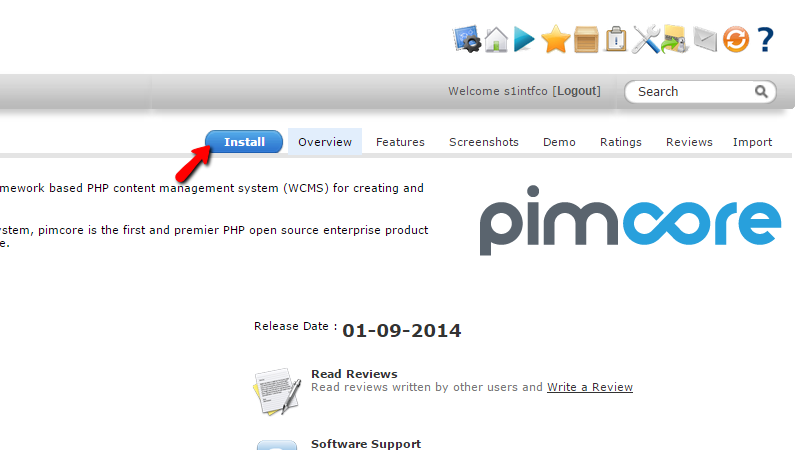
This action will send you to the Overview page for the Pimcore application where you will be also presented with some additional information about the script and about the installations of the same script on your account if of course you have any other instances of the same application.
Configure the Pimcore Installation
From the Overview page you will need to click on the Install tab and there you will be able to configure the required pre-installation options.
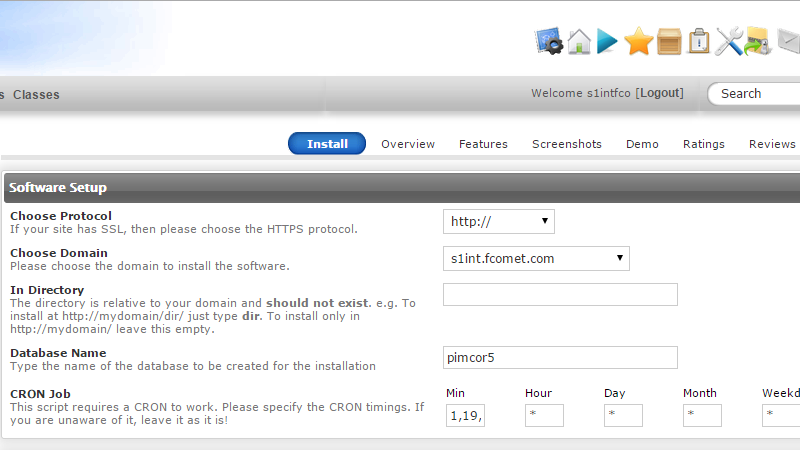
The configuration page is conveniently separated on few sections representing different set of options. The first one is called Software Setup and there you will be able to configure the following options:
- Choost Protocol - The protocol your application should be accessed with
- Choose Domain - The domain name your application should be accessed on. Here you can also choose any other subdomain you have configured.
- In Directory - This field should be left empty since the Pimcore application can be only installed on a domain or subdomain.
- Database Name - The name of the database Pimcore should use. Keep in mind that you can leave that field unchanged since Softaculous will choose a non-existing database and it will install all the data in that database once it creates it automatically.
- Cron job - This is something that Pimcore need and most probably you do not want to change that option.
The next section is called Admin Account and there you will be able to configure the login credentials you will be using after the installation to access the admin section of the Pimcore platform.
Next you will find the Advanced Options section where you will be able to configure different options related to the automatic backup service provided by the Softaculous autoinstaller. It is recommended to do not setup the backup service as we provide all our Shared hosting customers with weekly free backup service for the entire account and also all the databases used by the customer.
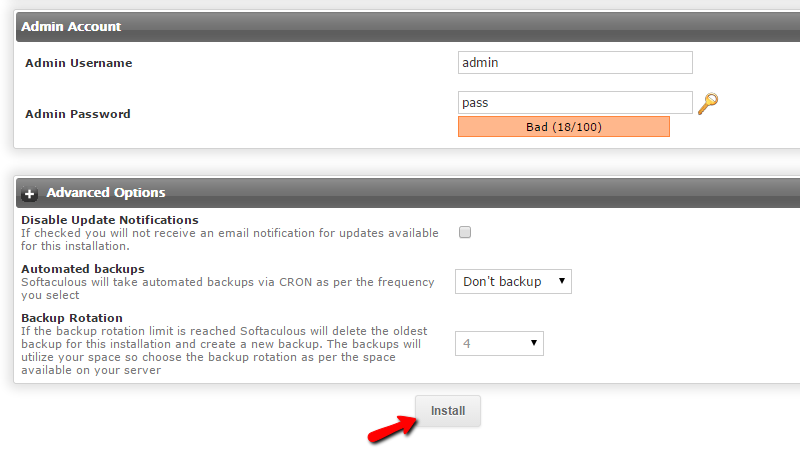
Finally when you are ready with the installation options press the Install button so the installation process can be started.
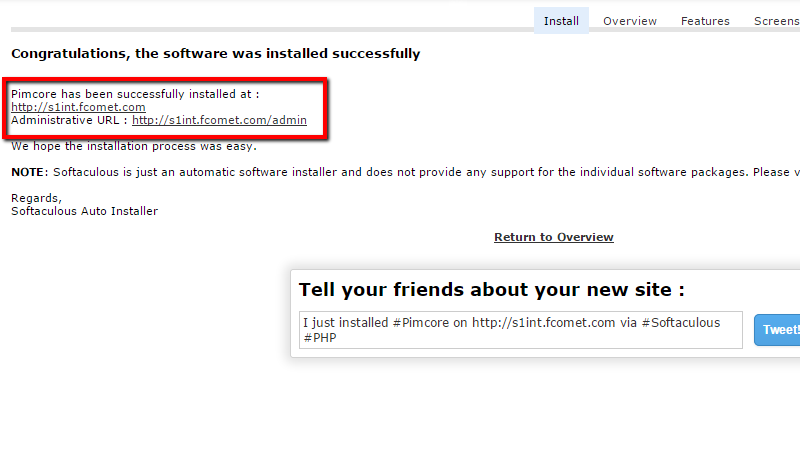
Congratulations! You have successfully installed the Pimcore application on your web hosting account with us!

Pimcore Hosting
- Free Installation
- 24/7 Support
- Free Domain Transfer
- Hack-free Protection
- Fast SSD Storage
- Free Transfer
- Free Cloudflare CDN
- Immediate Activation