
Cover Image vs. Featured Image in WordPress Gutenberg
Since WordPress 5.0, we have Gutenberg set as our default block editor. With it, we got some new features, including the Cover block. It gives you the opportunity to add cover images to your site pages and posts. The cover image feature can be confusing to some users, mainly because it could be seen as similar to the Featured Image, which has been around since WordPress version 2.9.
This post is to explain the differences between a Cover image and a Featured image in Gutenberg – the WordPress block editor. We are going to cover:
What Exactly is a Cover Image in WordPress?
Typically, cover images are wide ones that are used as covers for new sections in pages or blog posts. A cover image is a part of the post or page content and you should use it when you are beginning a new chapter in your blog post. You can look at your article as an illustrated book if you wish. When you feel the time to split your content into two sections is right, then you use the cover block (or instead of a heading).
With the Cover block in Gutenberg, you can also include text and color overlay to your cover image. Make your article more appealing by adding the color overlay that matches your theme or the overall mood of the post.
Traditionally, content writers use headings to break down their posts into sections. Cover images give extra options – they give you the opportunity to separate post sections in a way that is more visually appealing.
What Exactly is a Featured Image in WordPress?
The featured image (also referred to as post thumbnail) is the primary image that represents the whole article. Featured images are displayed on your website single posts, blog archive pages, or on the homepage of blog, news, and magazine websites.
Additionally, the featured image is displayed whenever you share your post on social media.
Featured images need to be designed carefully to look neat and attractive. They give users an overlook on your content and what it’s about, similarly to the cover of a book. When creating your featured images (or hiring a professional designer to do that for you), make sure they are on point.
By default, almost all themes in WordPress support featured images. Where and how a featured image would be displayed is ultimately dependant on the WordPress theme. For advanced featured images, you can check some plugins such as Soliloquy, Quick Featured Images, Multiple Post Thumbnails, etc.
Adding a Cover Image in Gutenberg
As we mentioned, Gutenberg comes with a Cover block that allows you to add cover images in WordPress. Here is what you do to add your cover image:
- Create your new post or edit an existing one;
- On your edit screen, click the Add New Block button and then choose the Cover block:
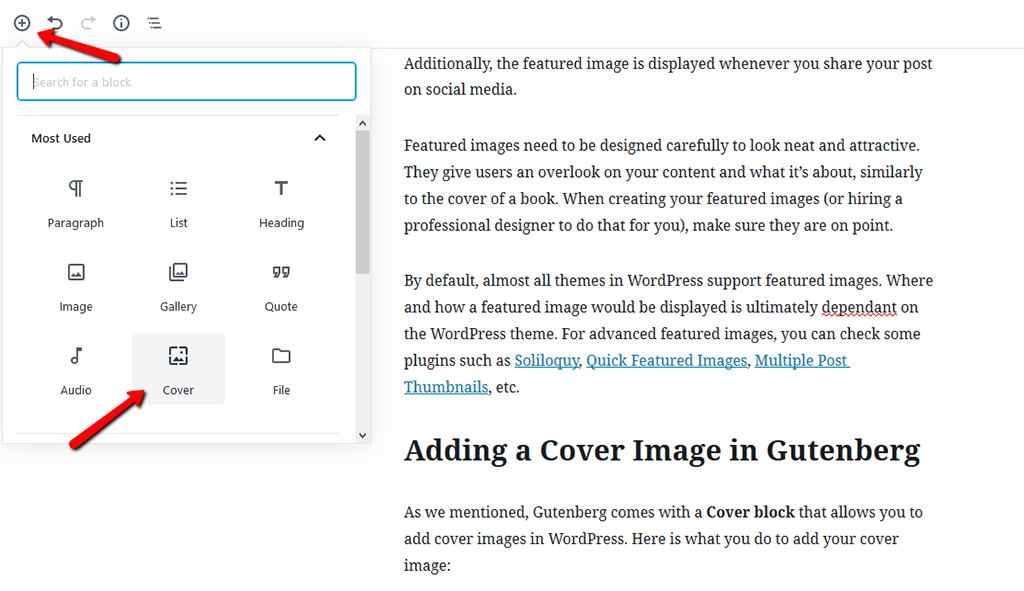
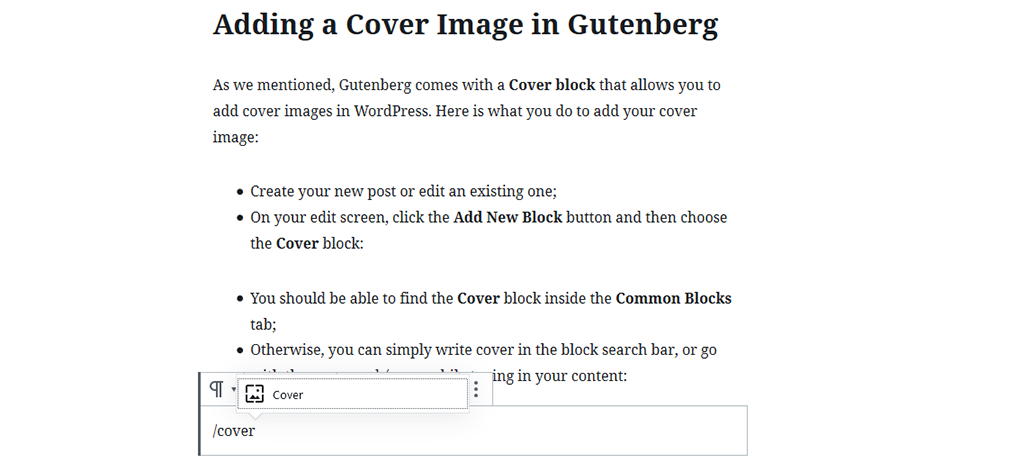
- You should be able to find the Cover block inside the Common Blocks tab;
- Otherwise, you can simply write cover in the block search bar, or go with the command /cover while typing in your content:
- When you click on the block, you can see that it comes with options for including a cover image:
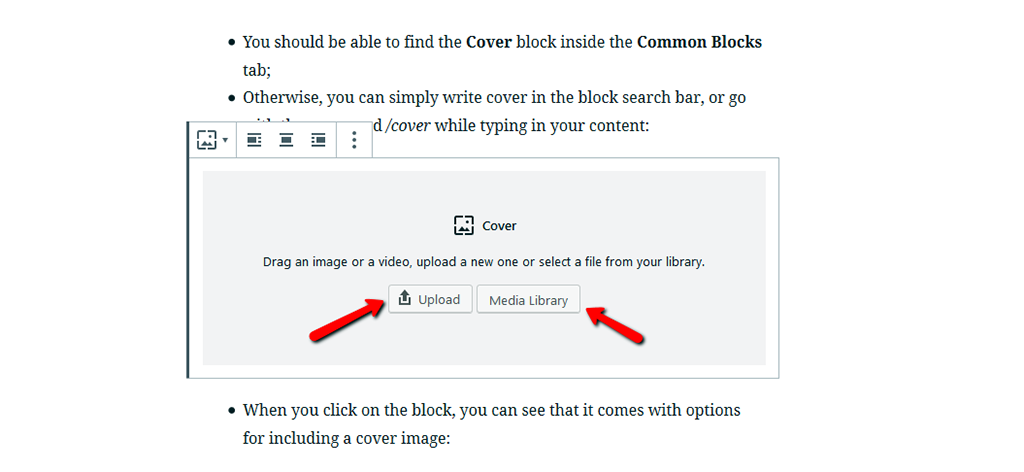
- Choose between adding images or videos with the Upload button, or using the simple drag-and-drop function in the block area to upload your new cover image;
- If you want to add an image that you have already uploaded to your media library, click the Media Library button and then just select the desired image from all uploaded files;
- Once you have added your cover image, you can quickly customize it by clicking on it. You will see a toolbar with the customization options for the cover image;
- In addition to the alignment options, the cover image block comes with two width choices – Wide width and Full width (if your theme supports them);
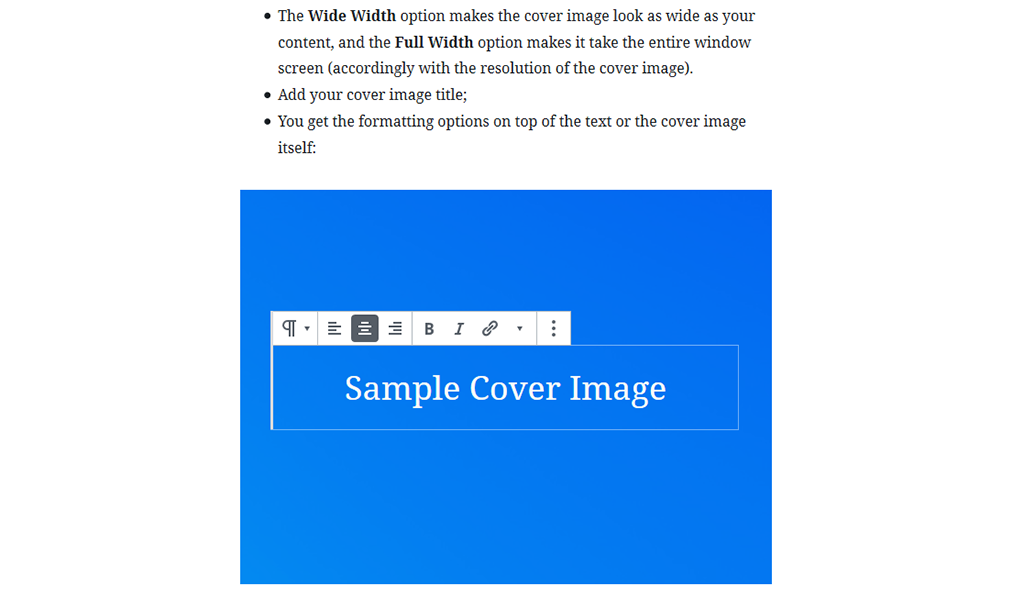
- The Wide Width option makes the cover image look as wide as your content, and the Full Width option makes it take the entire window screen (accordingly with the resolution of the cover image).
- Add your cover image title;
- You get the formatting options on top of the text or the cover image itself:
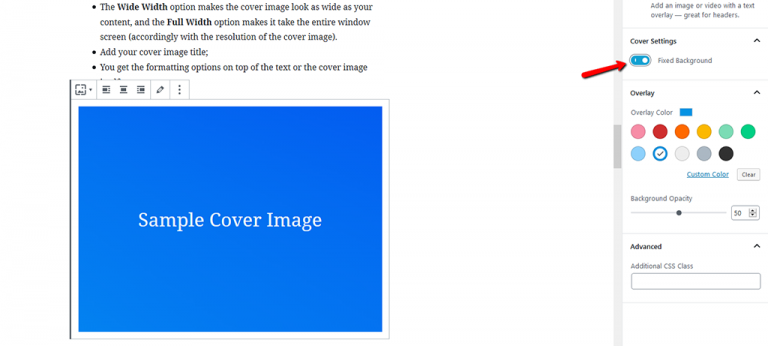
- There are also cover block settings on the right-side panel. You can Enable Fixed Background if you want a parallax effect for when visitors scroll down your page:
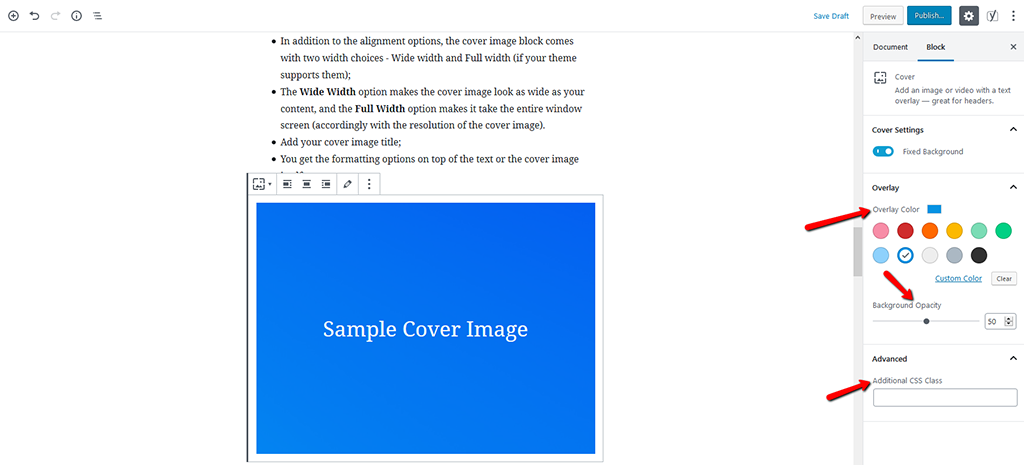
- Below those settings, you will see the Color Overlay options for your cover image. By default, this option is to add your theme’s color as an overlay color with 50% transparency, but you can change both the color and the opacity by moving the point;
- You have the option to add CSS code and more styles to your cover image by going to the Advanced options:
- That’s it!
- Repeat the steps if you want multiple cover images in a single article.
Adding a Featured Image in WordPress
The way to add featured images in Gutenberg is the same as with the Classic editor. If you’ve had your blog for a while, you should know how to do the whole thing.
However, for those that are relatively new to WordPress, we will provide a little step by step guide on how to add featured images in Gutenberg:
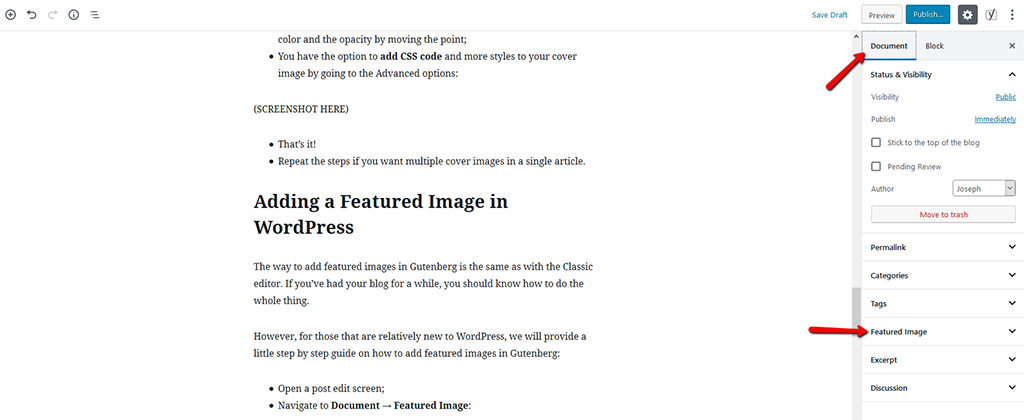
- Open a post edit screen;
- Navigate to Document → Featured Image:
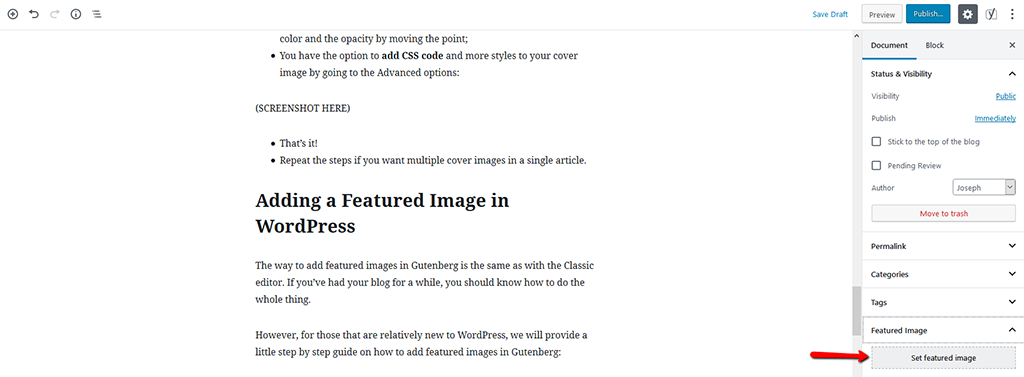
- Click on Set featured image:
- Upload your image by either using the drag-and-drop method or by selecting one from your media library;
- After that, you can add a title (if you don’t have one already) and an Alt text for your featured image, and then just click the Select option.
- Success!
Once you have added a featured image, you will be able to preview your post and check how it looks.
Featured Image Theme Relations
If you are using the current default theme Twenty Nineteen or one of the other modern themes, you may see the color overlay that we mentioned earlier in the post. You can either remove the overlay or change the color by going to the WordPress customizer:
- Go to Appearance → Customize in your WordPress menu:
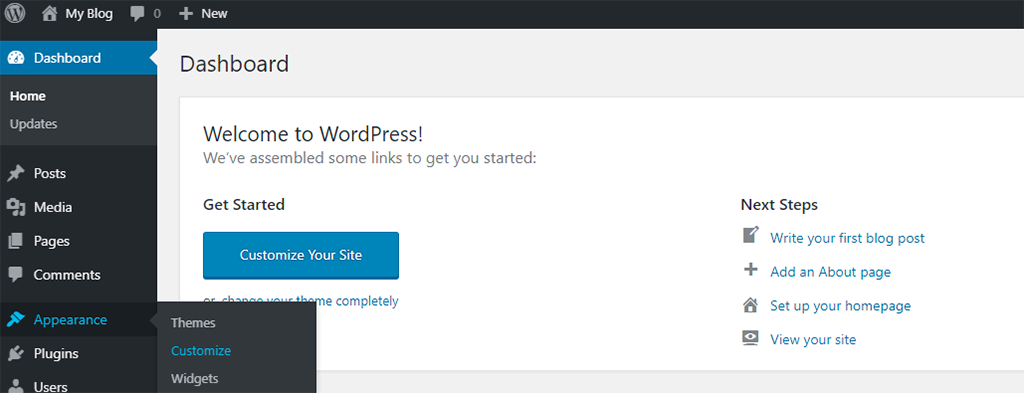
- On Customize panel, click the Colors option on the left:
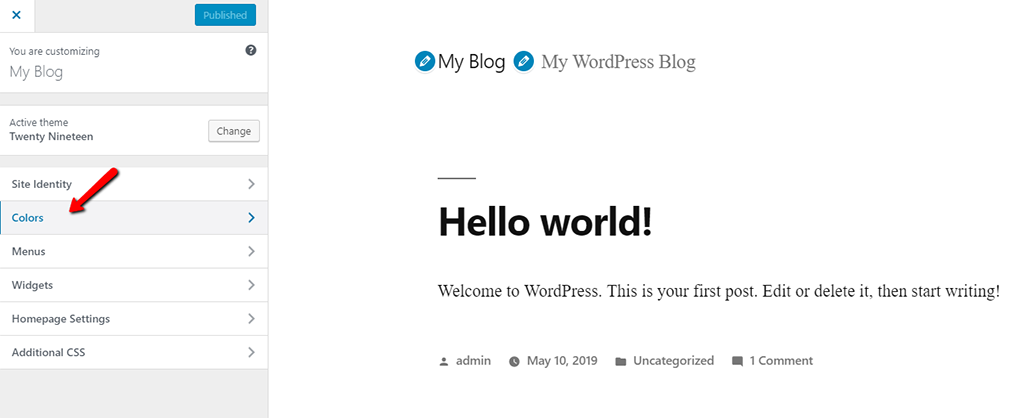
- You will find your theme’s primary color and the option to enable or disable the image filter;
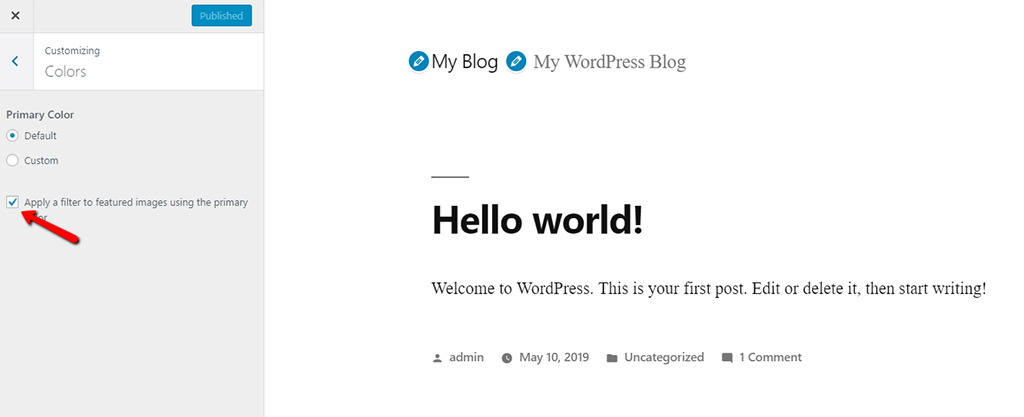
- Select the Custom Color to change the primary color of the theme. Choose your color;
- Disable the color filter on all your featured images. There is a check on “Apply a filter to featured images using the primary color.” Remove it:
Keep Note: Featured images are managed by WordPress themes. You may not find the color overlay option if your theme doesn’t support image filters.
Final Thoughts
In summation, featured images are popular among WordPress blogs, magazines, entertainment sites, and news websites. Those images are used as main article thumbnails and images. You can think of Featured images as a book cover. People often have strong first impressions, and the featured image works precisely for that, therefore it has to be as good as possible. A well-designed featured image can do wonders for the visitors count on your post.
Cover images are an actual part of your article. Your users see the cover image after opening your post, and thus, they make your articles look more complete. The best use of cover images is adding them as a transition between sections when you have a long article.
Cover images are quite different from regular post images. They have the full width option (much like with the gallery block), and you can add text overlay on them if you wish. The proper use of cover images can improve user engagement and even the accessibility points of your post.
We hope this article cleared up the picture on Featured Images vs. Cover Images. People often get confused about those two, which is understandable. If you have anything to ask or something to add, feel free to do it in the comment section.

The latest tips and news from the industry straight to your inbox!
Join 30,000+ subscribers for exclusive access to our monthly newsletter with insider cloud, hosting and WordPress tips!
Joseph is part of the FastComet Marketing team. With years of content writing experience behind him, it's one of his favorite activities. Joseph takes part in the SEO of the FastComet website and blog. His goal is to write comprehensive posts and guides, always aiming to help our clients with essential information. Joseph also has a thirst for knowledge and improvement, which makes the hosting environment a perfect place for him.

No Comments