How to install vTiger manually
Updated on Dec 10, 2015
In this tutorial, we will review the process of installing vTiger manually on your account. The process allows you more advanced way to initially configure your new vTiger website. Either way, there is a much easier way to achieve that, which includes an automated vTiger Softaculous installation.
Start a vTiger website in just 3 minutes:
To help you get started with vTiger our Technical Support team provides Free vTiger Installation.
- Free vTiger Installation by our Support Team
- Free Domain Name for Life
- 24/7 Technical Support team
- Optimized SSD vTiger Hosting
- Fast and Secure Servers
For the manual installation, you need to complete a few extra steps, but the actual process is not much harder than the automated installation. We will provide the steps for that so you can get a better understanding on how it works.
To install vTiger manually, you need to:
Step 1 Download vTiger
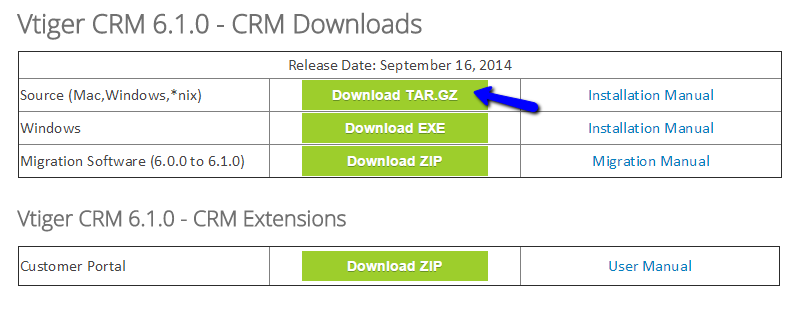
The first step is to download the latest release of vTiger on your local computer. You can do that via the official vTiger website.
Make sure that you download the latest release for Source (Mac,Windows,*nix) systems.
Step 2 Prepare Files
Once you get the vTiger archive package, you need to extract it on your local computer. This will create a folder called vtigercrm that includes all of the files for the installation. Once you get those files extracted on your local computer, you can proceed further and upload them to the server. Note that you need to upload the files only and not the actual folder itself.
If you would like to install and access your website directly via your domain, you will have to upload the vTiger files directly to the public_html/ directory of your account. However, if you would like to install vTiger in a subfolder, you first need to create it within the public_html/ directory and then upload the files in it.
The best way of uploading the files to the server is using your favorite FTP client.
Upload Files
There are two ways of uploading your files to the server - using an FTP client, following our FTP tutorial, or uploading directly through your cPanel account > File Manager, following our cPanel tutorial.
Step 3 Initiate Installation
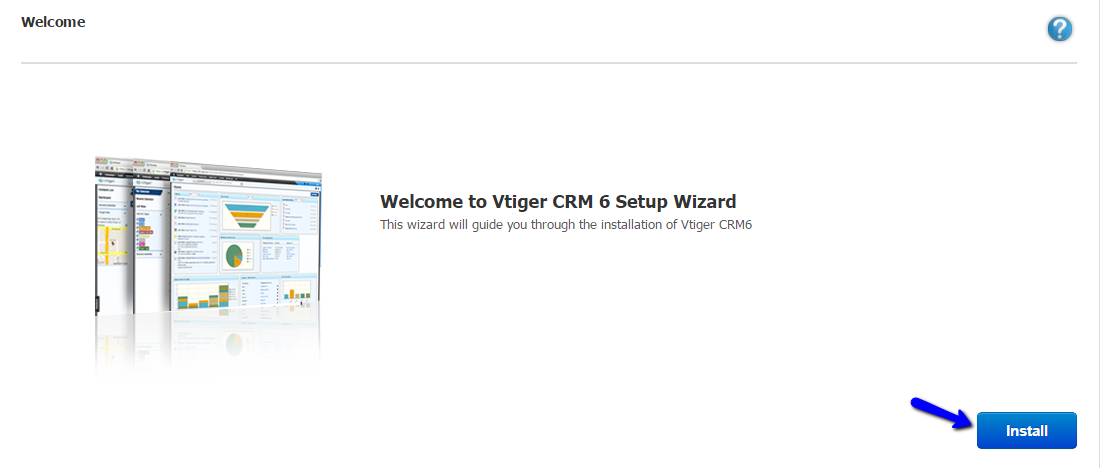
The first step is the Welcome screen. Click on the Install button to proceed with the installation.
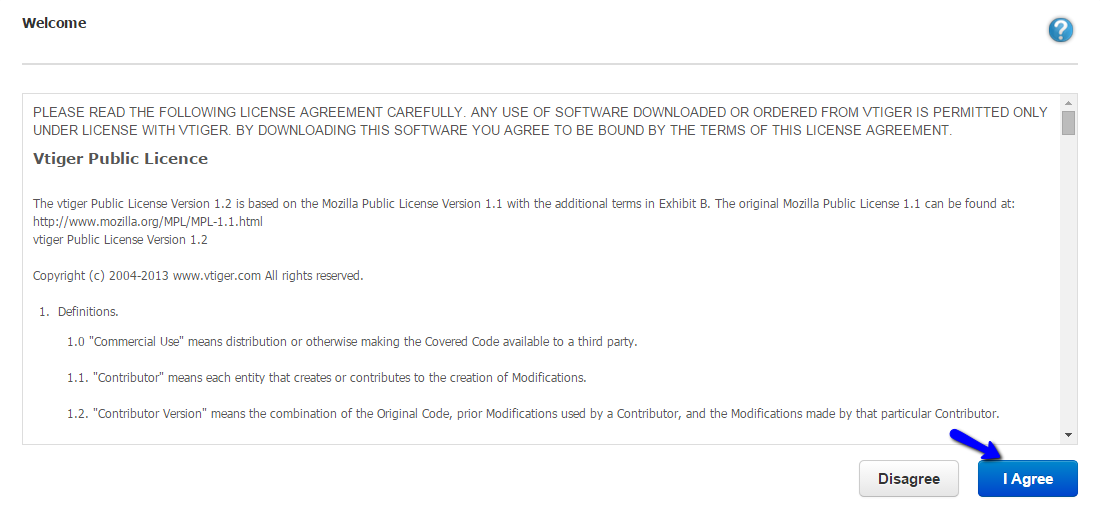
The second step is the license agreement of vTiger. Read it carefully as it includes the ToS when using vTiger for the development of your website. When you are ready, click on the I Agree button to proceed to the next step.
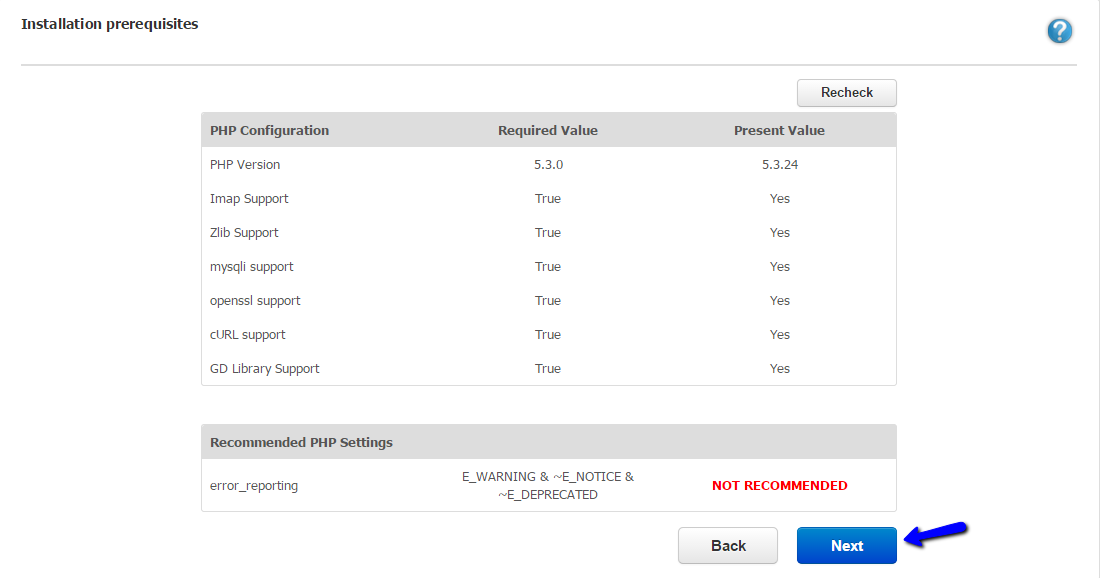
The system will check the server configuration and see if it meets the minimum requirements for a vTiger installation. As FastComet servers are fully optimized for the script, you will not have any issues during this step. Click on the Next button to proceed further.
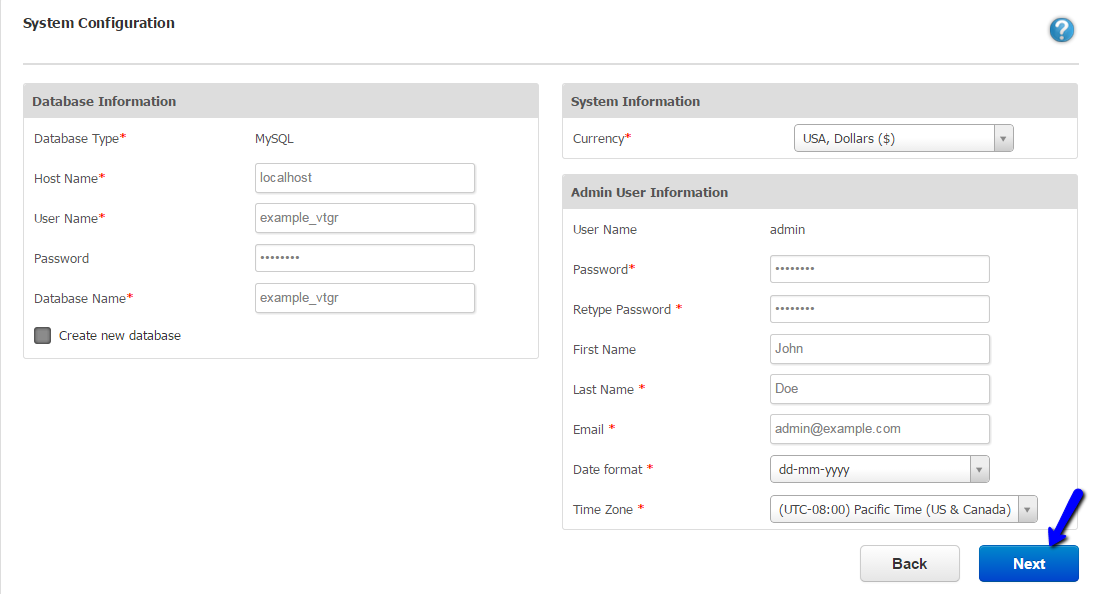
The next step is the System Configuration. This step will request some information from you for the actual setup of the new website. Enter the following details:
Database Information
- Database Type: This is automatically set to MySQL (MariaDB-compatible), as MariaDB is fully compatible and supported by vTiger using the MySQL database driver.
- Host Name: If the database is set on the same server as your vTiger installation, enter "localhost" without the quotes.
- User Name: Enter the username that has all privileges for your database.
- Password: Enter the password for it.
- Database Name: Enter the actual name of your database. It will be used for your new vTiger website.
MariaDB Configuration
You can create a new database and a user assigned to it via cPanel. Simply follow our Database Wizard tutorial for information on that.
System Information
- Currency: Select the currency that will be used on your new website.
Admin User Information
- User Name: This will be automatically set to "admin".
- Password: Set the password for the administrative user on your new website.
- Retype Password: Enter the password again for verification.
- First Name: Enter the first name of the administrative user.
- Last Name: Enter the last name of the administrative user.
- Email: Enter the email of the administrator for your new website.
- Date Format: Choose the format that will be used for displaying dates on your new website.
- Time Zone: Choose the timezone for your vTiger website.
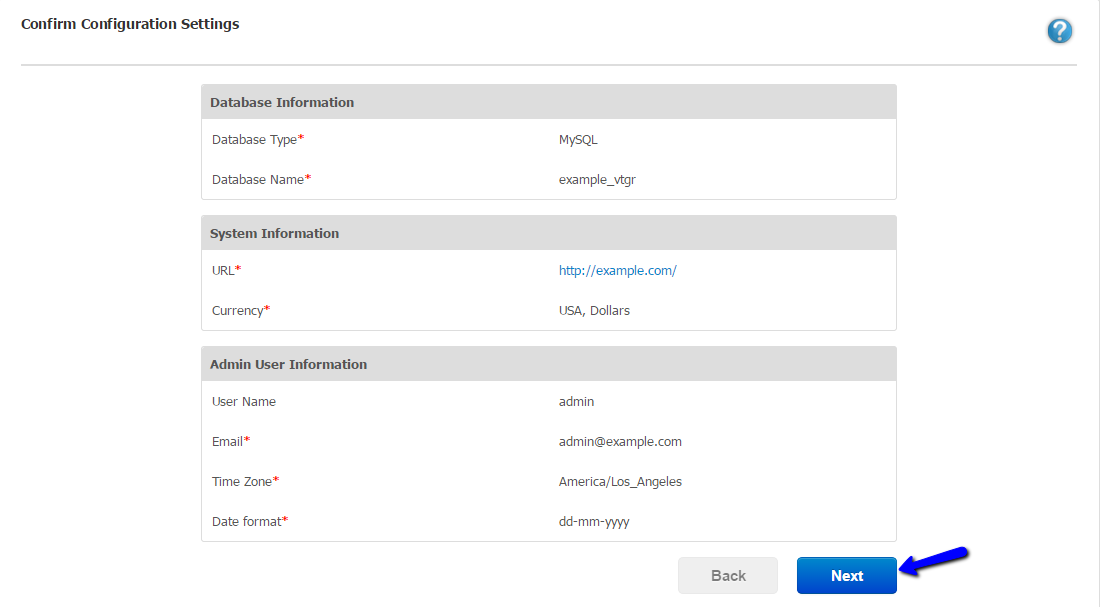
The system will now request a confirmation for the configuration settings you have specified in the previous step. Read them through carefully and click on the Next button if you are satisfied.
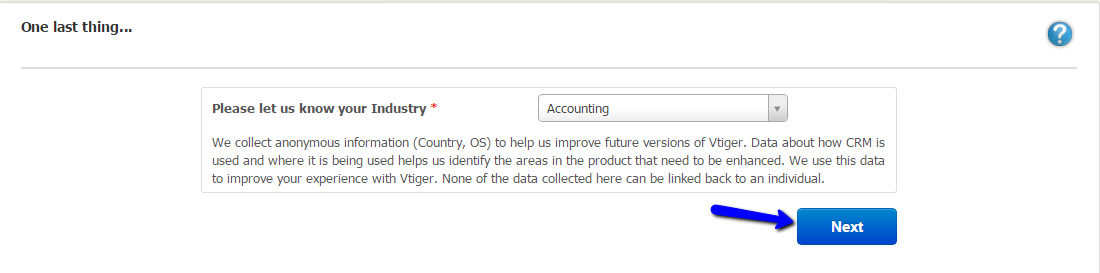
The last step before the installation will request information about your organization. Select the type of business that you are running and click on the Next button to proceed.
The system will now initiate the actual installation. You will be presented with a progress bar so simply allow some time for the system to complete the installation.

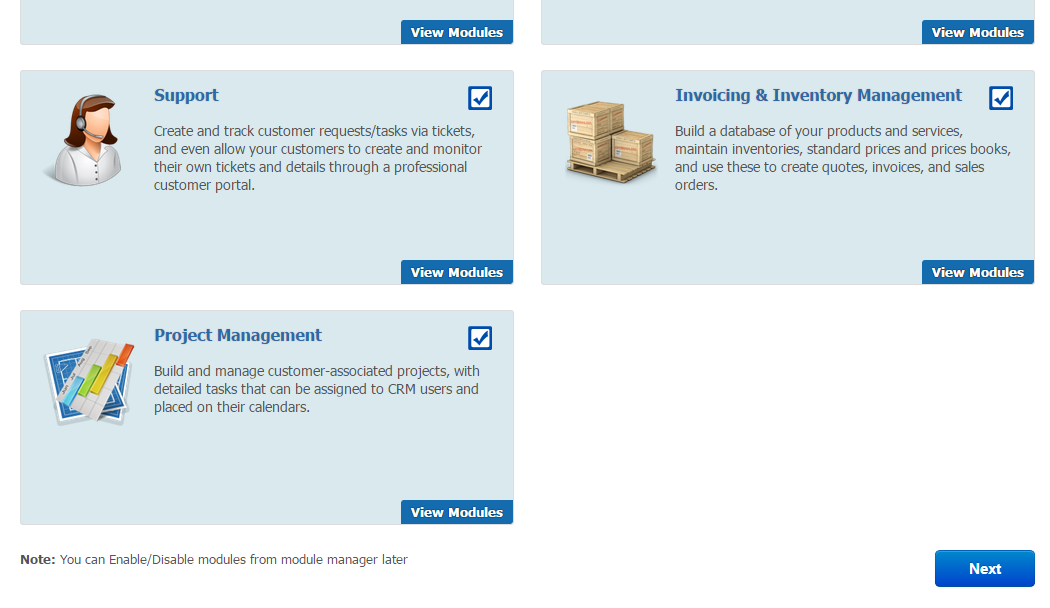
Now, you can select the vTiger modules that you would like to get on your new website. Note that each module is being well documented on the screen so you can review that information and select the ones that you are willing to use for your organization. When you are ready, click on the Next button to proceed.
Congratulations! The vTiger application is now successfully installed on your account. You will automatically be redirected to your website so you can start working on your new project. Enjoy!

vTiger Hosting
- Free Installation
- 24/7 Support
- Free Domain Transfer
- Hack-free Protection
- Fast SSD Storage
- Free Transfer
- Free Cloudflare CDN
- Immediate Activation