How to Enable SSL in vTiger
Updated on Dec 10, 2015
The use of SSL certificate on your domain and website is a good idea as it will ensure that all payments or personal information is encrypted properly. Also, it will make your website look more professional in front of your users.
To enable SSL on your vTiger website, complete the following steps:
Step 1 Get SSL certificate
The first step of the process is to get a valid and dedicated SSL certificate for your domain. This will allow you to use SSL on your website and configure it per your needs. Note that the SSL certificate is a paid service that you can get via your Client Area. The process is completed by the FastComet Support team so you do not have to make changes at all.
Step 2 Edit the Configuration File
The second step is to edit the vTiger configuration file. This is important as you need to change an option that will enable SSL use on your website.
Configuration File
For more details on how to edit that, we recommend that you review our tutorial on how to locate and edit the vTiger configuration file.
There are two lines of code in the configuration file and you need to edit them to enable SSL use on your website. The lines are:
$dbconfigoption['ssl'] = false;
$site_URL = 'http://example.com/'
Note that those lines are not one after another and you need to locate them separately. In the first line, you need to change false to true and in the second line, you need to change the http protocol to https. Save the file after you complete the changes.
Step 3 Force SSL
The last step of the process is to force the use of SSL on your website. Now, this is required as your website will be accessible both with the http and https protocol. However, as you already have an SSL certificate on your domain, it is best to limit this access to the https protocol only.
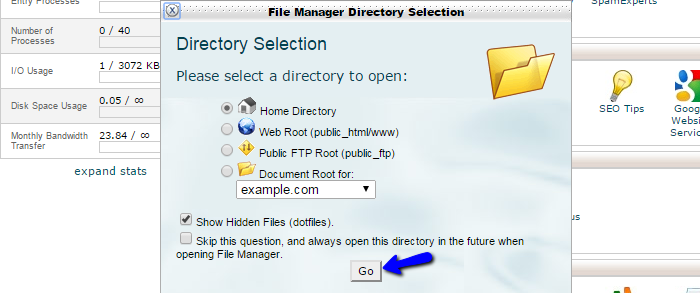
To force that, you need to access your cPanel account. Locate the Files section and click on the File Manager icon.

Select the Home Directory and Show Hidden Files options.
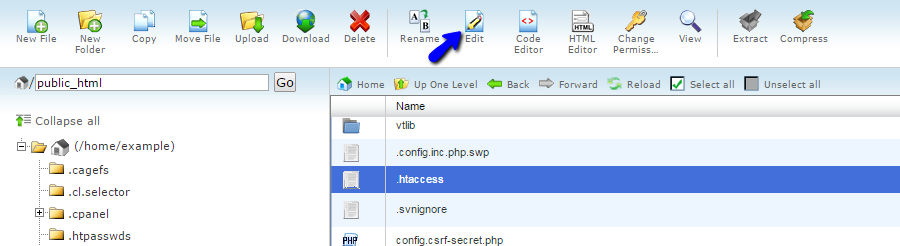
Navigate to the location of your vTiger installation. In there, you will find an .htaccess file. Select it and then click on the Edit button from the top-menu.
At the top of the file, you need to include the following code:
RewriteEngine On
RewriteCond %{SERVER_PORT} 80
RewriteRule ^(.*)$ https://www.example.com/$1 [R,L]
You only need to change example.com with the actual URL to your vTiger website. Click on the Save Changes the file and test your website. The SSL use will be forced each time you access your vTiger website.
On this page...

vTiger Hosting
- Free Installation
- 24/7 Support
- Free Domain Transfer
- Hack-free Protection
- Fast SSD Storage
- Free Transfer
- Free Cloudflare CDN
- Immediate Activation
