How to Change the Favicon in vTiger
Updated on Dec 10, 2015
A custom favicon image on your website will ensure that your website looks more professional for your users and employees. It is a good idea to change the default vTiger favicon image, which is an easy process and can be completed with a few clicks.
Step 1 Create favicon image
There are a lot of ways to create your own favicon image. To achieve that, we recommend the use of a software, such as Photoshop, Windows Paint or in fact any other software that can produce graphical images. The important thing here is to ensure that the image is with size of 16x16 pixels.
Step 2 Convert your image
To work on your vTiger website, the image should be in .ico format. There is a large number of such tools that will do the job for you. Some examples of such tools can be found here, here and here.
The name of the image should be favicon.ico in order to work on your website so make sure that you rename it that way.
Step 3 Upload favicon
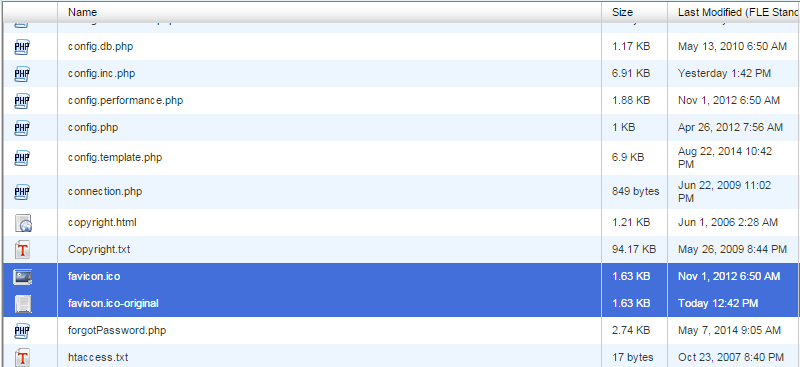
To find the favicon image, you need to access your account, using your favorite FTP client. Then simply navigate to the ROOT location of your vTiger website. Within it's directory, you will find a file called favicon.ico. For security reasons, it is best if you rename that file to favicon.ico-original and then simply upload your own favicon image on it's place.

vTiger Hosting
- Free Installation
- 24/7 Support
- Free Domain Transfer
- Hack-free Protection
- Fast SSD Storage
- Free Transfer
- Free Cloudflare CDN
- Immediate Activation