Important Options in WP Rocket
Updated on Jun 28, 2023
This section of the WP Rocket tutorial will review the most important configuration options of WP Rocket. As a cache plugin, it is critical to configure it properly to get the best performance for your website.
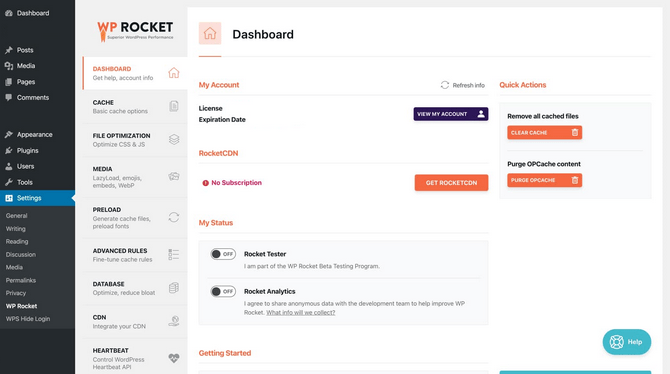
To begin, log into your website's administrative dashboard. Click the Settings button from the panel on the left, then WP Rocket. That will take you to the dashboard for WP Rocket. You can clear WP Rocket's cache from here and navigate to the other available tabs. We will mention the essential options from those tabs on the left.
Warning
Disclaimer: the options described below assume you have no other plugins which provide similar functionality. If you have other plugins with a function similar to the options below, we recommend deactivating them; otherwise, they may conflict with WP Rocket.
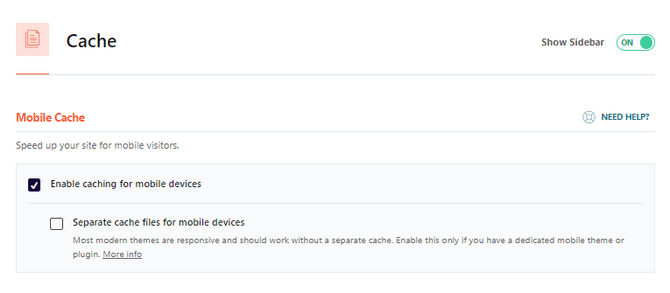
Cache
Caching is automatically enabled when you activate the plugin. Because of that, the only valuable option here is Mobile Cache. This option will serve cached and optimized pages to visitors viewing your website from a mobile device.
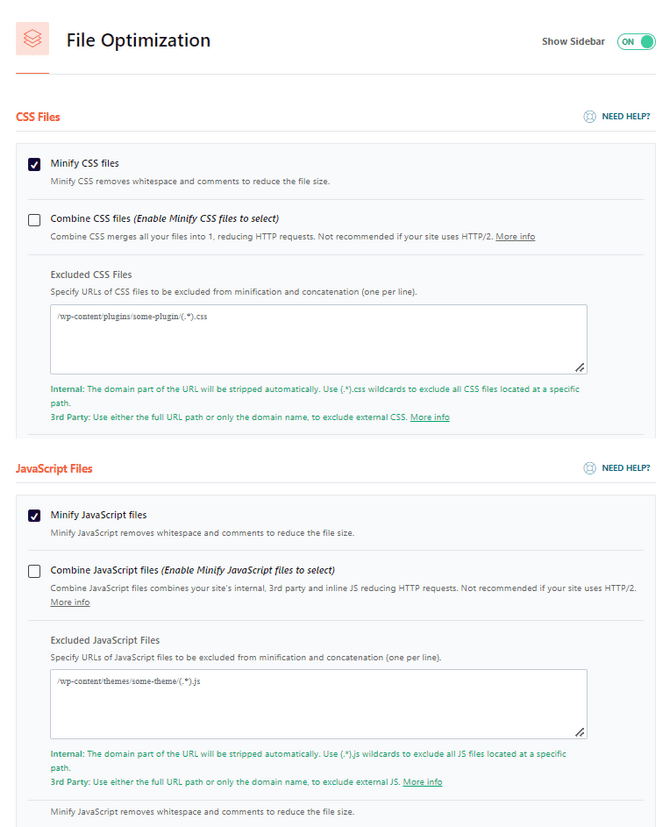
File Optimization
In this tab, you will find several tools to optimize how your website's files load and are cached. Mainly the minifying of your website's JS, CSS, HTML, or Google Fonts. Here are the more prominent options of this tab:
- Minify CSS and Minify JavaScript Files: Minifying will remove any white (empty) space from your website's code. That reduces file sizes and therefore speeds up your website. Consider turning on minification for these two file types, but we recommend not combining them.
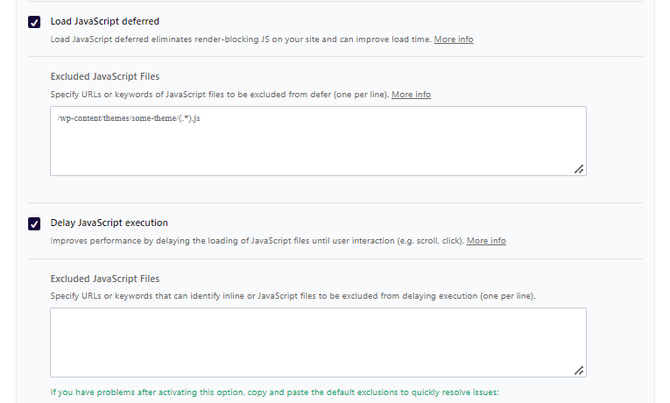
- Load JavaScript Deferred and Delay JavaScript Execution: Turning these two options on will delay JavaScript from executing immediately on the page. The script will run when needed, to put it simply.
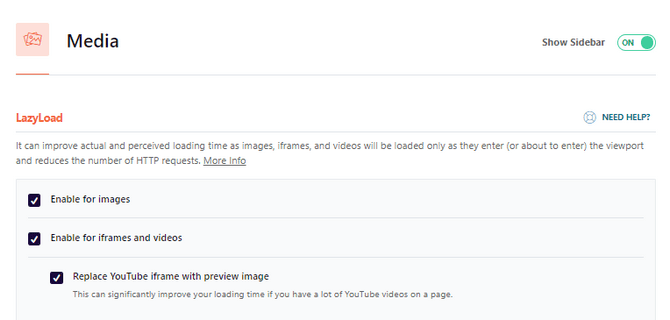
Media
The main option here is LazyLoad. It is a design pattern that delays the initialization of an object on your website until it is actually needed. In other words, Lazy Load delays images from loading until they are on your screen. That is an excellent way of speeding up your website since the components on each page will be gradually loaded when needed. You can also turn it on for iframes (inline frames) and videos.
Replace YouTube iframe with a preview image is also an excellent option to turn on. It will replace the YouTube player with a preview image. That way, the video will only load when clicked.
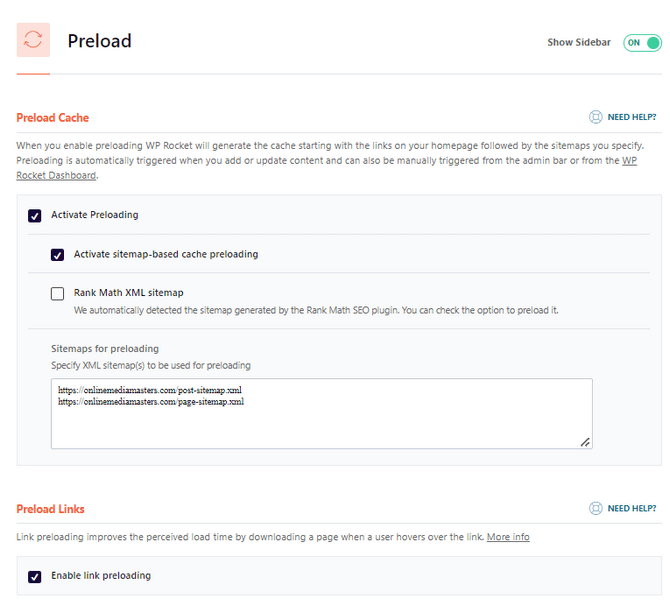
Preload
Preloading will create a cached version of your website's homepage as if someone had just visited it. That way, when actual visitors open your website, your homepage will be served to them from the cached version, reducing load times. We recommend activating preloading. If you have a sitemap generated and uploaded to your website, you can also use it for preloading as well. Tick the Activate sitemap-based cache preloading and place the link to your sitemap in the field below it.
Below it is Preload Links. Preloading links will not have any actual impact on website performance. Still, it will reduce the perceived loading time of pages. When a user hovers over the link to a page, that page will be downloaded in the background. That way, the page will open seemingly instantly when actually opened.

WP Rocket Hosting
- Free Installation
- 24/7 Support
- Free Domain Transfer
- Hack-free Protection
- Fast SSD Storage
- 20% WP Rocket Discount
- Immediate Activation