How to Change Nameservers
Updated on Nov 7, 2023
Here at FastComet, you can not only purchase a hosting plan but also register a domain name with us. In this post, we want to discuss how to point your new or old domain name to your hosting plan with us via Nameservers.
It is important to know how to do that, as Nameservers are crucial to the functionality of a website. Nameservers are what direct online traffic to the correct IP addresses. Think of them as the internet’s phonebook, and DNS records are the individual entries within that phonebook. Without Nameservers, your browser wouldn’t know which server to go to fetch a website.
Changing Nameservers
As a customer of FastComet, you have access to a Client Area with all of your products, purchases, and information. From it, you can manage many things related to your hosting plans or domains, and one of those things is changing a domain’s Nameservers. It is super easy to change them.
Note
To manage a domain’s Nameservers from your Client Area with us, that domain must be registered with (purchased from) us or transferred to our service at some point. For a domain purchased from a different Registrar, you will have to change the Nameservers from there.
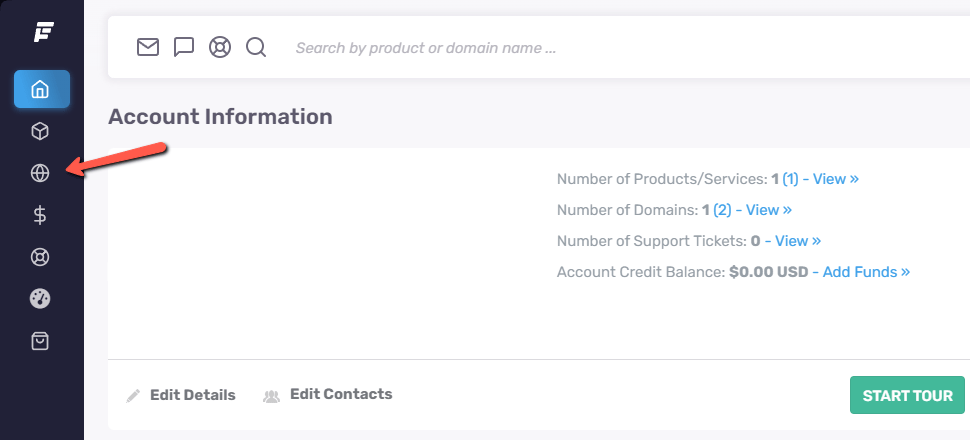
To begin, log into your Client Area on our website and click Domains on the left.
You will see a list of domains registered with us (or transferred to us) that can be managed from your Client Area. These are the domains that can have their Nameservers changed from here. Click Manage Domain to proceed.

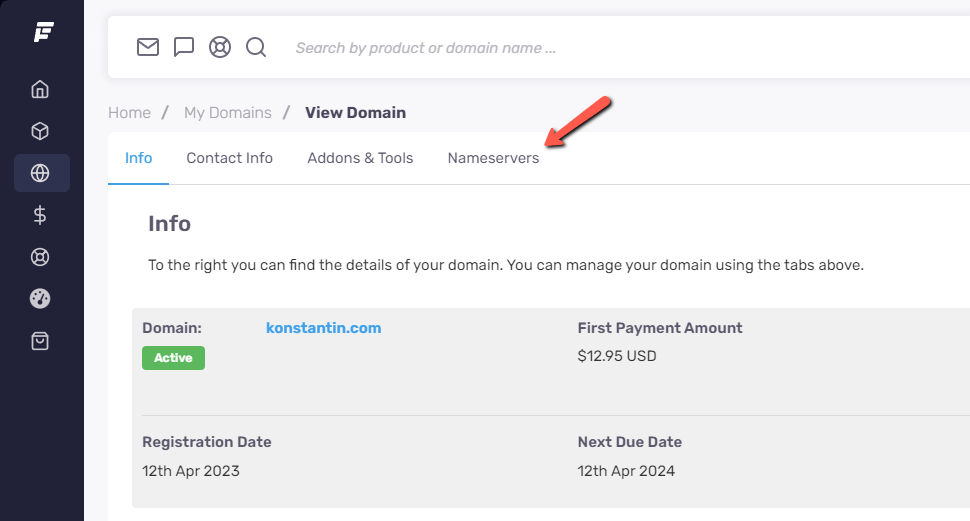
Next, you will see a summary of the domain’s information. You will see its purchase and expiration dates, as well as the renewal price. Click Nameservers, which will take you to the correct page.
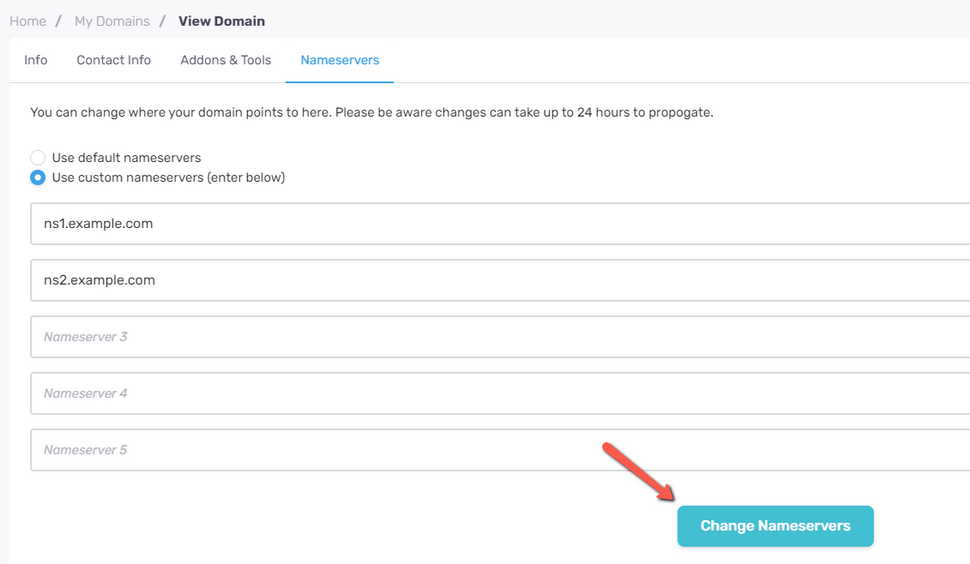
Here, you will have two options: use the default Nameservers or assign custom ones. We always recommend assigning custom Nameservers to your domains. That way, you will be confident they are pointed correctly to the right server. When you are ready, click Change Nameservers to save the changes.
Remember that such a change will trigger DNS Propagation, lasting up to 72 hours. Please check out our tutorial about it for further information, as during this period, your domain may not be accessible or be accessible from the old server.
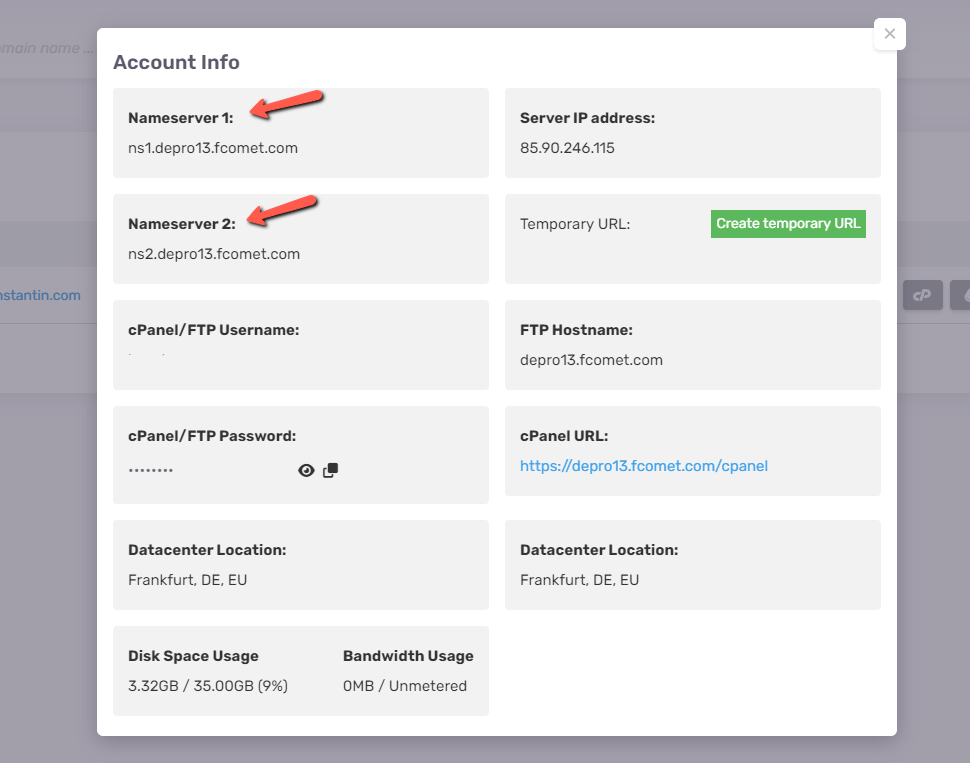
Finally, if you are unsure what the Nameservers of your hosting plan with us are, it is very easy to obtain them. From the menu on the left (where Domains is), click Products, then View Details next to the hosting plan you want to use.

You will see the two Nameservers on the popup window. Ensure you copy and paste them entirely. Otherwise, they will not work.
As you can see, changing your Nameservers from our Client Area is not only easy, it is quick as well. The only thing left to do after you have changed them is wait for the DNS Propagation to finish. In the meantime, check out our DNS Records tutorial for further information about managing those. DNS Records and Nameservers go hand-in-hand, and knowing how they both function is good general knowledge.
We hope you find this article useful. Discover more about FastCloud - the top-rated Hosting Solutions for personal and small business websites in four consecutive years by the HostAdvice Community!

SSD Cloud Hosting
- Free Domain Transfer
- 24/7 Technical Support
- Fast SSD Storage
- Hack-free Protection
- Free Script Installation
- Free Website Transfer
- Free Cloudflare CDN
- Immediate Activation