How to Install the ownCloud Desktop Client
Updated on May 5, 2016
For you to sync files between the server and your personal computer a desktop client is required. You will need to open your favorite web browser and navigate to the official ownCloud download page.
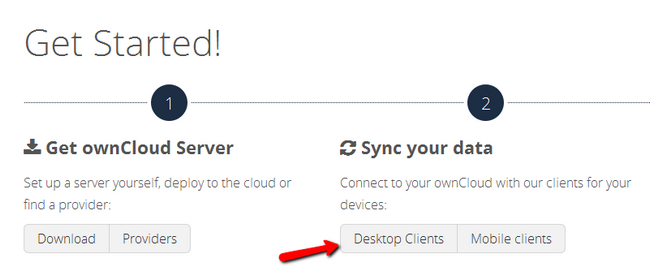
Click on the Desktop Clients button to proceed.
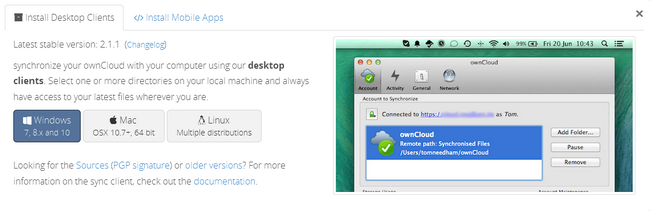
Here you can choose from the clients for Windows, MacOS or Linux. Choose the one corresponding to your operating system and run it. For the purposes of this tutorial we will show you how to install the windows version as currently this is the most popular OS.
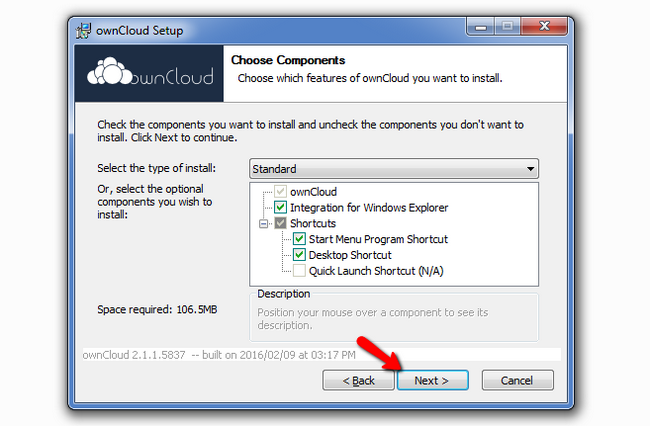
Choose the type of installation you wish to have for ownCloud with standard being the recommended option here.
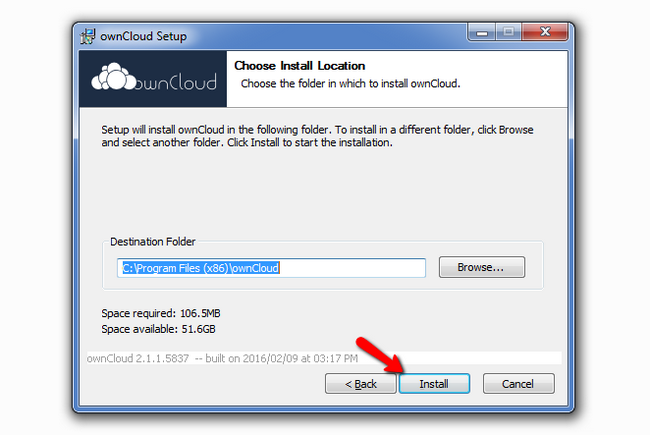
Afterwards select the destination folder for the installation.
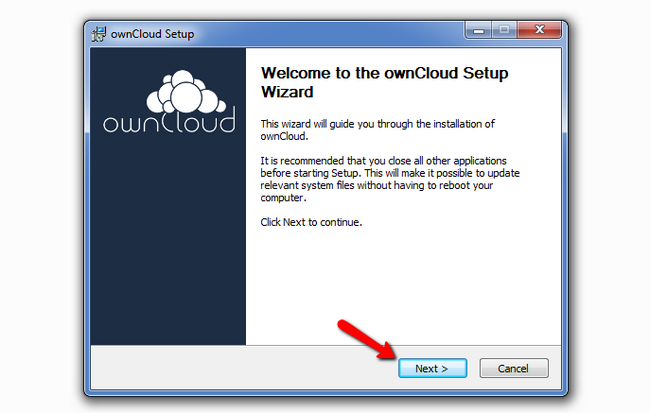
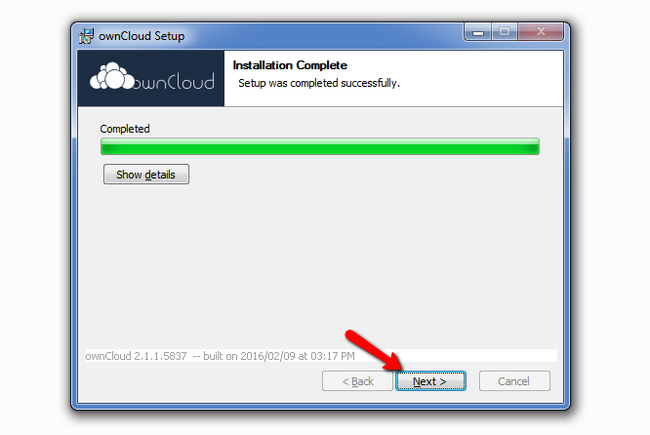
Once the installation has been completed click on the next button to exit the installer.
You have successfully installed the ownCloud desktop client and you can find the application accessible via the newly created desktop shortcut.

ownCloud Hosting
- Free Installation
- 24/7 ownCloud Support
- Free Domain Transfer
- Hack-free Protection
- Fast SSD Storage
- Free Cloudflare CDN
- Immediate Activation