How to Manage the Marketing Campaigns
Updated on Mar 13, 2019
The Marketing module of the SugarCRM CE application will allow you to easily track and create Marketing Campaigns in your Organization. In the next few lines of this tutorial we will provide you with more information on the complete management process of these campaigns.
To manage your Marketing Campaigns, you need to know how to:
Step 1 Access the Marketing Campaigns home page
In order to fully manage all of your Marketing Campaigns you are provided with a home page for the Marketing module. You can access that page by logging into your SugarCRM CE instance and then by navigating to Marketing > Campaigns.
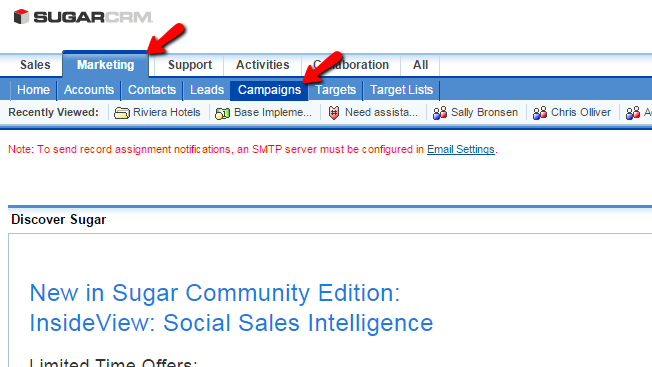
Once there you will be presented with a table view for all of your currently created Marketing Campaigns. Keep in mind that if this is a default installation of SugarCRM CE, no matter if you have installed sample data or not there will be no Marketing Ccampaigns.
Step 2 Create a New Marketing Campaign
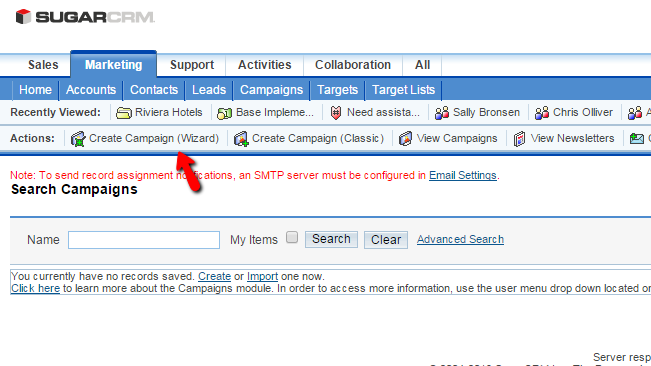
Creating a Marketing Campaign is quite an easy task. First of course you will need to visit the home page of the Marketing Campaigns module which we have shown in Step 1 of this tutorial. Once there you will need to click on the Create Capaign link from the Actions bar at the top of the page.
This action will initiate an actual Wizard to help you our with the creation of the campaign and the wizard will begin asking you for the Type of your Campaign. You are presented with three options:
- Newsletter
- Non-email based Campaign
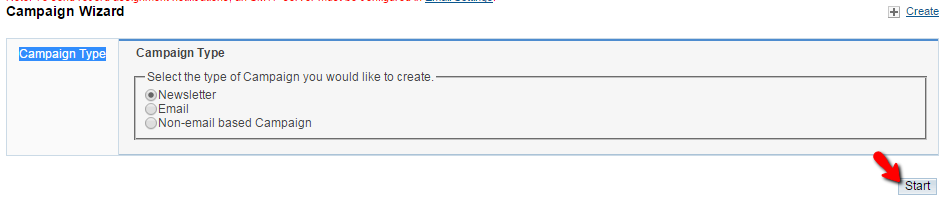
Please select the type of campaign based on your needs and click on the Start button so the wizard can proceed with the further configuration of your campaigns.
The next page you will be redirected to contains various settings about the Marketing Campaign. First there are the Campaign Header settings:
- Name - The name of the Campaign
- Assigned to - The user this Campaign should be assigned to
- Status - The status of the Campaign
- Start Date - The starting date of the Campaign
- End Date - The ending date of the Campaign
- Type - The Type of the Campaign
- Description - Short description what this campaign will be all about
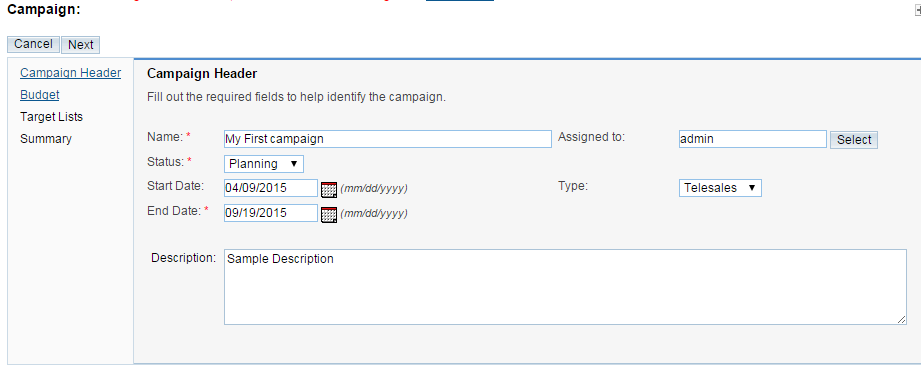
Once you are done with these settings please press the Next button so you can move forward with the configuration of your new campaign.
The next step will require from you to put the settings for the Budget of your Marketing Campaign. The options you need to configure in this section are:
- Budget - The budget you have for this Marketing Campaign
- Actual Cost - The actual cost of the Campaign
- Expected Revenue - The funds you are expecting to get as income from that campaign
- Expected Cost - The expected cost of this campaign
- Currency - The Currency that will be used for this Campaign
- Impressions - Any impressions you have about this Campaign
- Objective - The Objective of this Campaign
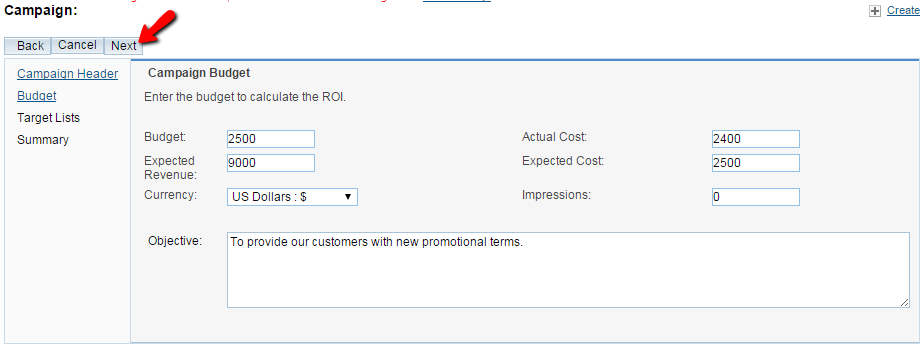
Once you are done with all these settings please click on the"Next button so you can proceed to the next section of settings called "Target Lists". There you will be able to create a list of email accounts to which this campaign will be sending your marketing related messages.
In order to create a new "Target list" you will need to enter the "Target List Name" and select the "Target List Type". Once this has been done please click on the Create button and the list will be created. In order to finalize the whole process please click on the Finish button and you will be presented with a Summary of the Campaign.
Step 3 Edit and Delete Marketing Campaign
In order to Edit a Marketing Campaign you will need to access the home page of the Marketing Campaigns module and then you will need to find the campaign you would like to edit. Once you find the Campaign in the list you will see a small pencil-like button before the name of the Campaign.

If you click on that icon you will be redirected to a page where you will be presented with all of the information you can edit related to that Marketing Campaign. The settings are not different than those you have already configured when you were creating the campaign and you should be able to edit those based on your needs.
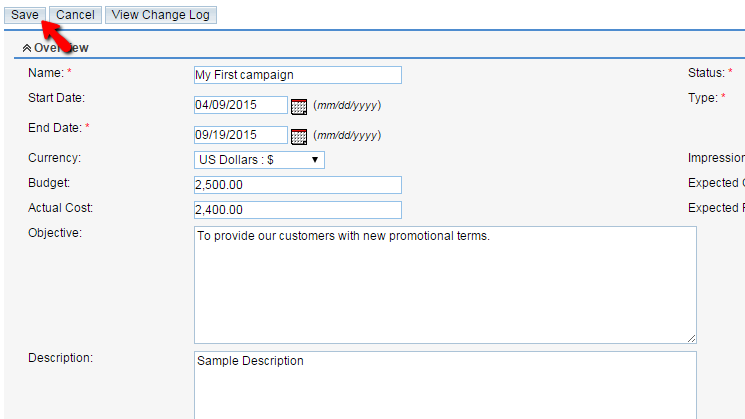
Once you are done please click on the "Save" button so you can save the edits and finish with this task.
In order to Delete a marketing campaign you will need to return to the Home page of the Marketing Campaigns and to once again find the one you would like to delete. Once this has been done please click on the small check box before the name of the Campaign and then use the Delete button at the top of the table view.
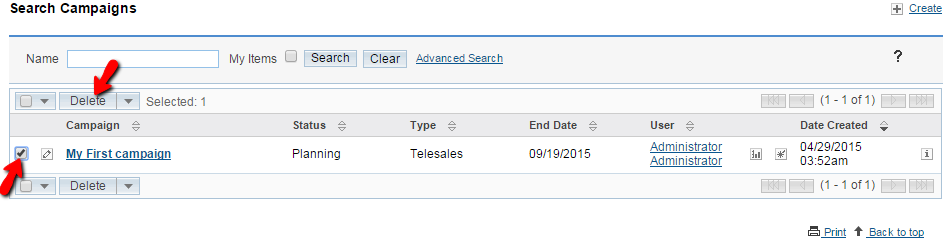
Then you will be prompted with pop-up notice which if you confirm the Campaign will be deleted.
Congratulations! You now know how to fully manage the Marketing Campaigns of your Organization in SugarCRM CE!

SugarCRM CE Hosting
- Free SugarCRM CE Installation
- 24/7 SugarCRM CE Support
- Free Domain Transfer
- Hack-free Protection
- Fast SSD Storage
- Free Ghost Transfer
- Free Cloudflare CDN
- Immediate Activation