How to add posts and pages in Ghost
Updated on Jul 13, 2018
In this tutorial we will show you how to add posts and pages in your Ghost blogging platform. In order to create your first post, please login your Ghost Admin Dashboard using:
https://example.com /ghost/
Please replace example.com with your actual domain name or IP address.
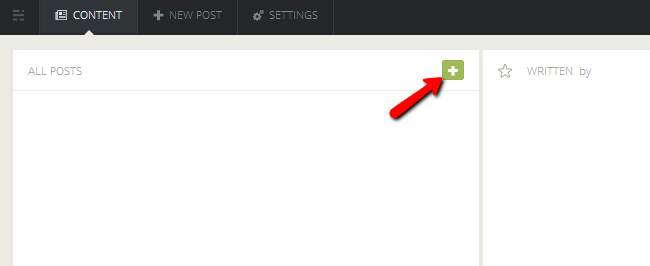
To start a new post, please click on the plus button at the top.
This will redirect you to the post editor mode. You can input your blog post on the left side on your screen and you will be able to automatically see how it will look like when published on the right side of your screen. Ghost blogging platform uses the Markdown text editor. For additional information on Markdown, please check our tutorial on How to use Markdown text editor in Ghost.
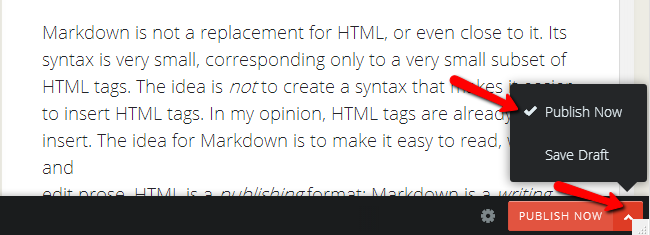
When you are ready with your Post title and your Post content, please click on the small arrow on the bottom right corner on your screen. From the drop down menu, please change your post status from Save Draft to Publish Now and press the red Publish Now button.
Your post should be properly displayed on your Ghost blog now. In case you would like to convert this post into a page, please click on the settings icon on the right bottom of your post page and tick the Static Page box.

Now your post has been converted into a page. Be advised that some Ghost themes do not display pages directly on your Ghost home page. Still, you page can be easily accessed by typing the page name directly after the Ghost URL:
https://example.com/page-title
On this page...

Ghost Hosting
- Free Ghost Installation
- 24/7 Ghost Support
- Hack-free Protection
- Fast SSD Storage
- Free Domain Transfer
- Free Ghost Transfer
- Immediate Activation
- Free Cloudflare CDN
