How to Add Product Categories in CubeCart
Updated on Mar 13, 2019
This tutorial will review the process of managing the product categories on your CubeCart website. This will make the management of the products easier and customers will find them without any issues. For example, if you are selling t-shirts on your website, you can group them together in a single category so customers can review all available t-shirts on your website.
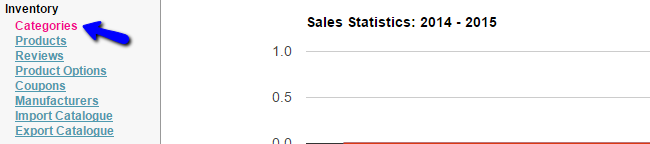
To manage the categories on your website, you first need to log in as administrator. Locate the Inventory section on the left side menu and click on the Categories option.
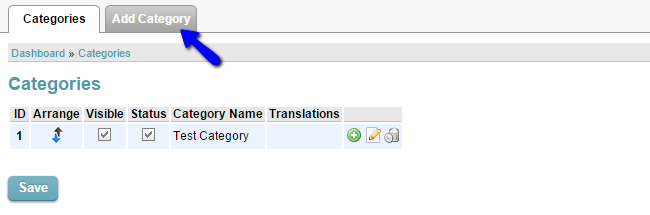
The system will display a list of all available categories on your website. To create a new one, simply click on the Add Category button at the top.
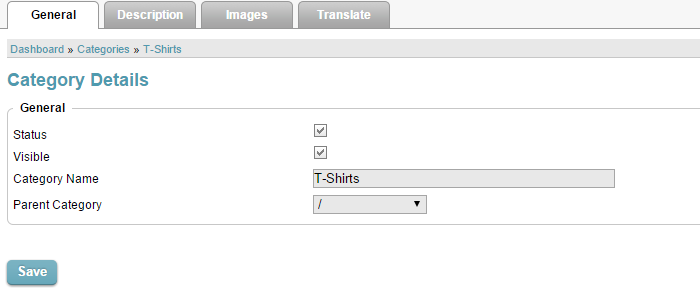
The available options for the new product category are divided to three different tabs:
- General - Set the name of the new product category, the status, and a parent category (if any)
- Description - Enter a description for the new product category on your website;
- Images - You can upload images for the new product category on your website.
Click on the Save button and the system will automatically create the new category on your website, following the details you have entered for it above.
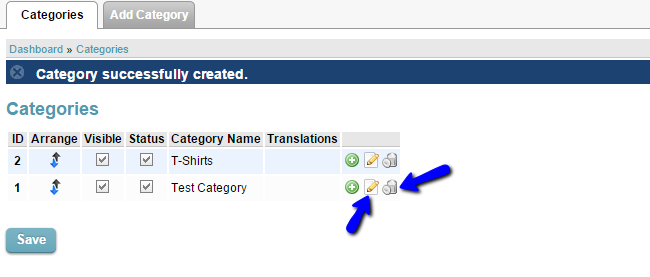
You will also be redirected back to the product categories list. Next to each category on your website, you have the ability to Edit or Delete it.
On this page...

CubeCart Hosting
- Free CubeCart Install
- 24/7 CubeCart Support
- Free Domain Transfer
- Hack-free Protection
- Fast SSD Storage
- Free CubeCart Transfer
- Free Cloudflare CDN
- Immediate Activation
