How to Password Protect a Directory to Prevent Public Access
Updated on Oct 31, 2022
You may discover that password-protecting a folder on your account is sometimes the best course of action. Files that you do not want the public to have access to can benefit from an additional layer of protection in this way. Using the feature in cPanel, password-protecting a directory is a simple process. This post will teach you how to use cPanel to add a password protection and a user on a directory.
This post includes:
How to Password Protect the Specific Folder
You can password protect a folder in the following steps:
- Access your cPanel account;
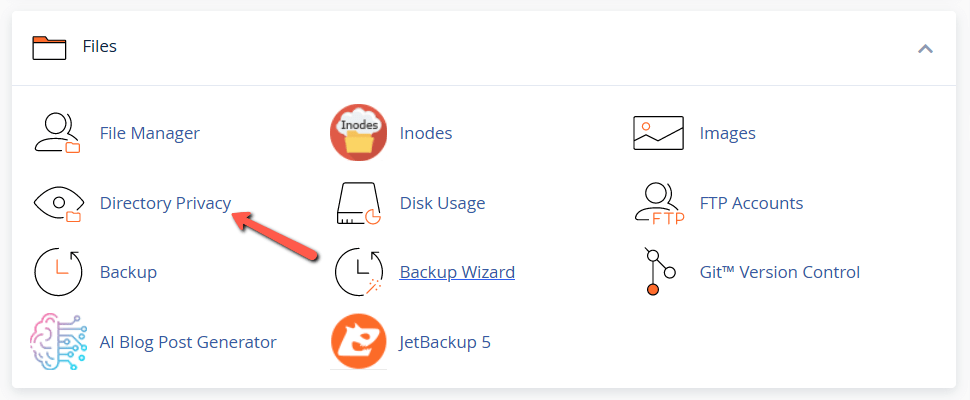
- Choose the Directory Privacy icon in the Files section:
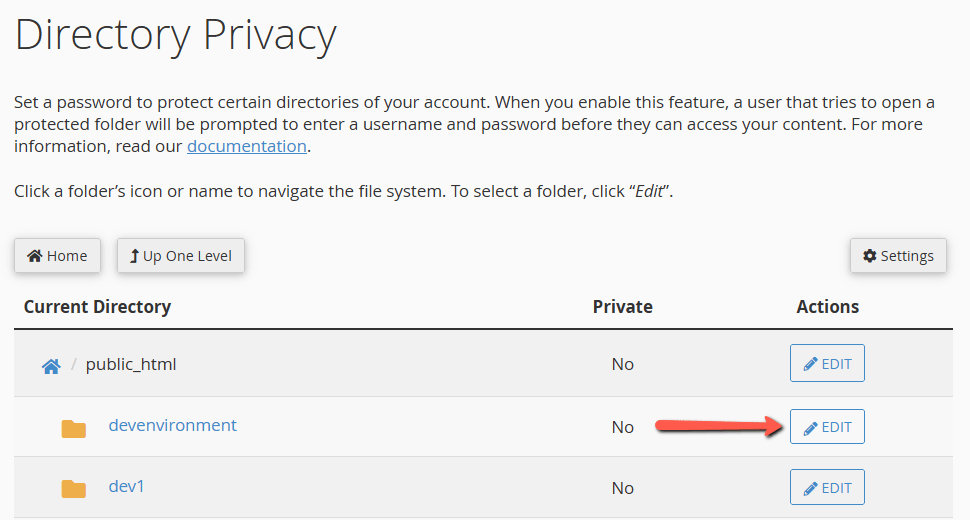
- On this page you will see a list of your current folders, choose the folder that you would like to be password protected by clicking EDIT:
Check the Password protect this directory checkbox and set a name for the directory:
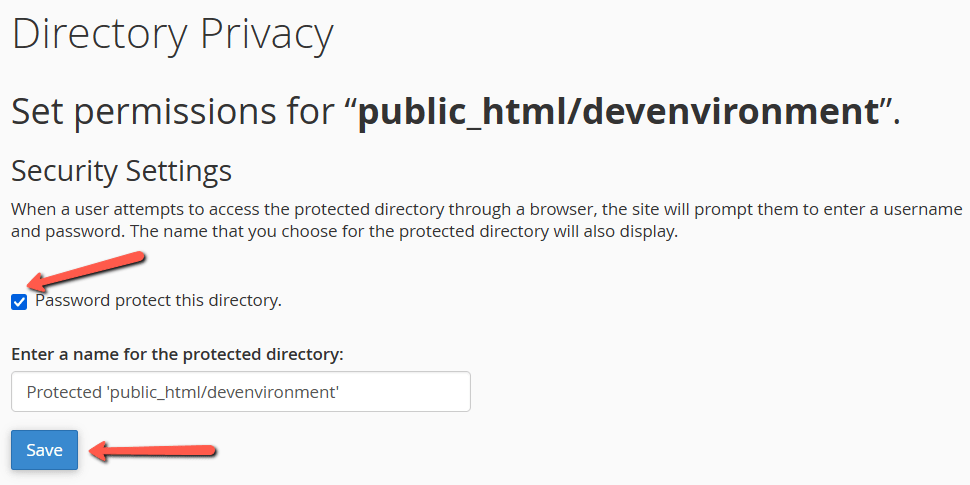
Once you are done click Save to apply the change.
How to Create a New User
A user that will have access to the protected directory should be created. After protecting the directory, click the Back button to get the updated UI showing the user creation fields.
- Set a username from the Username field;
- Set a password from the New Password field. Please note that you can use the Password Generator button for generating a random Very Strong password:
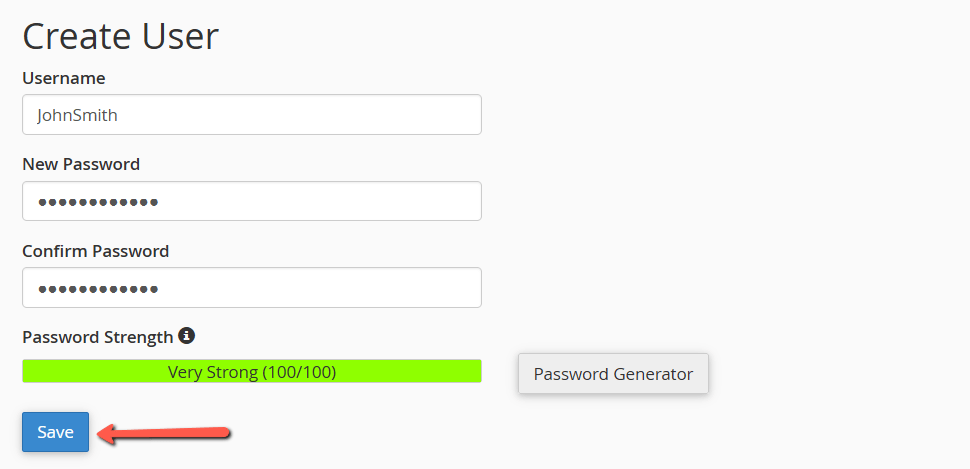
- Confirm the already-set password in Confirm Password field;
- Finally, press the Save button to finish the creation of a user;
How to Change the Permissions to the Specific Directory
To change the permissions of your directory, you need to:
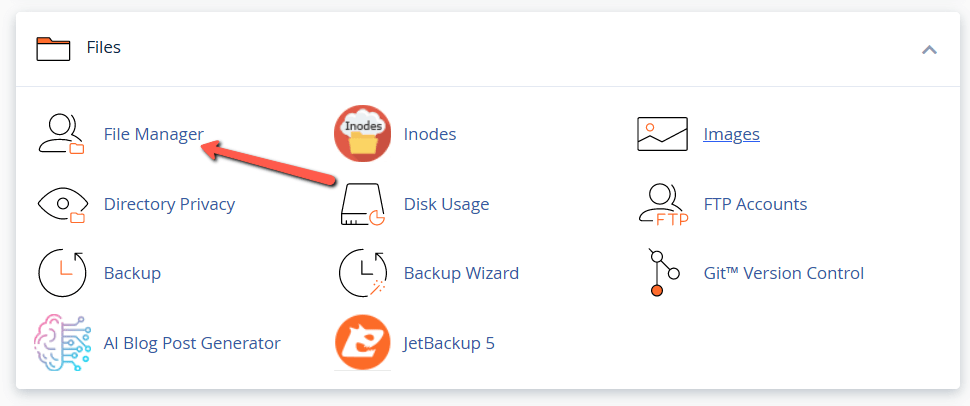
- Access File Manager in cPanel:
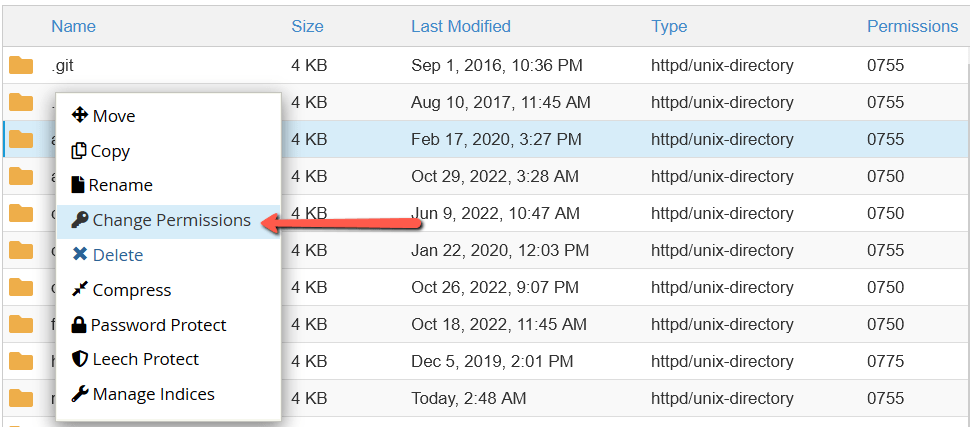
- Select the directory you would like to share and click over it with the right mouse button. Select Change Permissions:
- Set the permissions to 744 and confirm the change as you can see from the screenshot below:
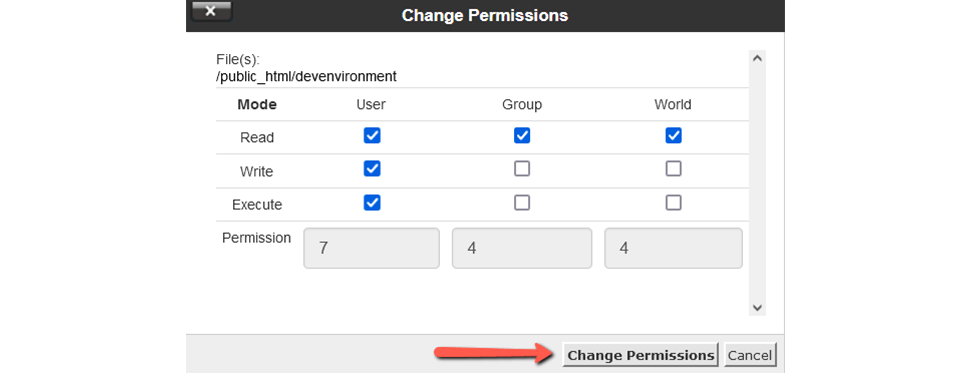
After completing these steps, you can be sure that the secured directory's URL can only be viewed by using the just set credentials.
We hope you find this article useful. Discover more about FastCloud - the top-rated Hosting Solutions for personal and small business websites in four consecutive years by the HostAdvice Community!

cPanel Hosting
- Free Domain Transfer
- 24/7 Technical Support
- Fast SSD Storage
- Hack-free Protection
- Free Script Installation
- Free Website Transfer
- Free Cloudflare CDN
- Immediate Activation