Manage Product Tags in WP eCommerce
Updated on Mar 13, 2019
In the Product Tags section of WP eCommerce, you can set up tags which can be later used when adding a new product. This way the tags are saved in the Tags manager and you will not have to create them for each individual product. Let us review the process of creating new Tags for our Store.
To Manage your Product Tags, you need to complete the following steps:
Step 1 Adding Product Tags
We will need to navigate to the Products>Product Tags section of the main admin panel located on our website’s back-end.
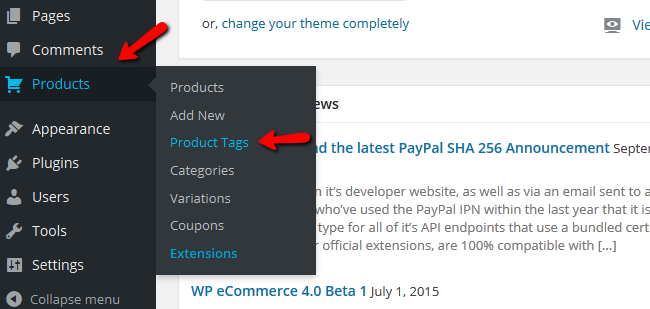
You can see that the tag manager interface is very much alike the category manager one. On the right you will have your existing tags and on the left you will be able to create additional tags for your products.
Step 2 Configuring Product tags
Now you can configure the product tag.
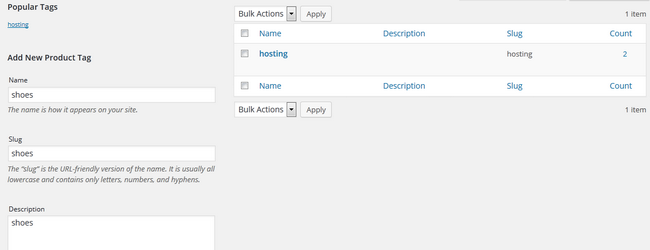
You can add a Name, Slug (short URL friendly name) and a description for the tag. For the purpose of this tutorial we will create a shoes tag for any future products related to shoes.
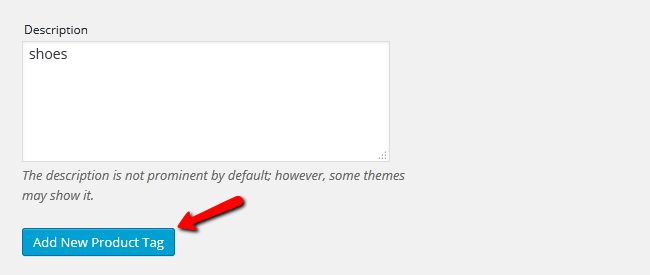
Click on the Add New Product Tag button at the bottom of the page to create the tag.
Now you can use this tag when adding a new product.

WP eCommerce Hosting
- Free Installation
- 24/7 WP eCommerce Support
- Free Domain Transfer
- Hack-free Protection
- Fast SSD Storage
- Free Cloudflare CDN
- Free WP eCommerce Transfer