How to Add a New Space to your website
Updated on Mar 13, 2019
Spaces in open atrium are called the collection of content and users you can create within your website. These website elements are commonly used as the top element of the hierarchy of pages on your website. In this tutorial we are going to show you how to create a new space on your website.
To add a new Space in Open Atrium, you will need to:
Step 1 Creating a Space Element
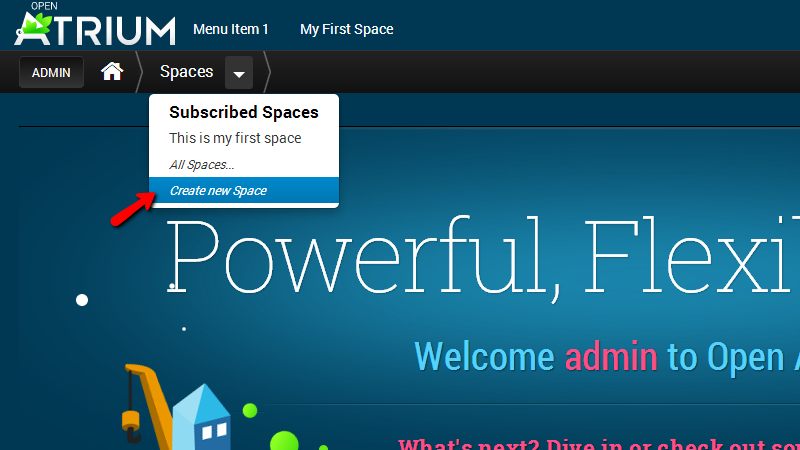
There are few ways you can use in order to create a Space. First and probably most convenient is the Create New Space option in the Spaces menu:
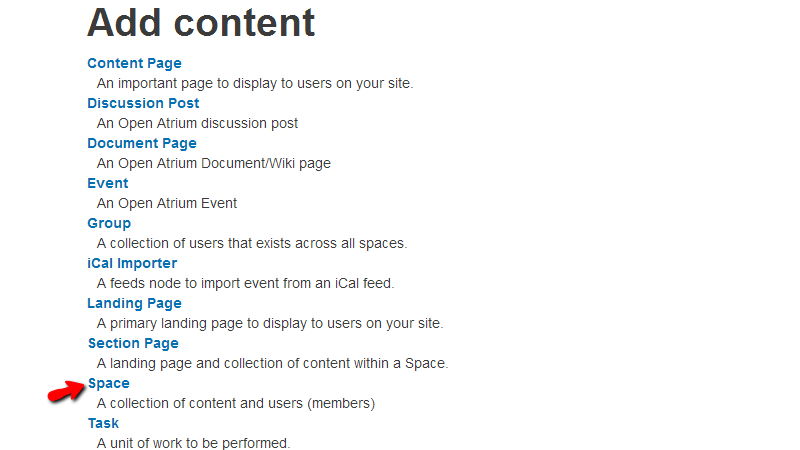
The second and a bit timely way is via the Admin>Content menu and then the Space option on that page.
No matter which from these ways you will use the result will be always the same Space creation page which we will further discuss in Step 2 of this tutorial.
Step 2 Configure a New Space Element
Once you have started the creation process following one of the provided ways in Step 1 you will be redirected to a page where you will need to configure few options in order for your space to be created.
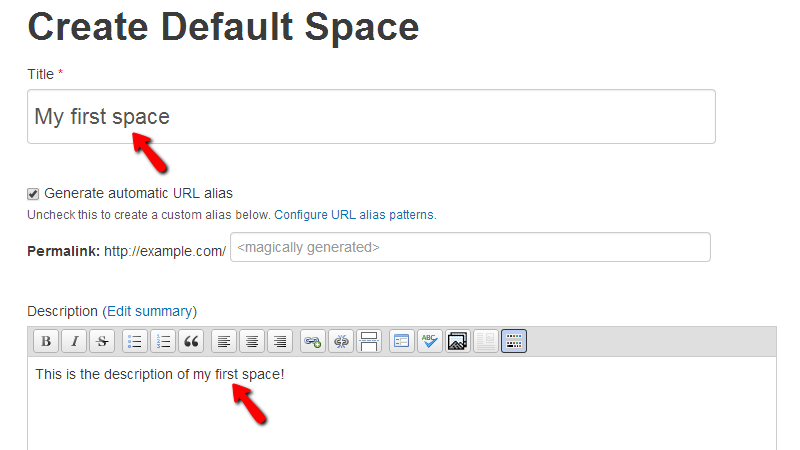
Let’s begin with the simple settings of your new Space. First you will notice that you will have to fill the Title and Description fields.
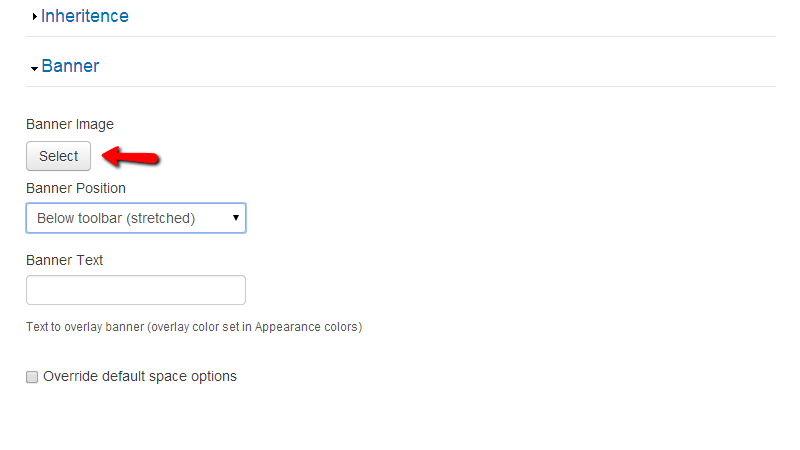
Bellow these fields you will find the Inheritence and Banner files. The Inheritence interface will provide you with the options to configure the newly create space as a child space of some other already existing space in order for the new space to inherit the users and options of the parent space.
The Banner space will provide you with the option upload an image as banner of the newly created space. This image will be displayed on the full width of the browser.
If you scroll up to the top of the page you should be able to notice few additional options in the sidebar section of the page. There you will be able to find the following blocks of settings:
- Group visibility – Here you will be able to configure if the newly created space should be publically visible
- Featured image – Here you should be able to upload a feature image which will be displayed above the description of the space on its home page

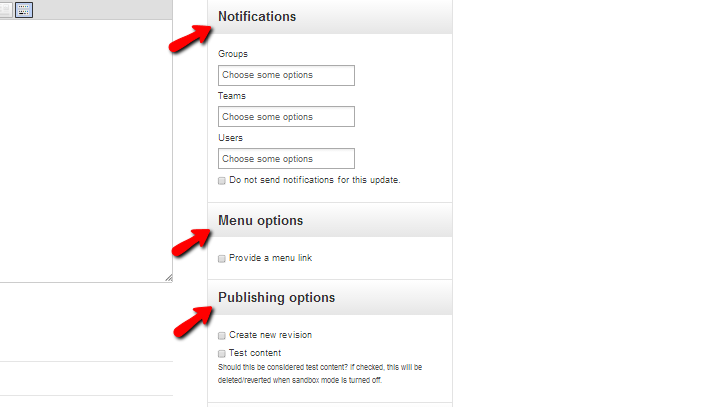
- Notifications – If notifications should be sent to any group, team or user
- Menu options – If there should be a link to the new space in the main navigation menu of your website
- Publishing options – Options related to the publishing of your space
- Authoring Information – Here you will be able to configure the information about the author of the space and also about the date when the space has been create at. The block also contains the action buttons which you should use in order to save and publish the space

Once you are done with the configuration of your new space please press the Publish button so the space can be saved.
Congratulations! You can now create as many new spaces as you would like to have on your website!

Open Atrium Hosting
- Free Open Atrium Installation
- 24/7 Open Atrium Support
- Free Domain Transfer
- Hack-free Protection
- Fast SSD Storage
- Free Cloudflare CDN
- Free Open Atrium Transfer
- Immediate Activation