How to install Cinematico manually
Updated on Dec 10, 2015
The installation of Cinematico is an easy process and you will not have any issues completing that. However, we will review the entire process so you can get a better understanding of the options that allow you to set your website as per your exact needs.
Text goes here:
Step 1 Get Cinematico
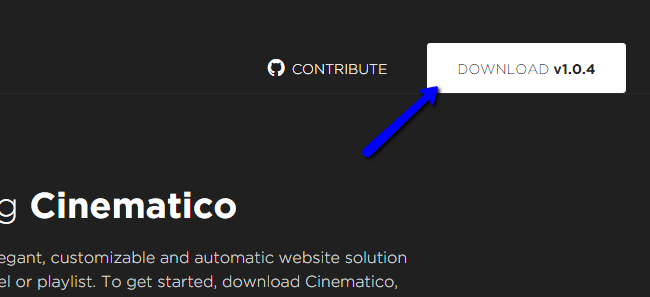
Cinematico is a free application for video sharing. You can get from it Cinematico website. Once you access the website, you need to click on the Download button at the top-right corner.
Step 2 Prepare installation files
The next step is to upload all of the files within the "cinematico-x.x.x" directory to the exact location, where you would like to install Cinematico. In our example, we are using example.com as domain name and we would like to access our new website directly by typing our domain. In this case, we need to upload the contents of the Cinematico installation within the public_html/ directory of our account.
However, if we would like to access our website using example.com/video/, we will have to create a subfolder called "video" within the public_html/ directory of our account and then upload the Cinematico files in it.
Once you decide where to install Cinematico, you can start uploading the files using your favorite FTP client.
Upload Files
There are two ways of uploading your files to the server - using an FTP client, following our FTP tutorial, or uploading directly through your cPanel account > File Manager, following our cPanel tutorial.
Step 3 Initiate installation
To initiate the installation of Cinematico on your account, you need to access the domain you are using for it via your web browser. In our case, we have uploaded Cinematico within the public_html/ directory of our account and our domain name is example.com so you need to access it directly. This will bring up the installation screen of our new website. Note that the process includes only one step and all of the information that you need to provide is on the first page.
Let us review the available options:
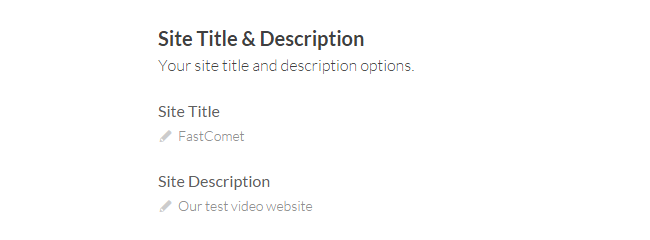
- Site Title & Description: You can set the title and the description of your new Cinematico installation.
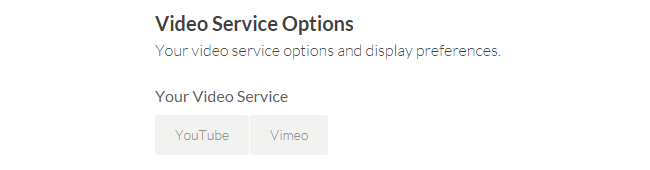
- Video Services Options: Set the video options of your new Cinematico installation. Note that this option can be configured later so you can leave it as it is now.
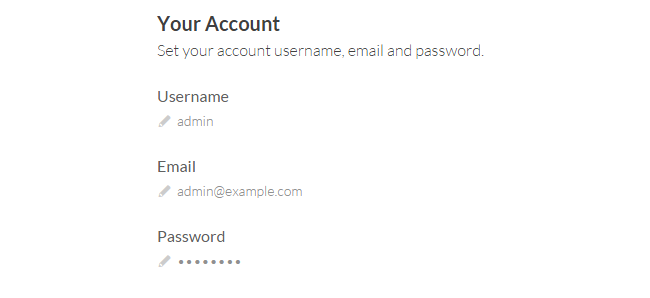
- Your Account: Set the username, email and password for your main administrative account. You will need it for the management of your website so make sure that you keep a note of it.
When you are ready with the details for your new website, look at the bottom-right corner of the screen. This button will initiate the actual installation of the script on your account so click on it.
Step 4 Installation completed
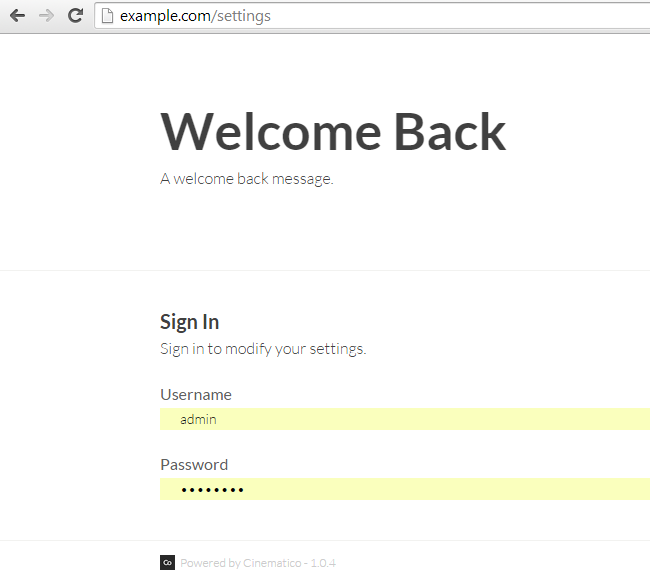
The installation of Cinematico will be automatically completed for you and you will be redirected to the administrative area of your website. Simply enter the administrative details you set in the previous step and you will be able to access your new website and start managing it.
On this page...

Cinematico Hosting
- Free Cinematico Installation
- 24/7 Cinematico Support
- Free Domain Transfer
- Hack-free Protection
- Fast SSD Storage
- Free Cinematico Transfer
- Free Cloudflare CDN
- Immediate Activation