How to manage member levels in SocialEngine
Updated on Dec 10, 2015
With the maintenance of a social networking website, it is important to group the users on your website together, following certain rules. This will allow you to create different member levels and set access rights for each one of them.
This is made easy with the use of SocialEngine and you have a built-in feature for the task. To access and use it, you first need to access the administrative area of your website as all of the following options are available from there.
The member levels management in SocialEngine includes:
Step 1 Create member level
To create a new member level, you need to navigate to the Manage tab on the main menu and then Member Levels.
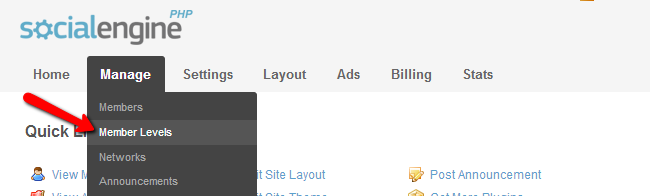
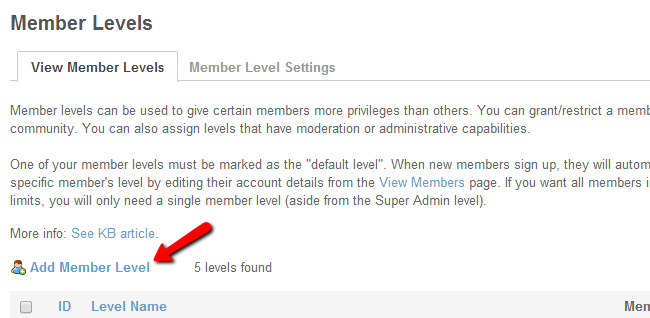
Click on the Add Member Level option to create one.
Edit the following options:
- Member Level Name: Enter the name of the new member level on your website.
- Description: Enter a short description for the new member level on your website.
- Type: Set the type of the membership level. This will state if it is intended for members, administrators or moderators on your website. Note that this value cannot be changed later.
- Copy Values From: You can add the access rights of certain existing member level to the current one. However, note that those values can be changed later.

Step 2 Edit member level
To edit the preferences of a certain member level on your website, you need to locate the Manage option on the top menu and then Member Levels.
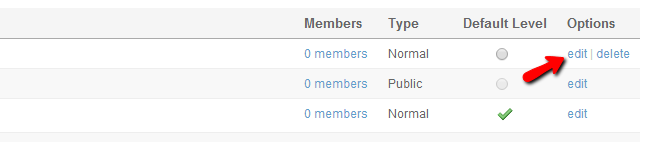
You will be presented with a list of all member levels on your website. You need to click on the Edit button next to the member level that you wish to edit.
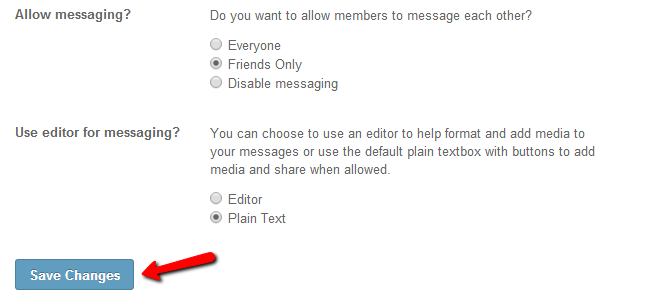
You will notice a large number of different options for the member level, which are not present at the time of the creation of a new one. Such are the ability to remove own account, to allow blocking, username changes, etc. You need to review them all carefully and adjust them as per your needs.
Step 3 Remove member level
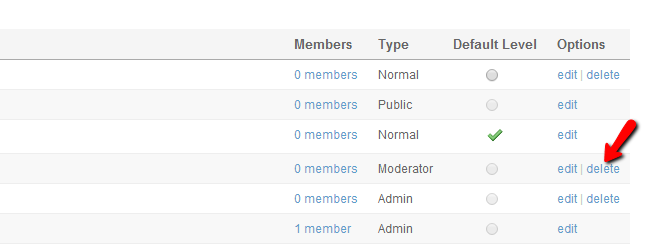
You cannot delete some of the core member levels of SocialEngine. However, you will be able to remove all of the member levels that you created manually. For that purpose, navigate to the Manage option on the main menu and then Member Levels.
You will be presented with a list of the member levels on your website. You will notice a Delete button next to the member levels that you can remove.
On this page...

SocialEngine Hosting
- Free SocialEngine Installation
- 24/7 SocialEngine Support
- Free Domain Transfer
- Hack-free Protection
- Fast SSD Storage
- Free Cloudflare CDN
- Free SocialEngine Transfer
- Immediate Activation