Managing your Blog in Pagekit
Updated on Dec 10, 2015
Creating a blog in Pagekit is extremely easy thanks to the pre-defined blog extension that comes with the core installation of the application. In this tutorial, we will show you how to manage your posts, comments and blog settings.
To manage your Pagekit Blog, you will need to:
step
Add a New Post
Firstly, you will have to log into your admin dashboard and navigate to the Blog menu.

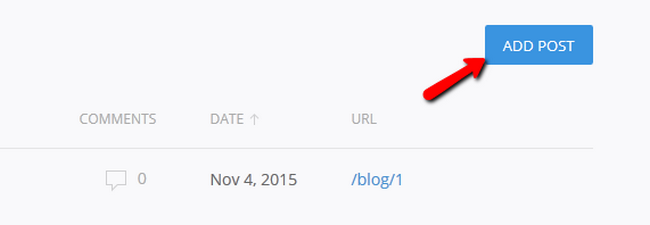
Access the Posts tab where you will be able to see all of your current posts and click on the Add Post button.
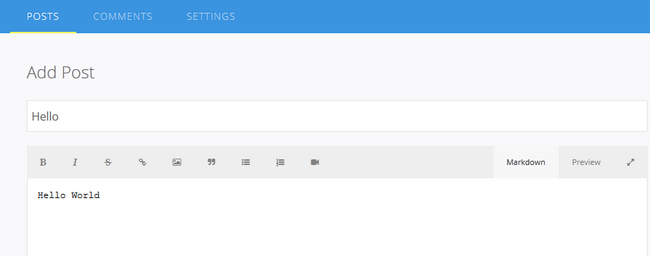
Here you will be able to Title your post and fill it with content. With the easy to use text editor you can write directly into the browser.
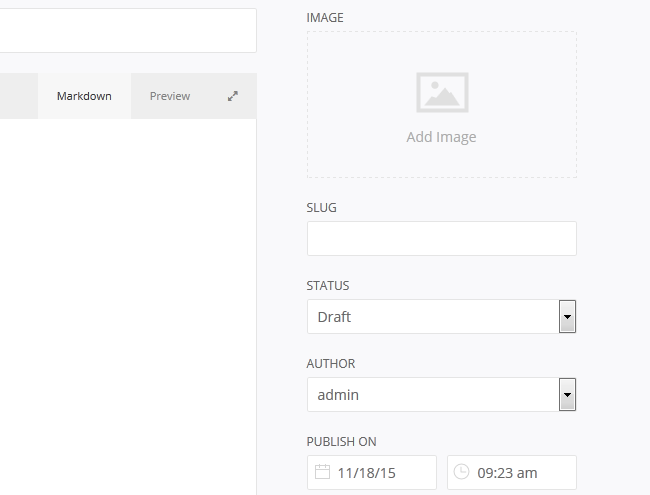
On the right you will see more options regarding the status of the Post, its author, publish date and a place from which you can add images in it.
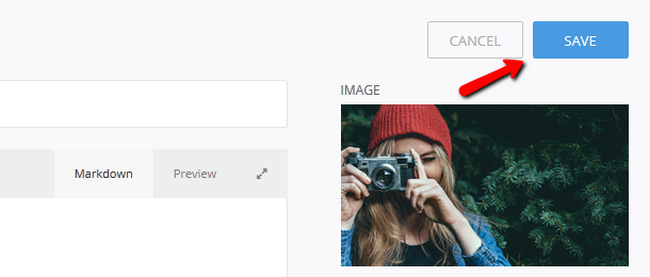
Let us add an image and publish the post by clicking the Save button.
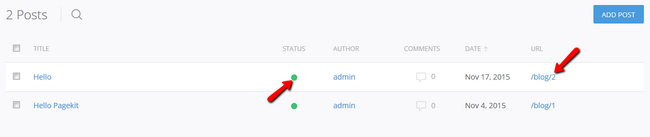
If you haven't changed the status to Published before saving you will now see that your status indication light for this post is gray. Click on it to make it green indicating that the post is live and now you can access the post by clicking on the URL link.
step
Edit Comments
You can easily edit comments by accessing the Blog → Comments section of your admin dashboard and clicking on the Edit icon corresponding to the comment you wish to modify.
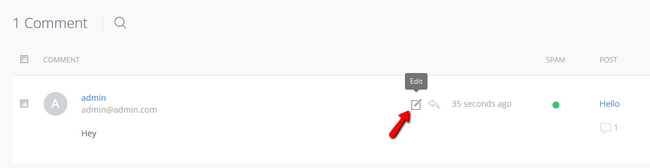
Here you will also see all of the comments and their respective authors as well as the timestamp of the comment.

You can change the content of the comment as well as the status and the author's displayed name and email if you feel they are inappropriate.
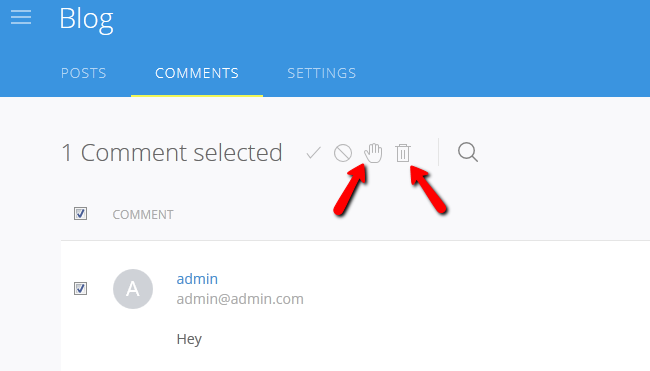
You can also mark a comment as SPAM or completely remove it. You can do this from the Comments tab.
step
Configure the Post and Comments Settings
In the Settings tab of the Blog menu, you can change the General settings of your blog as follows:
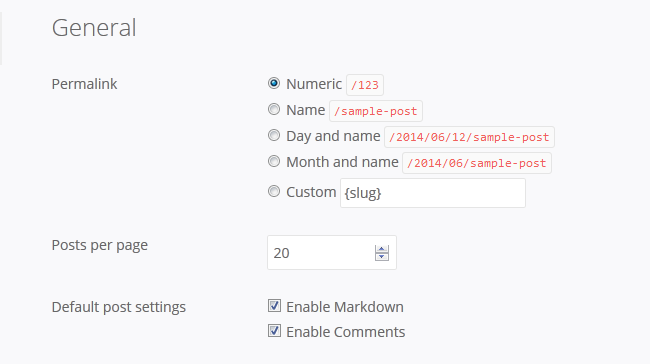
- Permalink - The structure of your blog's URLs (take into consideration when SEO)
- Posts per Page - The amounts of posts visible on one page
- Default post settings - Enable/Disable Markdown and Comments
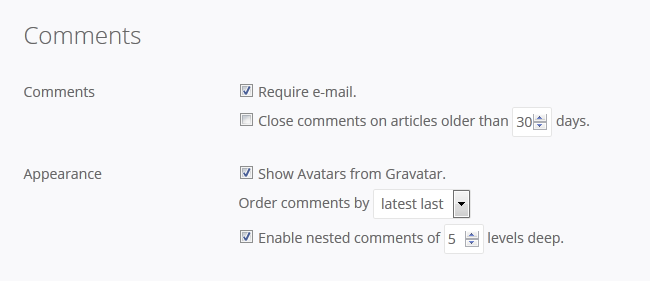
Comments:
- Require e-mail - Check this if you wish comment authors to be required to write their emails
- Close comments on articles older than xx days - Closes the comments on articles after a specified a time-frame
- Order comments by - Sort comments by latest last and latest first as you see fit
- Enable nested comments of x levels deep - Disable this if you do not wish nest/pyramid comments on your website
Don't forget to click on the Save button, once you have finished configuring these settings.
Congratulations, you can now fully manage your website's blog.
On this page...

Pagekit Hosting
- Free Pagekit Installation
- 24/7 Pagekit Support
- Free Domain Transfer
- Hack-free Protection
- Fast SSD Storage
- Free Cloudflare CDN
- Free Pagekit Transfer
- Immediate Activation
