How to configure LeapFTP
Updated on Dec 10, 2015
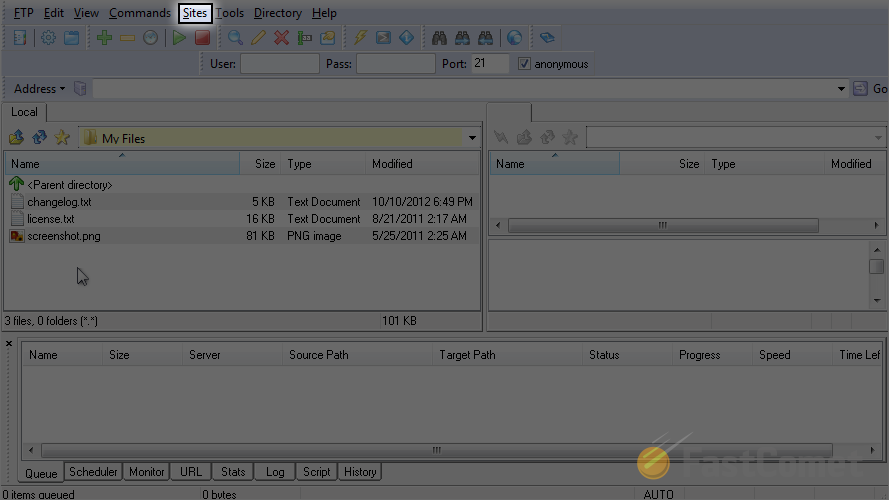
We will review the configuration steps for LeapFTP and we are assuming that you have already downloaded and installed it on your local computer. If you did not completed that yet, you can download the FTP client via the official LeapFTP website.
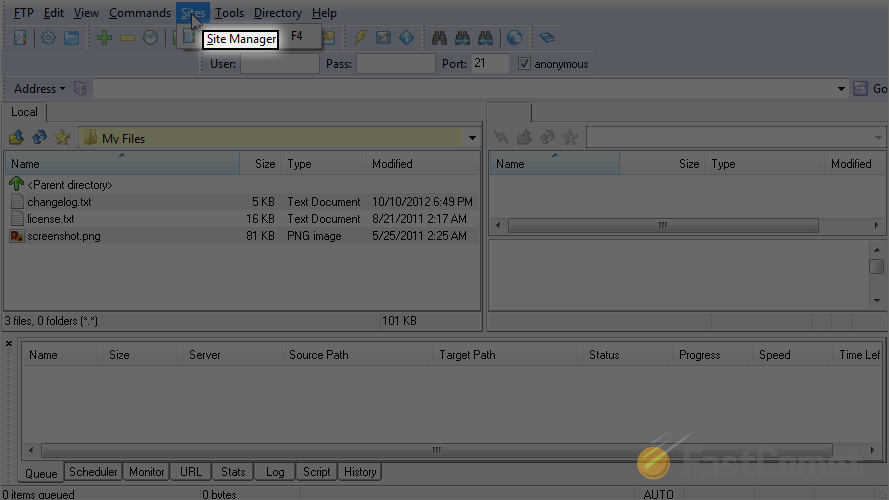
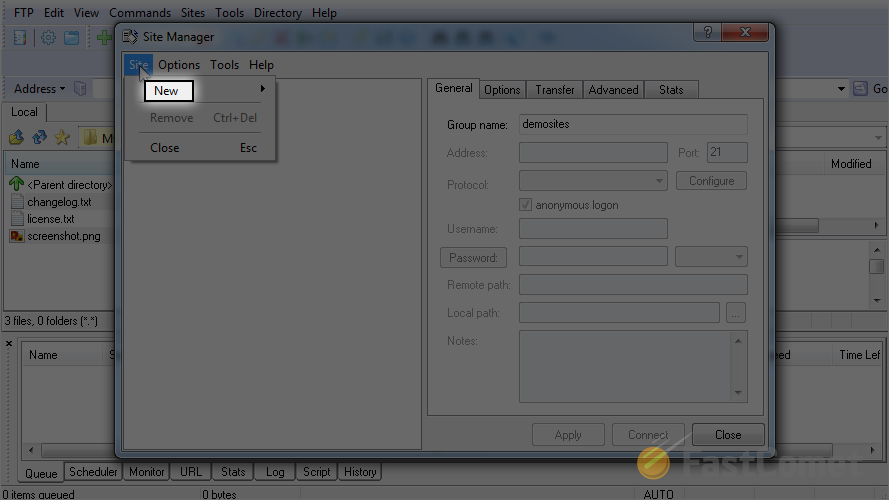
To configure your LeapFTP client, you first need to click on the Sites tab from the top menu.
Select the Site Manager option.
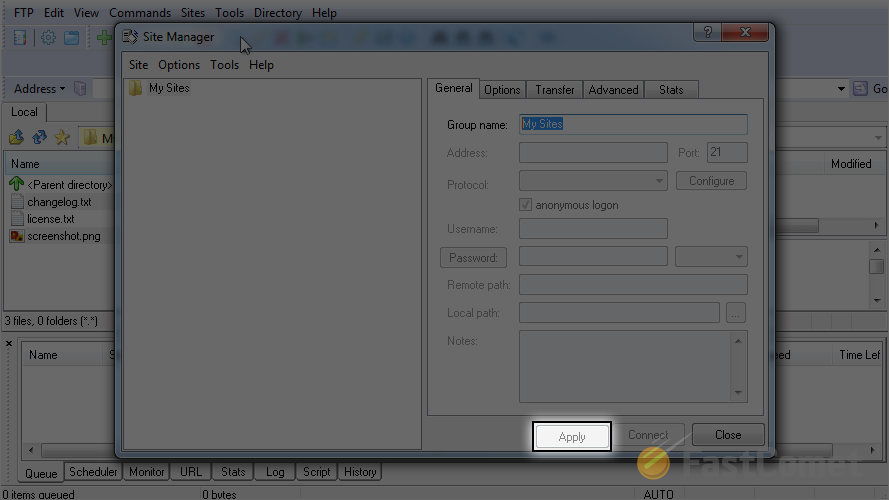
You can enter your FTP account directly or create a new group. The use of groups will allow you to keep different FTP accounts together, using certain criteria for that. If you have a large number of websites, this is a good way to managing them.
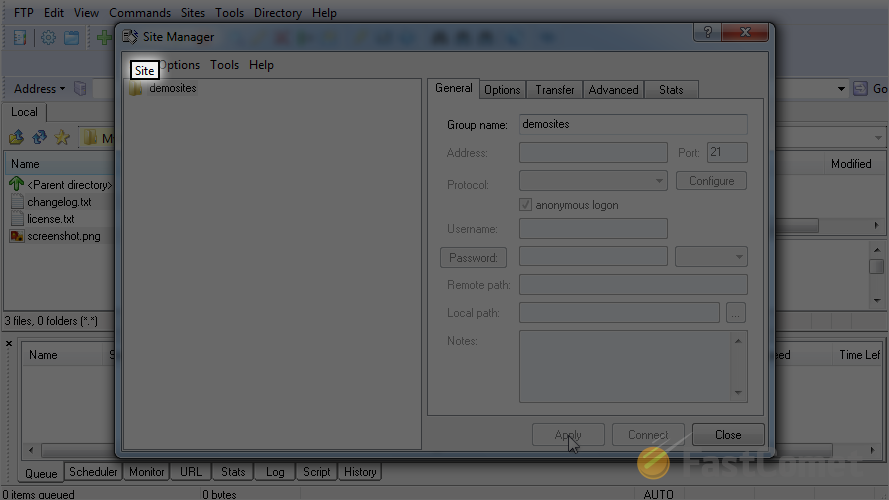
Enter the name of the new group and click on the Apply button to save it.
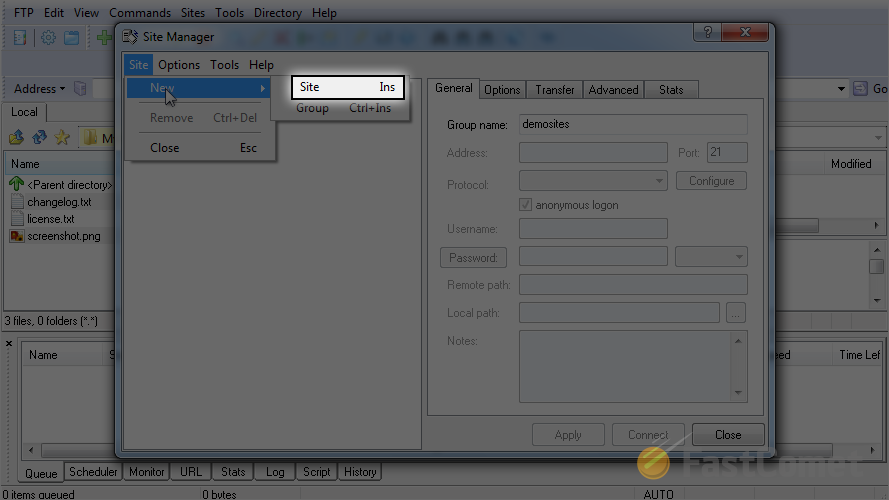
Select the newly created group and then click on the Site button at the top.
Navigate to the New option.
Click on the Site option to add your FTP account details.
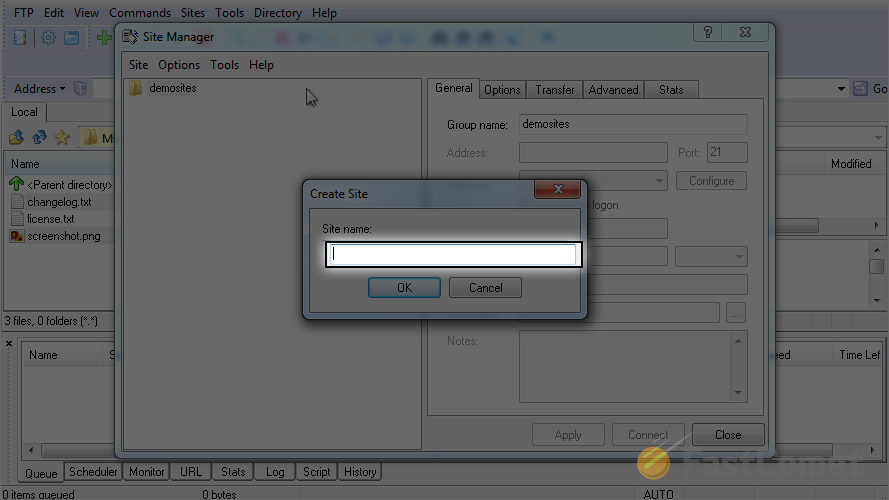
Enter the name/label for your website. Note that this is only for your reference.
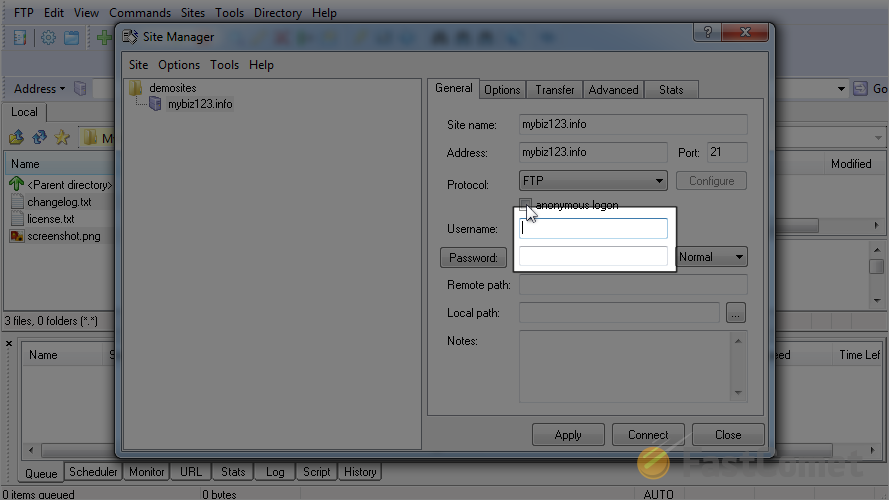
Enter the server address for your FTP account. Also, you need to uncheck the Anonymous login option.
FTP Hostname
You can set the host address in the form of domain.com, ftp.domain.com or the IP address of the server. Simply make sure that your domain is pointed to the correct server you are accessing and substitute the examples above with your actual domain.
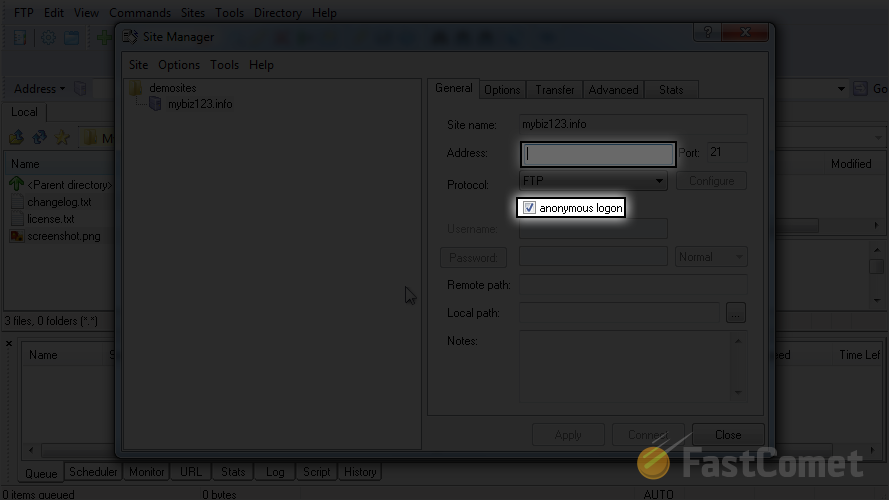
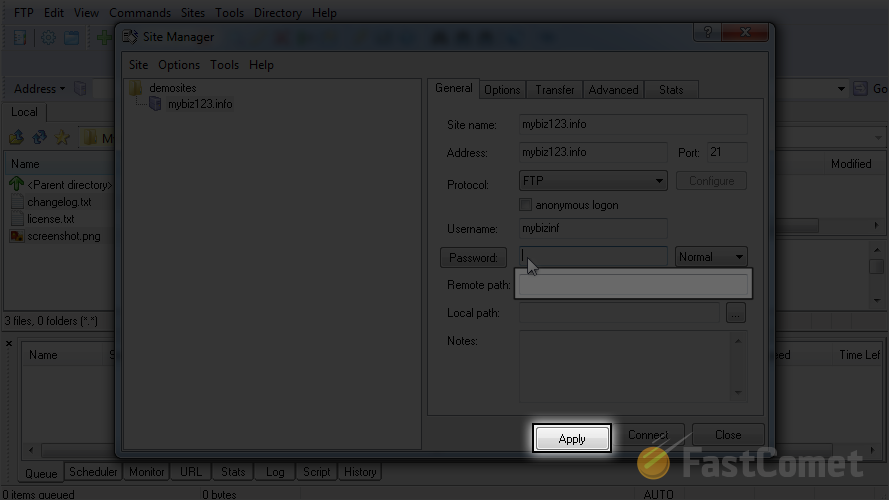
Enter the FTP Username and FTP Password for your account.
If you have a specific folder that you wish to enter on logon, you can specify it here. When ready, click on the Apply button to keep the account details.
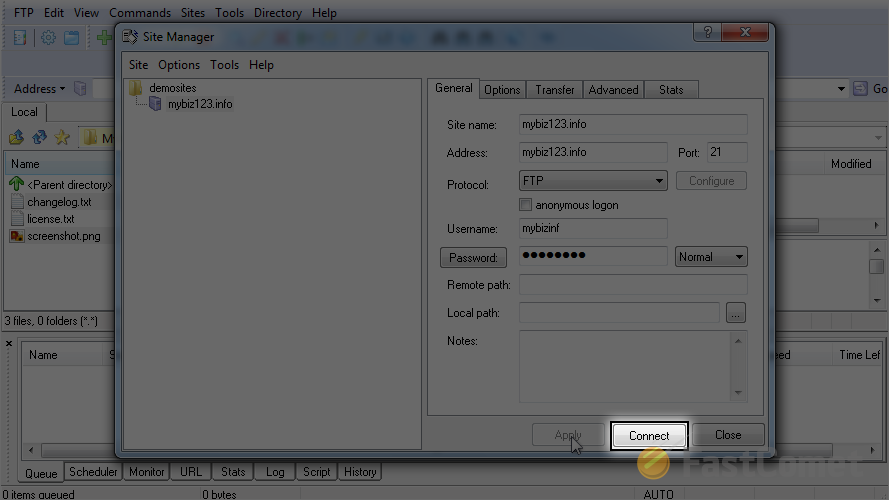
Now, you can simply click on the Connect button.
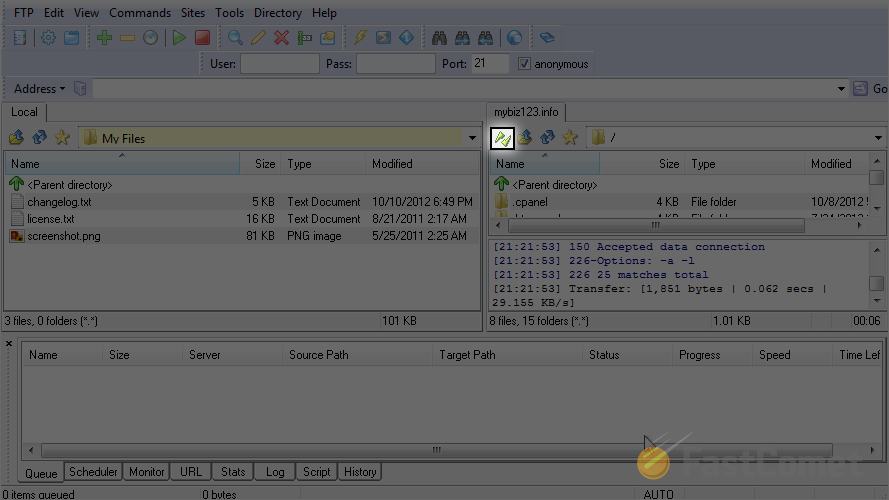
That is it, you have successfully accessed the remote server. If you wish to close the connection, you can simply click on the disconnect icon.
On this page...

FTP Hosting
- Free Domain Transfer
- 24/7 Technical Support
- Fast SSD Storage
- Hack-free Protection
- Free Script Installation
- Free Website Transfer
- Free Cloudflare CDN
- Immediate Activation
