Product Classes and Attributes in X-Cart
Updated on Dec 10, 2015
This tutorial will review the process of creating different product classes and attributes. When you add products on your website, you need to provide different information for them. You can create different product classes and then apply them for the new products on your website.
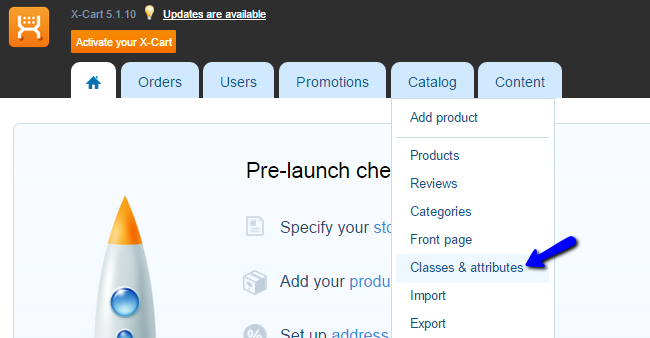
First, you need to log in as administrator on your website. Click on the Catalog option on the main menu and then Classes & Attributes.
To Manage Classes & Attributes in X-Cart learn how to:
step
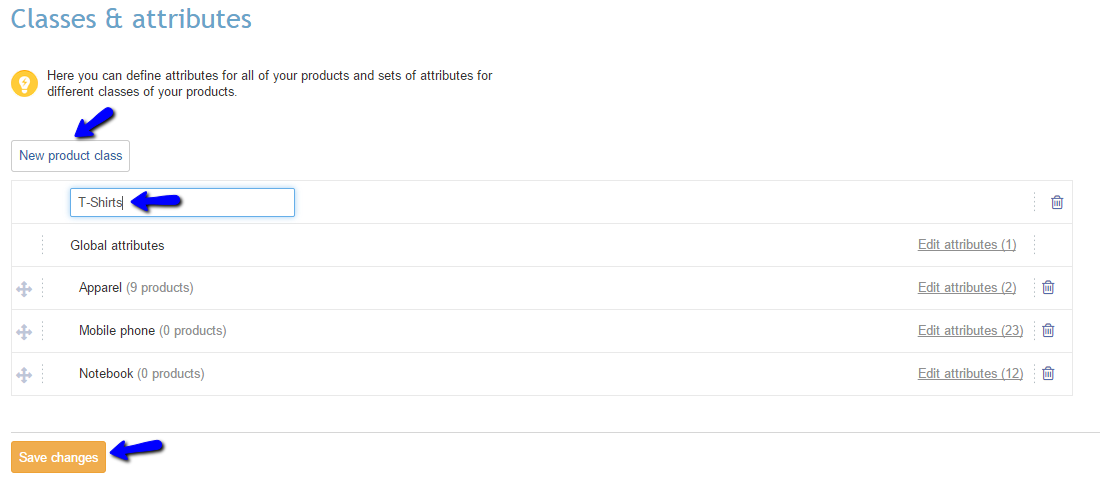
Create Product Classes
Click on the New Product Class button to create a new one. Enter the name of the new class and click on the Save Changes button.
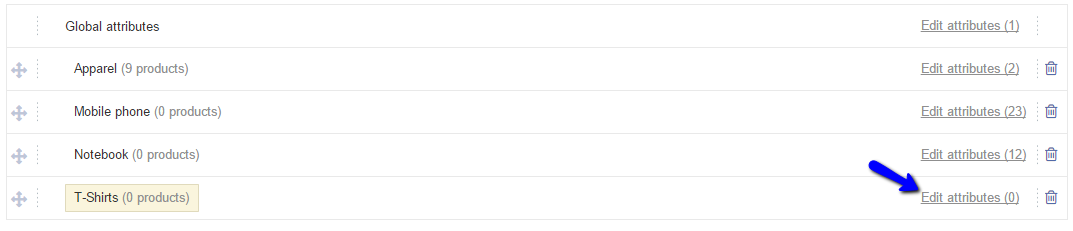
Click on the Edit Attributes next to the product class you have just created.
step
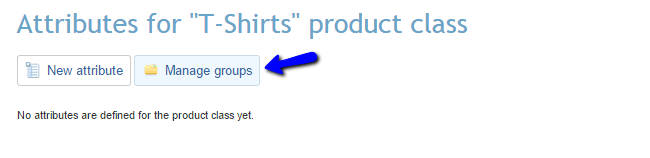
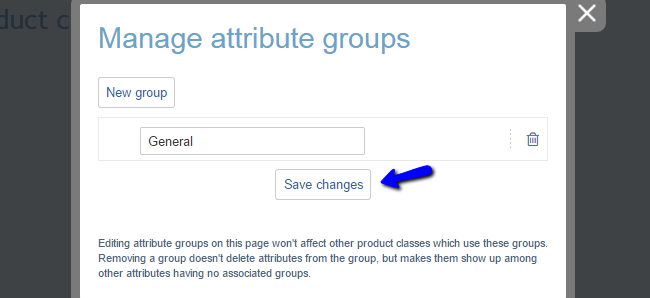
Create Attribute Groups
Click on the Manage Groups button to create a new one.
Click on the New Group button, enter it’s name and click on the Save Changes button.
step
Create Attributes
Click on the New Attribute button to create one.

Enter the following options:
- Attribute - Enter the name of the new attribute;
- Attribute Group - Select the group for the new attribute;
- Type - Choose the type of the new attribute.
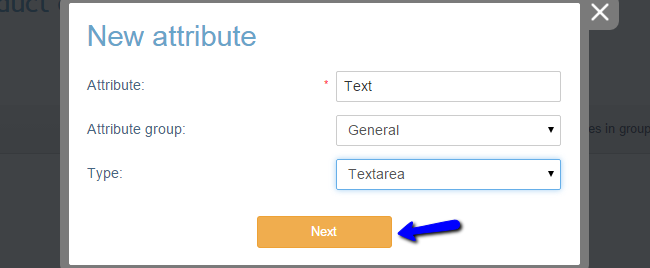
Click on the Save button to create the new attribute.
On this page...

X-Cart Hosting - free features
- Free CS-Cart Install
- 24/7 Expert Support
- Free Domain Transfer
- Hack-free Protection
- Fast SSD Storage
- Free CubeCart Transfer
- Free Cloudflare CDN
- Immediate Activation