How to install skins in b2evolution
Updated on Dec 10, 2015
b2evolution comes with a set of pre-installed skins that you can choose from for your blogs, forums, galleries, etc. However, you may find yourself in a position, where you are not satisfied with those and you would like to install additional skins that match your needs.
The installation of skins is easy with b2evolution:
Find and Download a Skin
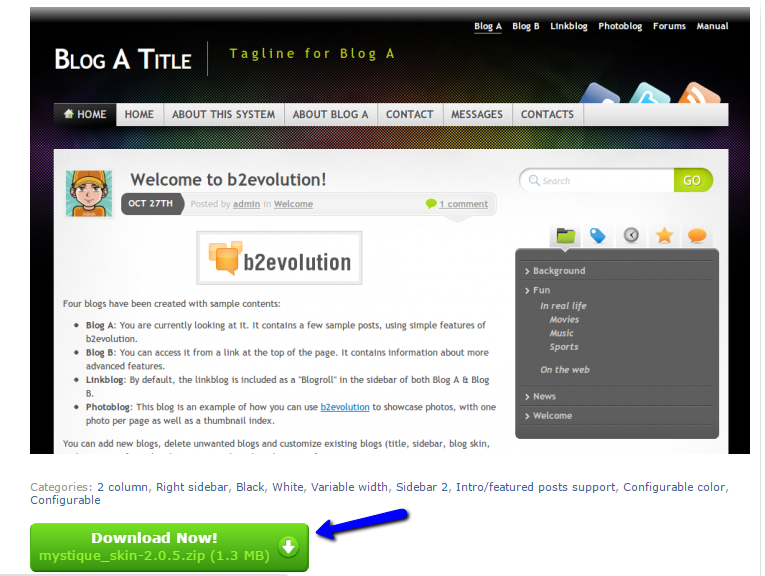
You can find the largest number of additional skins through the official b2evolution skins directory of the application. For the purpose of this tutorial, we will install the Mystique theme. Access the theme's page and click on the large Download button, just below the introduction image.
Prepare the Files for Installation
Extract the files of the skin archive on your local computer. This will create a folder with the name of the skin, which will contain all of the required files for it.
Once you have that, you will have to upload the entire folder of the skin on the server. First, locate your b2evolution installation directory. This will be the public_html/ directory of your account if you are accessing your website directly through the main domain of your account.
Once you locate the directory of your b2evolution website, simply upload the folder of your new skin to the skins/ folder on the server.
Upload Files
There are two ways of uploading your files to the server - using an FTP client, following our FTP tutorial, or uploading directly through your cPanel account > File Manager, following our cPanel tutorial.
Install the New Skin
Up until this moment, you will have a skin of your choice, properly uploaded to your account on the server. Now, it is time to install it on your b2evolution website.
For that purpose, you need to access the administrative dashboard of your website. Click on the Structure menu item and then choose the blog, for which you would like to apply the new skin.

Select the Skin tab and then Manage Skins. You will notice the Install New button just above the list of available skins on the right.
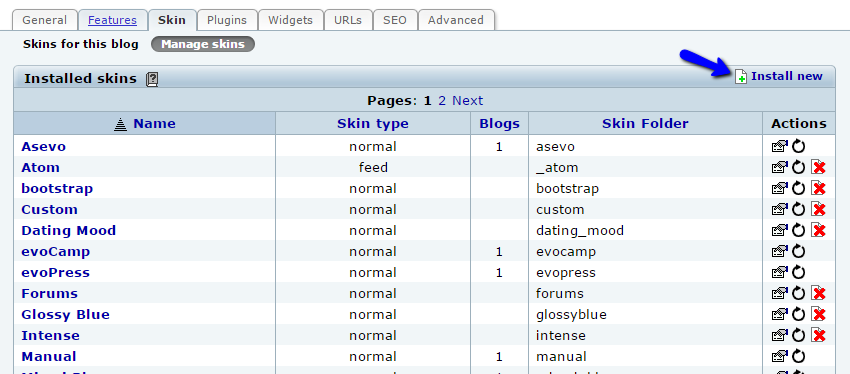
Review the available skins for installation, locate the one you have uploaded in the previous steps and then click on the Install NOW! button to proceed.

The skin is now installed, but you will have to activate it for any of your blog sections. Simply navigate to Structure again and then select the blog you would like to edit. Choose the Skin tab for the blog. Click on the Use a different skin button and enable the new skin on your website.

b2evolution Hosting
- Free Installation
- 24/7 Support
- Free Domain Transfer
- Hack-free Protection
- Fast SSD Storage
- Free Windu Transfer
- Free Cloudflare CDN
- Immediate Activation