How to Manage Blogs in b2evolution
Updated on Dec 10, 2015
In this tutorial, we will review how to manage the blogs on your b2evolution website. The application allows you to create two or even more blogs at the same time and place them on a single website. This makes it easy for management, even though it sounds complex.
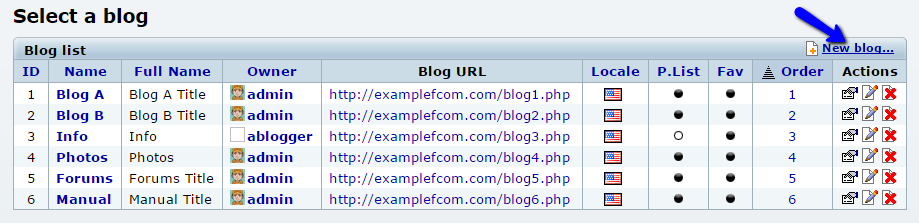
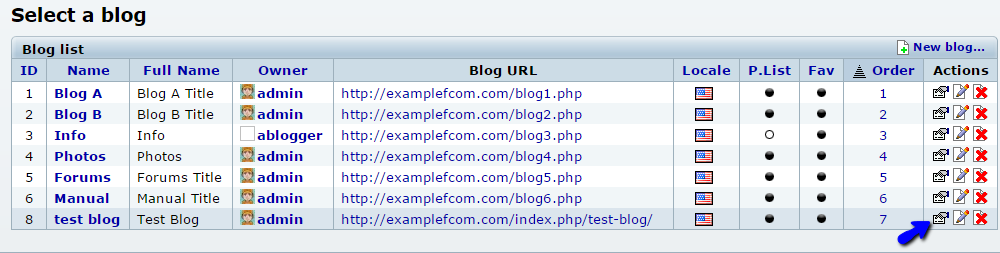
To create manage the blogs on your b2evolution website, you first need to access the Dashboard of your website as administrator. You will instantly be presented with a list of the blogs on your website.
To manage blogs in b2evolution you need to know to:
Step 1Create a New Blog
When you access the Dashboard of your website as administrator, you will see a list of the current blogs on your website. To create a new one, simply click at the New Blog button at the top-right corner of the list.
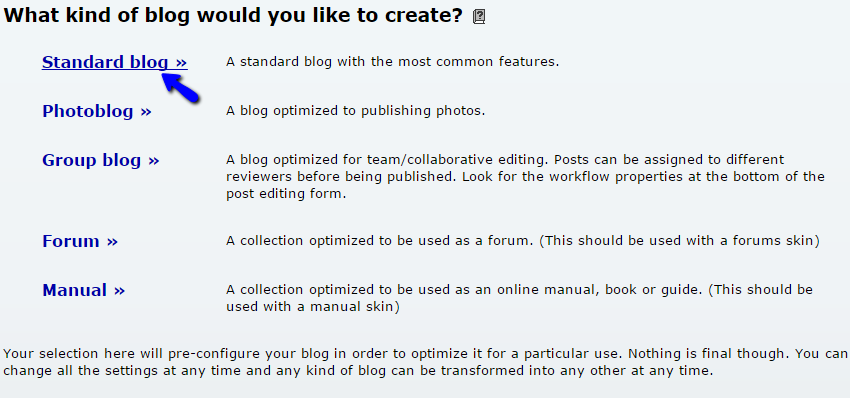
The system will ask you about the type of a blog that you wish to create. There are 5 different types:
- Standard Blog - This option is the most basic and it will allow you to create a simple blog with posts.
- Photoblog - This option will create a gallery for displaying of photos on your website.
- Group Blog - This group blog will allow you to assign different users on it. This way, you can provide access to writers, editors, publishers, etc.
- Forum - A forum section for your website. You need to choose a forum skin
- Manual - This section will allow you to build a manual, book or a guide.
For the purpose of this tutorial, we will create a Standard Blog on our website.
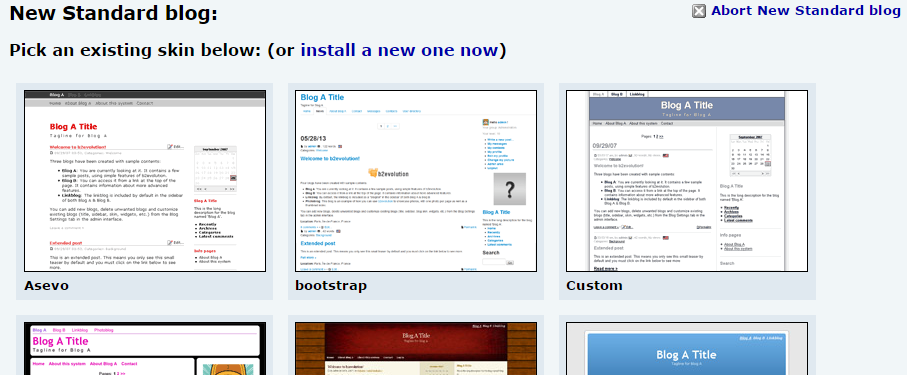
On the next step, simply choose the skin that you wish to use for the new blog section on your website. There is a list of predefined skins that you can select for the new blog.
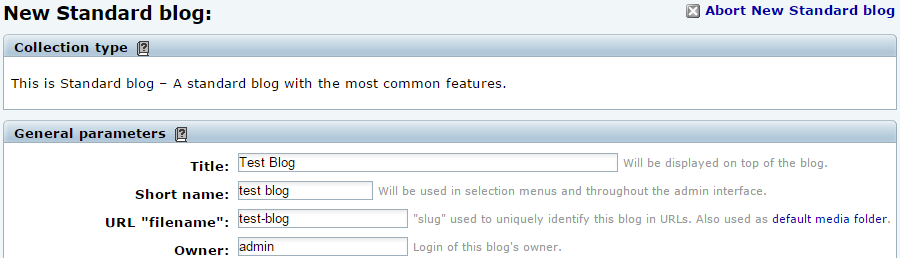
Enter the details of the new blog, that you wish to use. The options include:
- Title: Set a title for the new blog
- Short Name: The short name of the new blog that will be used in the main menu.
- URL: Enter the URL to be used for the new blog.
- Owner: Set the owner of the new blog that will manage it.
- Main Locale: Set the main locale for the new blog.
- Long Description: Enter a long description for your website. This is a good option that will allow users to find it easily in search engines.
Step 2 Edit Blogs
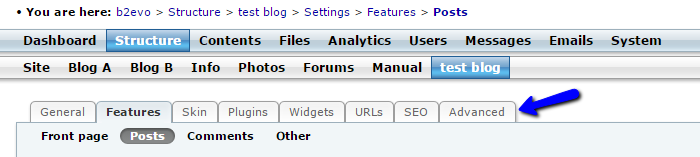
If you wish to edit an existing blog on your website, you can easily do so via the Dashboard on your website when you are logged in as administrator. You will be presented with a list of the current blogs on your website. Next to each of the blogs, you will notice a set of actions that you can do to manipulate them. Click on the Edit Properties button at the right, next to the blog that you wish to edit.
You have a set of different features that you can change for your blog. Those are divided into different tabs that you can review for further understanding.
Step 3 Delete Blogs
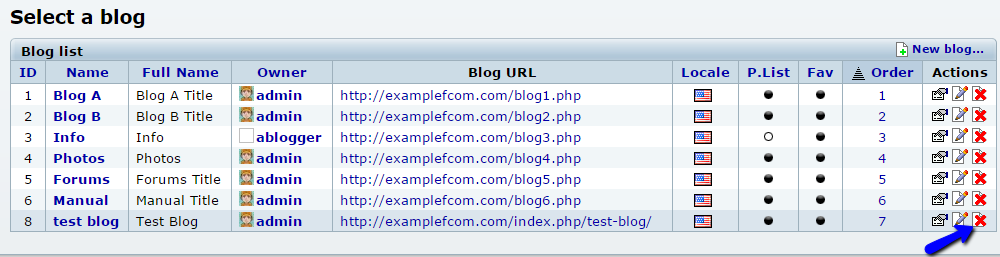
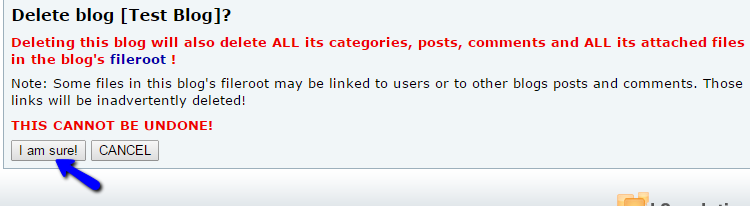
To remove an existing blog from your website, you need to access your Dashboard as administrator. You will notice a list of all blogs on your website. Next to each one of them, there is a number of options that you can use. Click on the Delete button next to the blog that you would like to remove from your website.
Click on the "I am sure" button to confirm the removal.
On this page...

b2evolution Hosting
- Free Installation
- 24/7 Support
- Free Domain Transfer
- Hack-free Protection
- Fast SSD Storage
- Free Windu Transfer
- Free Cloudflare CDN
- Immediate Activation