How to add a signature to your emails
Updated on Mar 13, 2019
The signature is used to automatically sign your letters and it will be applied to each new email you are creating once you configure it of course and in this tutorial we are going to show you how to configure that signature.
This tutorial assumes that you have already configured a your email account in Thunderbird.
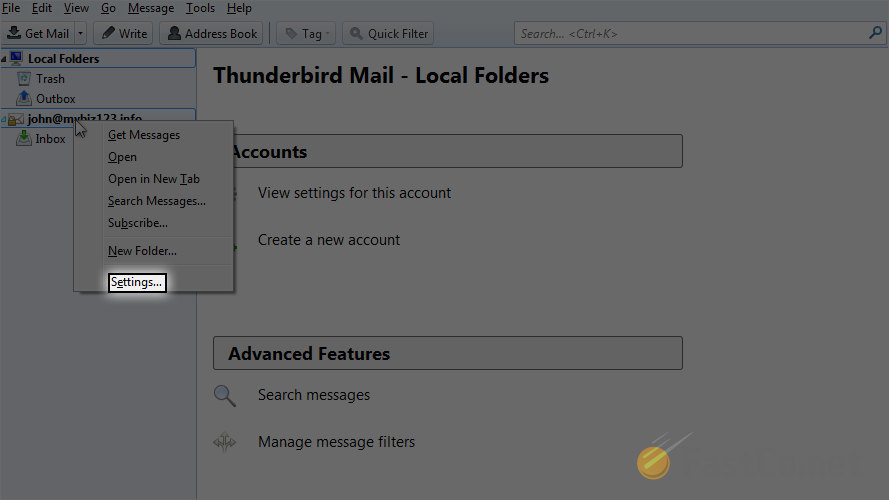
You should begin by accessing the Account Settings window available by right-clicking on your email account and choosing the Settings option.
On the home page of the newly opened window you will notice the section called Signature text where you will be able to add your signature.

Another option you can consider is to have the signature attached from an external file. In order to use that option you will need to tick the "Attach the signature from a file instead" and then click the Choose button.
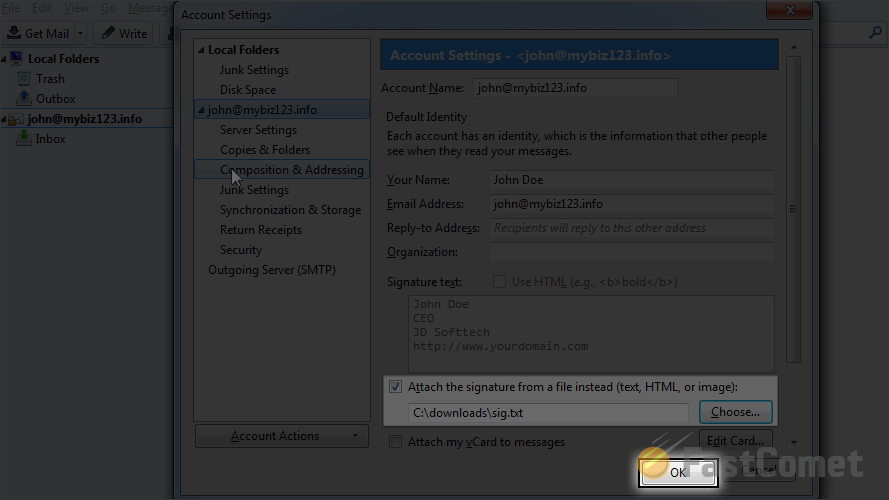
This will enable you to choose a text, HTML or an image file for your signature from your local computer and once you choose it you will need to finally click on the Ok button so the changes you have performed can be saved and your signature can be displayed in the new emails you will be writing.
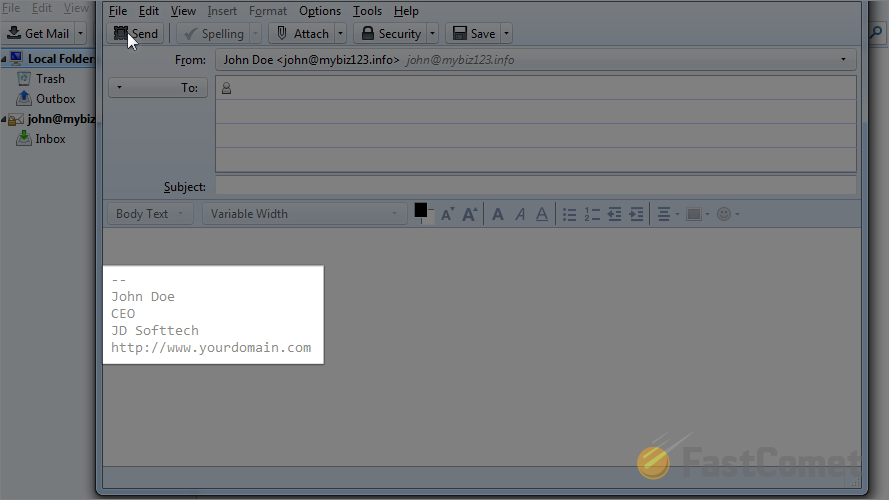
Congratulations! You have successfully added a signature to your letters!
On this page...

Mail Hosting
- Free Domain Transfer
- Unlimited Email Accounts
- 24/7 Technical Support
- Fast SSD Storage
- Hack-free Protection
- Free Cloudflare CDN
- Immediate Activation
