How to set up email account with POP3 protocol
Updated on Mar 13, 2019
In this tutorial we are going to show you how to configure your Outlook 2010 email client with your existing mail account using the POP3 incoming mail protocol.
This tutorial assumes that you have already downloaded and started your Outlook 2010 email client,
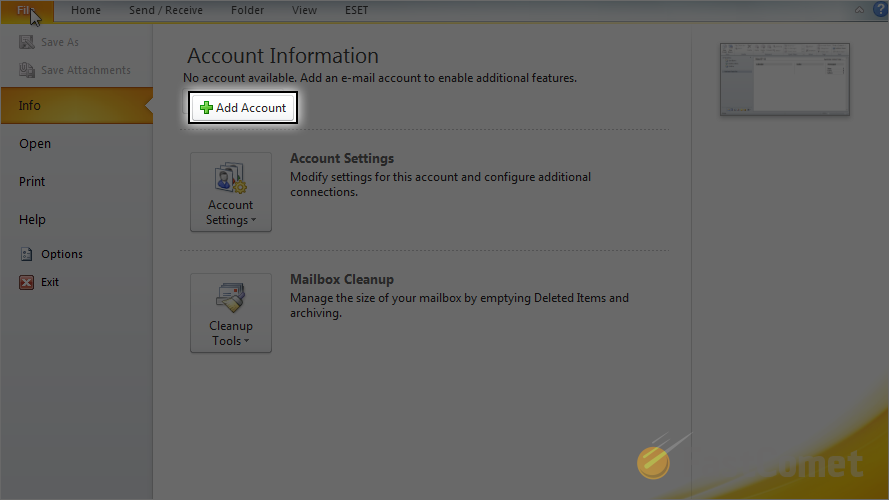
Let's begin by adding a new email account in Outlook 2010. In order to achieve that you will need to access the File menu → Add Account.
You will be prompted with the "Auto Account Setup" window where you should begin with the Email Account configuration options.
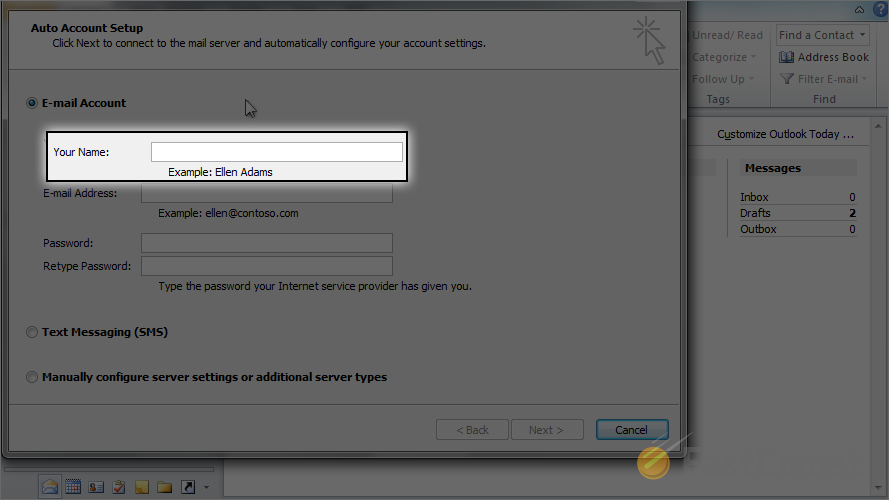
There you should be able to fill the following fields:
- Your name
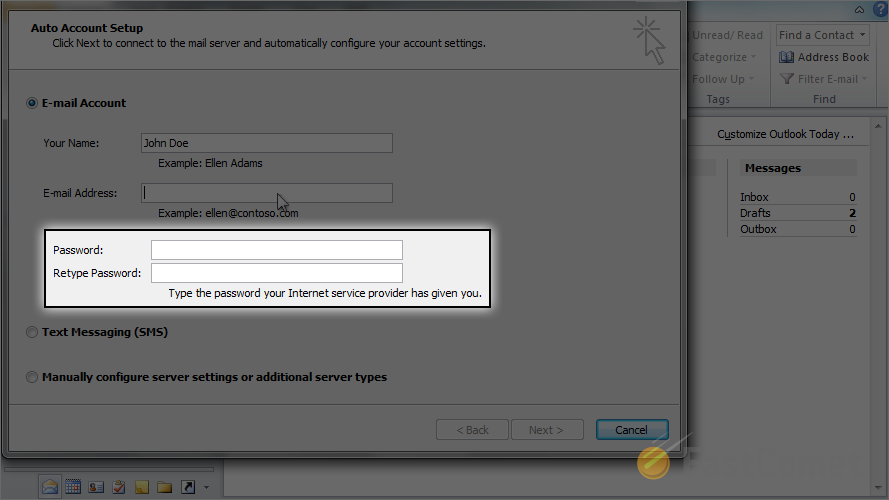
- E-mail address
- Password
- Retype Password
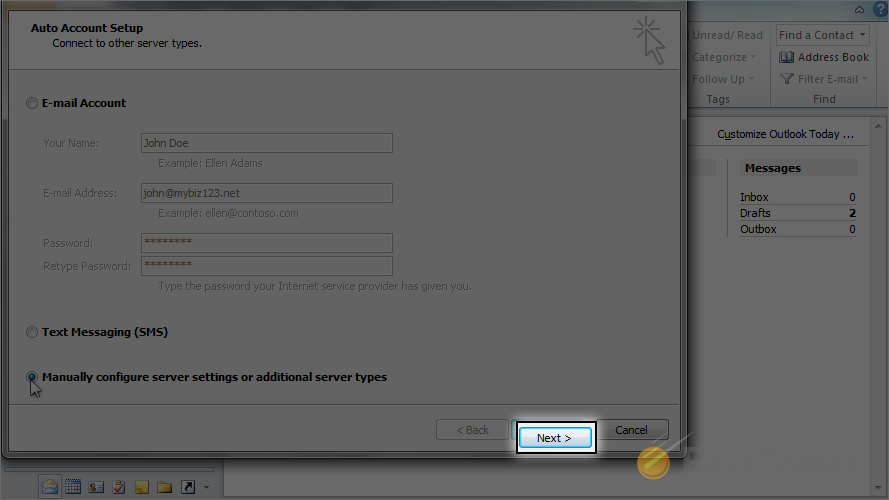
Now that you have set these it is time to configure the mail server settings. This can be easily achieved by clicking on the "Manually configure server settings or additional server types" option and then by pressing the Next button.
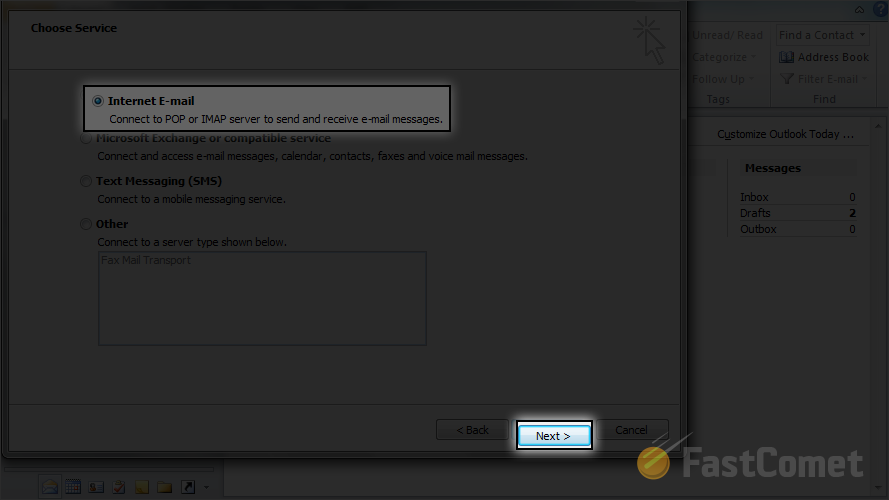
You will then be prompted with the Choose Server window where you should choose the first option - Internet E-mail and then once again click the Next button.
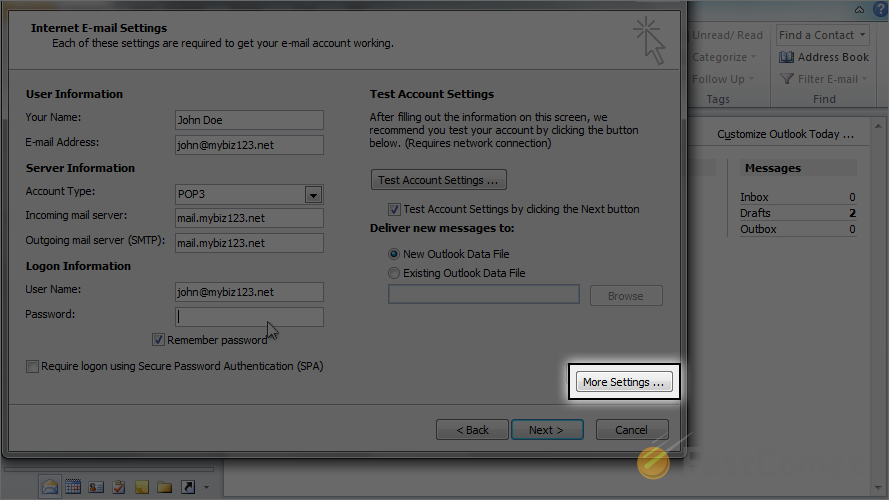
The Internet E-mail Settings window will appear and there you will need to configure the provided sections of options.
The first section called User Information is relatively simple as you will need to fill:
- Your Name
- E-mail Address
The second section called Server Information is the one which will require some additional configuration. This section contains the following fields:
- Account type - Since we are configuring the mail client for the POP3 protocol you will need to simply choose it from this drop down list.
- Incoming mail server - Here you should input the hostname of your mail server.
Hostname
It is relatively simple - the hostname is mail.yourdomain.com where the substitution yourdomain.com should be replaced with your actual domain name. If for example, your domain is mybiz123.info the hostname you will need to use is mail.mybiz123.info.
- Outgoing mail server (SMTP) - The value is the same as your Incoming mail server.
The last section is called Logon Information and there you will need to simply input the username and the password for your email account.
Note
The username should be your actual email address. Please make sure that it contains @yourdomain.com at the end so for example your domain is mybiz123.net the username can be [email protected].
Once you are done with this section please locate and click on the More Settings button so you can proceed further with the configuration.
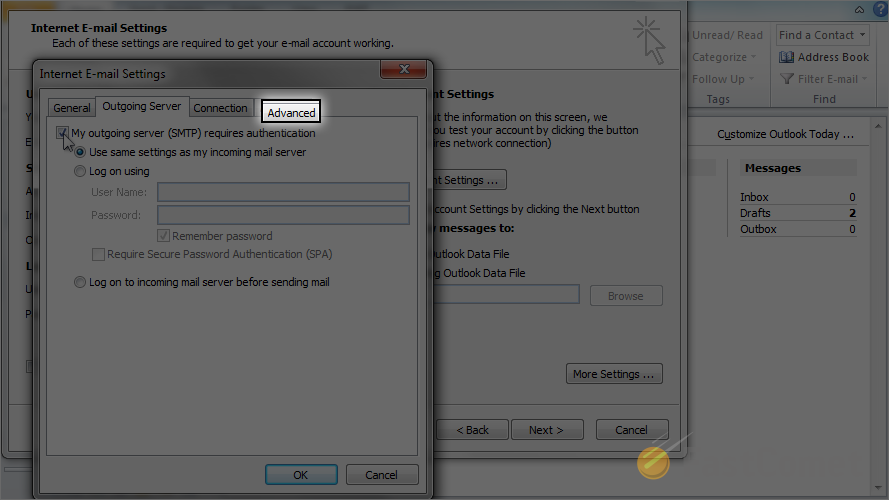
The button will prompt you a small window with some additional settings. Please click on the "Outgoing Server Tab" and make sure that you will select the following options there:
- My ongoing server (SMTP) requires authentication
- Use settings as my incoming mail server
Next please click on the Advanced tab.
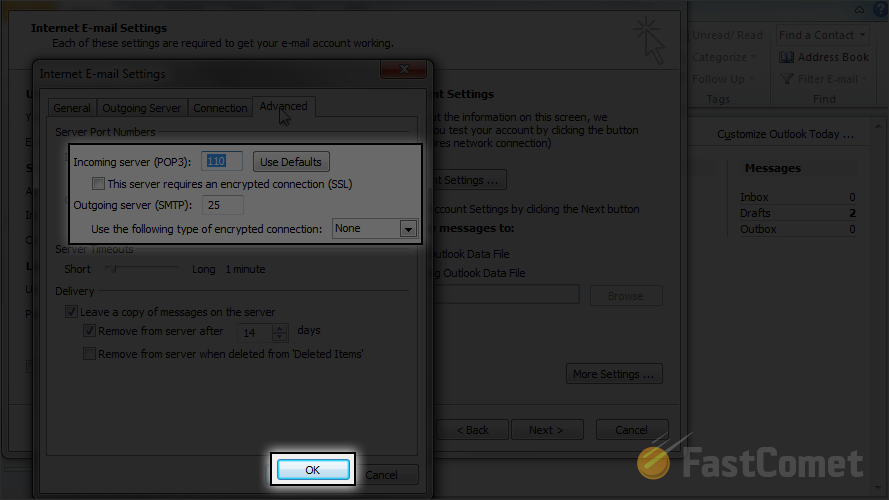
There you will need to configure the ports for your incoming and outgoing server. The port for the Incoming Server (POP3) is 110 and the port for the Outgoing Server (SMTP) is 25. Once you are done with these please click on the Ok button located at the bottom of that window.
Finally please click the Next button so the email account in your Outlook email client can be created.
Congratulations! You have configured your email account with the POP3 protocol for incoming emails.
On this page...

Mail Hosting
- Free Domain Transfer
- Unlimited Email Accounts
- 24/7 Technical Support
- Fast SSD Storage
- Hack-free Protection
- Free Cloudflare CDN
- Immediate Activation
