How to setup your email signature on iPad
Updated on Mar 13, 2019
The signature of your emails is the automatically added, predefined by the user text at the end of your message. In this tutorial we will show you how to configure it and how the signature will be then automatically added to your email.
First you will need to access the page where the configuration option for the Signature feature can be found. The page is located under the Settings → Mail, Contacts, Calendars screen.
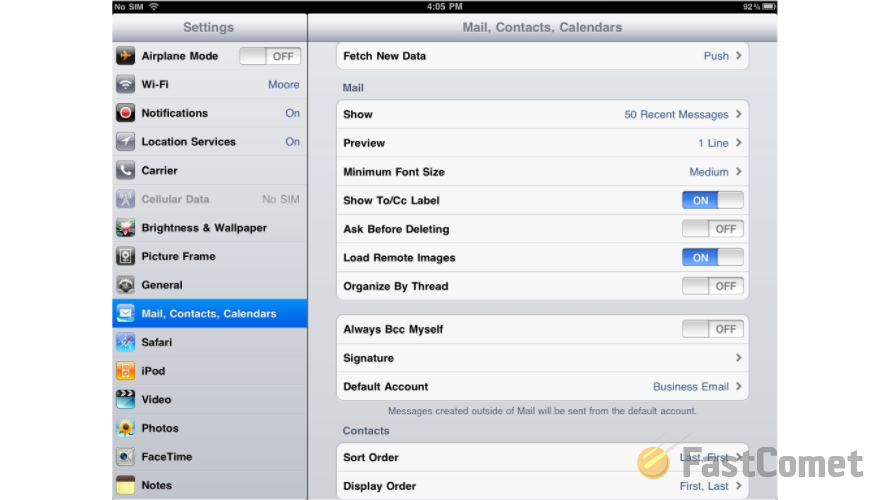
The Signature option is located in the Mail section of options and it is the second option from the bottom of the section. Once you access the option you will be directly prompted to write the text of the signature.
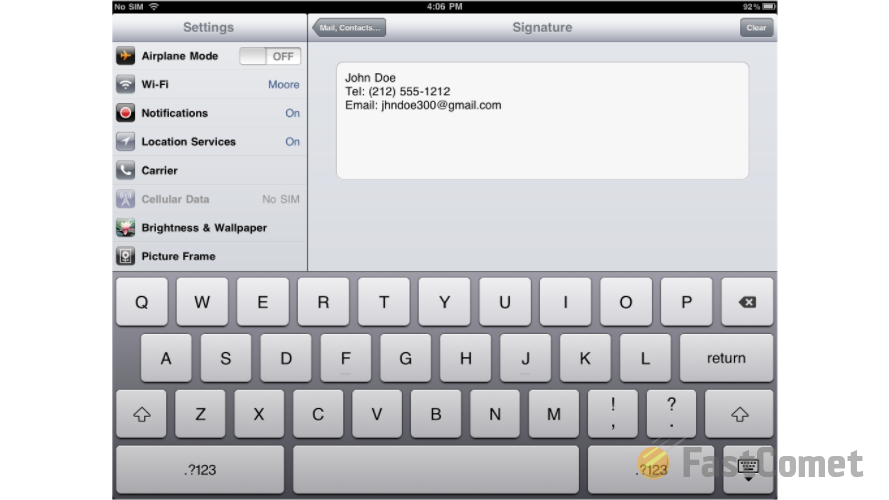
Once you are finished you will need to simply press the "Mail, Contacts .." button located at the top left corner of the interface in order to save the signature and to go back to the previous screen. There you will notice how the signature will be directly displayed next to the Signature option.
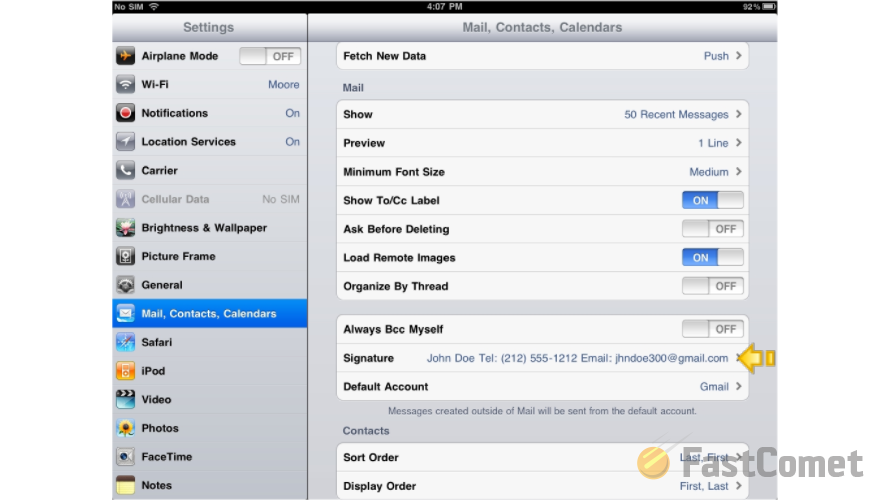
That is all you will need in order to setup the signature for your emails.
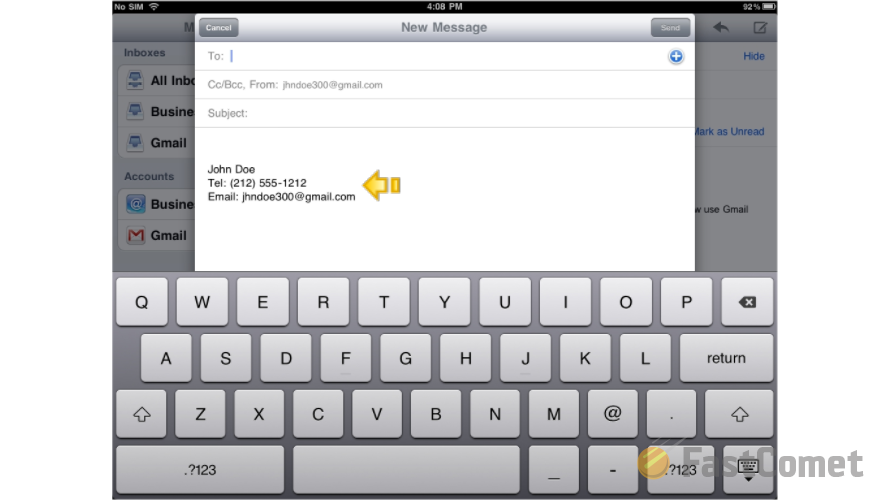
Now let's check how the signature is displayed and added to your emails. Please go back to the home screen of your iPad and access the Mail application. There you will need to press the Compose button so you can begin composing your message.
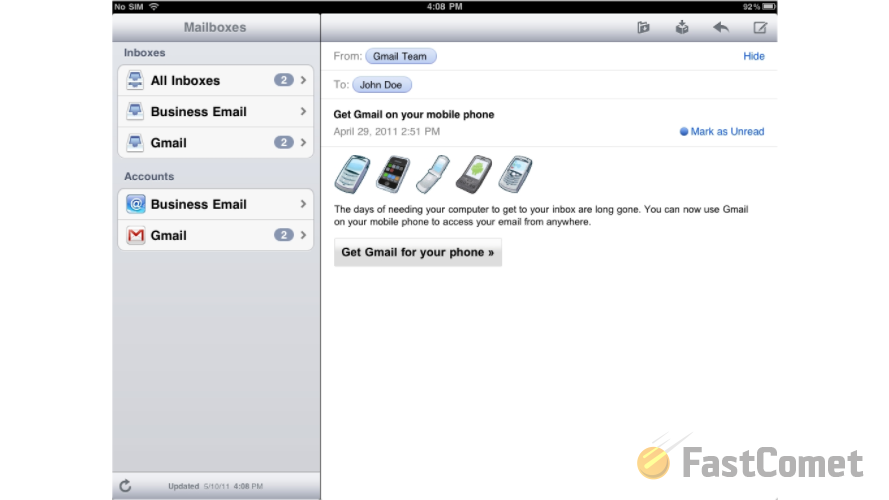
The compose icon is displayed in the upper right corner of the Mail application and it is the last icon from the list. Once you press it you will notice how the signature will automatically appear in the body of your new message.
Congratulations! You can now configure and use the Signature feature of your email client!
On this page...

Mail Hosting
- Free Domain Transfer
- Unlimited Email Accounts
- 24/7 Technical Support
- Fast SSD Storage
- Hack-free Protection
- Free Cloudflare CDN
- Immediate Activation
