How to manage files using FileZilla
Updated on Dec 10, 2015
In this tutorial, we will review the process of managing files using your FileZilla FTP client.
FTP Configuration
We are assuming that you have already downloaded and configured your FileZilla FTP client and you are connected to your account and website on the server. If you did not, please follow our tutorial on How to configure FileZilla.
To manage files with FileZilla, you need to be able to
step
Create Directory
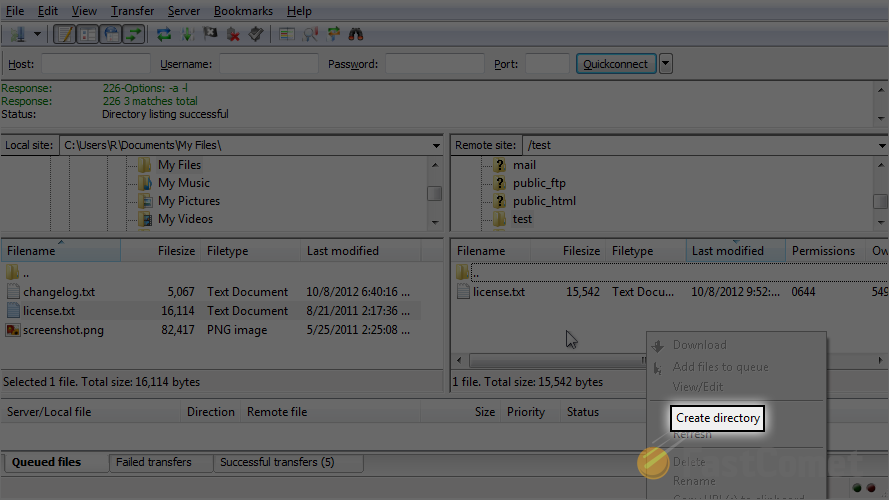
To create a new folder on the remote server, you need to right-click on an empty space on it, as show on the screenshot below.

Select the Create Directory option.
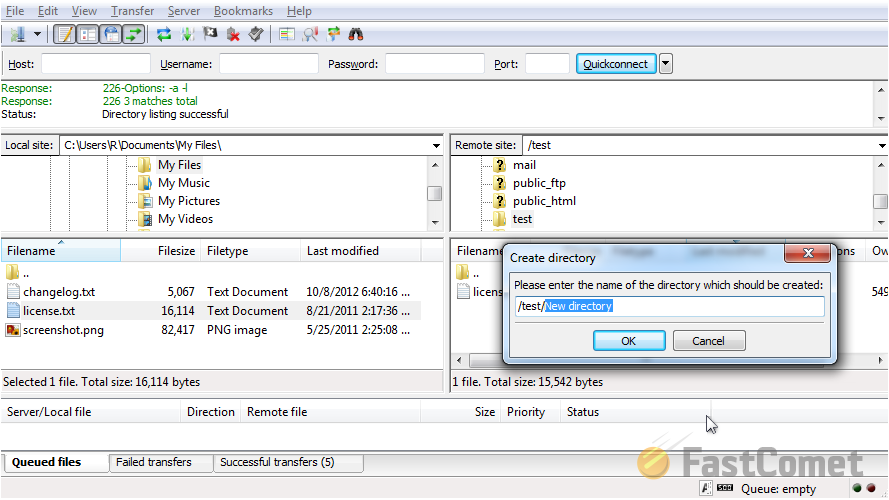
Enter the name of the new directory and when you are ready, simply click on the OK button.
step
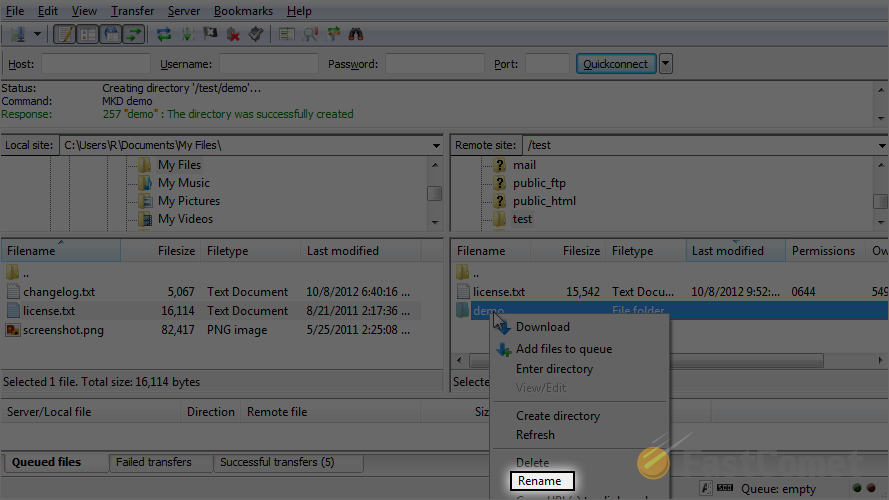
Rename Directory
To rename a folder on the remote server you need to simply right-click on it. Then select the Rename option.
step
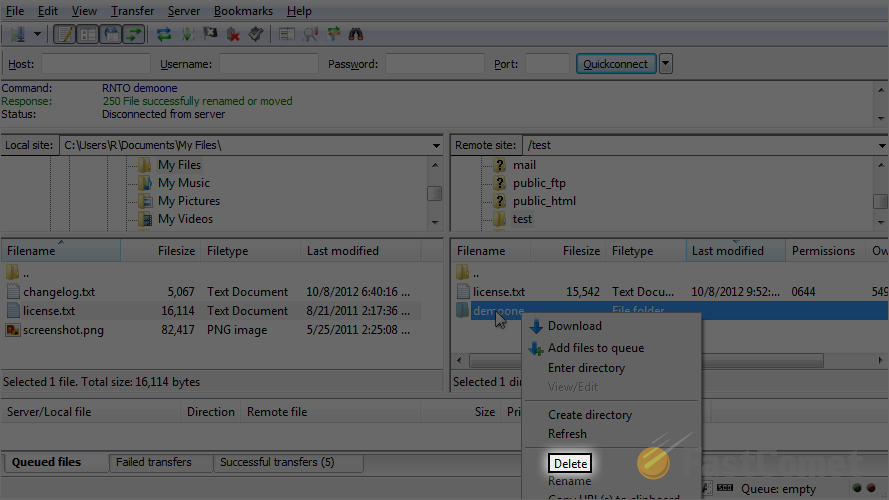
Remove Directory
To remove a directory from the remote server, you need to right-click on it. Then click on the delete option.
step
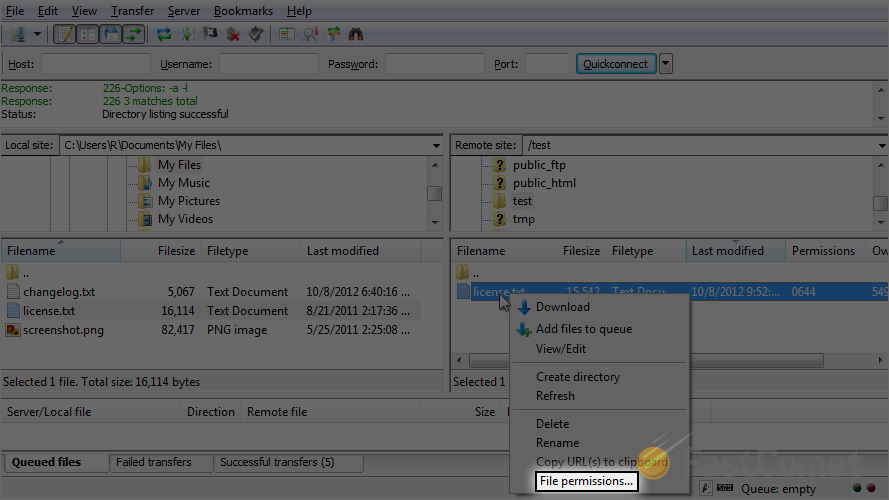
Change File Permissions
It is important to know how to change permissions on files and folders of your website on the server. This will allow you to troubleshoot and fix issues that incorrectly set permissions may cause on your website. To do so, you need to locate a file and then right-click on it. Select the File Permissions option.
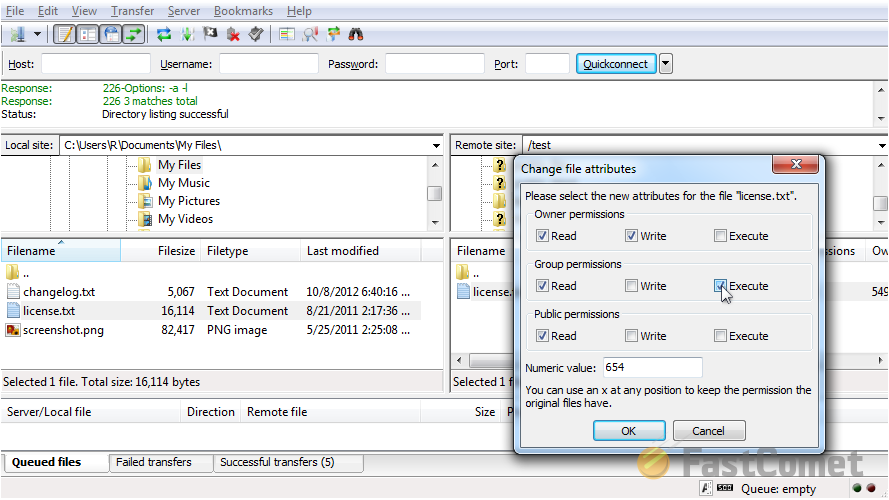
Select the proper permissions for the file and then click on the OK button to keep the changes.
On this page...

FTP Hosting
- Free Domain Transfer
- 24/7 Technical Support
- Fast SSD Storage
- Hack-free Protection
- Free Script Installation
- Free Website Transfer
- Free Cloudflare CDN
- Immediate Activation
