How to configure WS_FTP
Updated on Dec 10, 2015
In this tutorial, we are assuming that you have already downloaded the FTP client and installed it on your local computer. If you did not, you can download it via the official WS_FTP website.
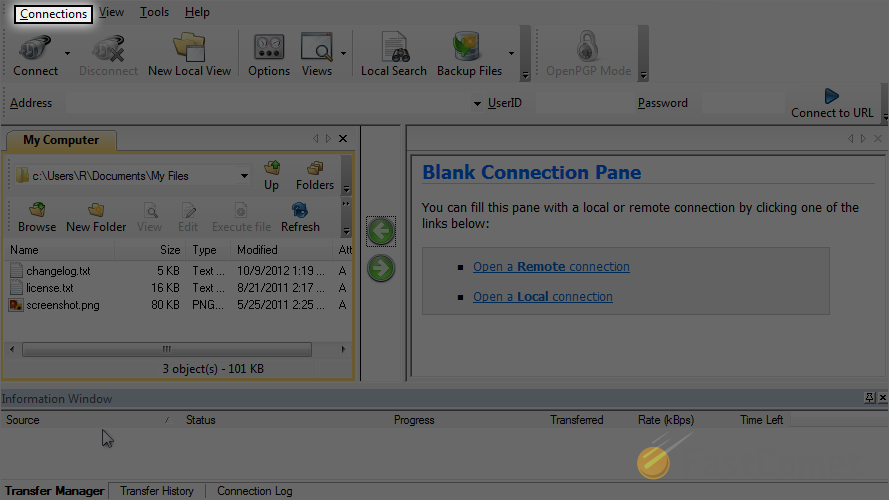
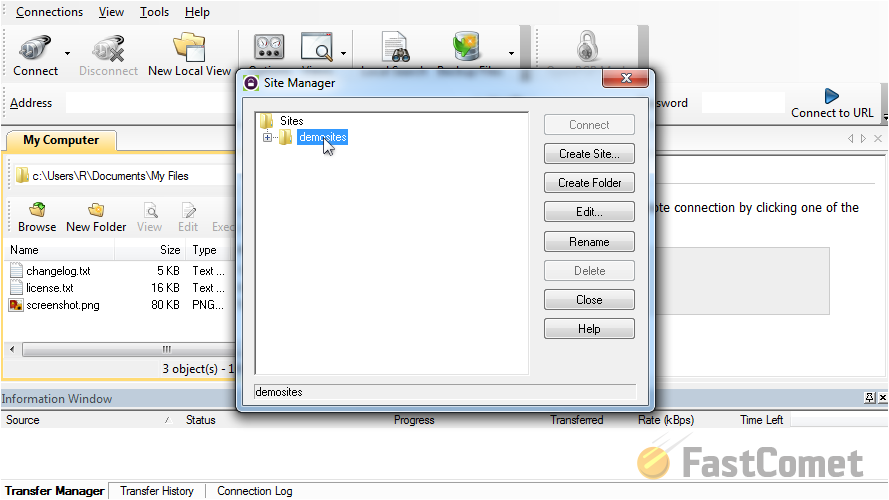
To configure WS_FTP, open the FTP client and select the Connections button at the top menu.
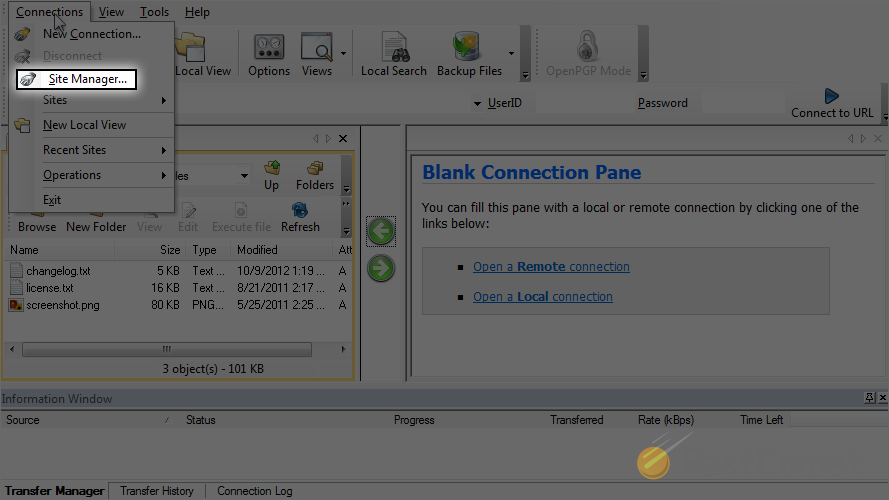
Select the Site Manager option.
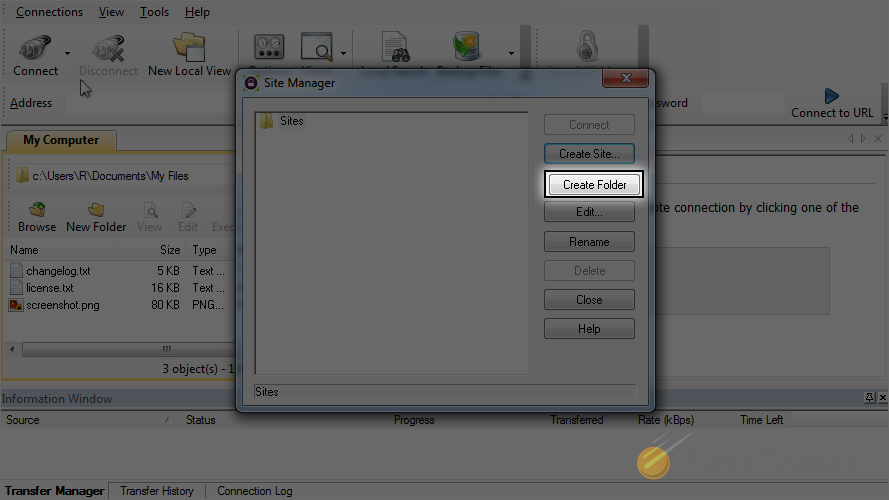
You have the option to enter your FTP details directly or to create a folder. The use of folders will allow you to save multiple FTP login details on your FTP client and group them by certain criteria. A useful feature to keep them separate. Click on the Create Folder button.
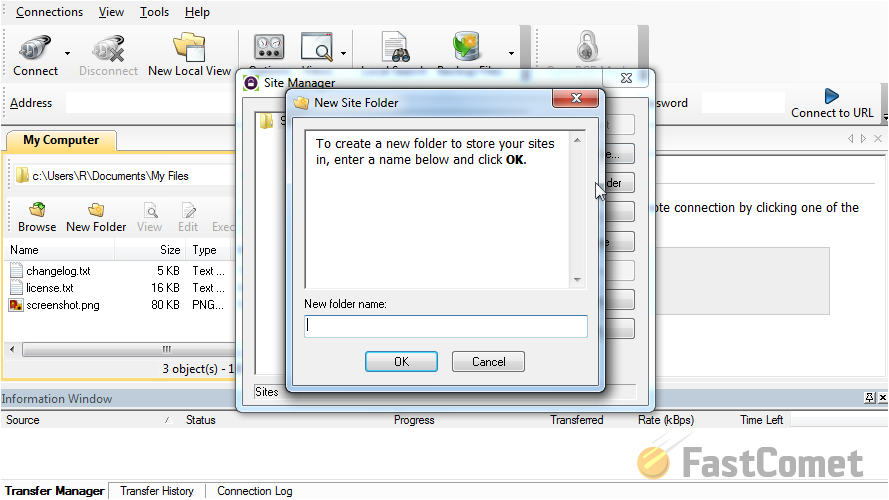
Enter the name of the new folder and when you are ready, click on the OK button to keep the changes.
Select the created folder and then click on the Create Site button.
Enter the name of your website. Note that this step is not that important as it is only for your reference.
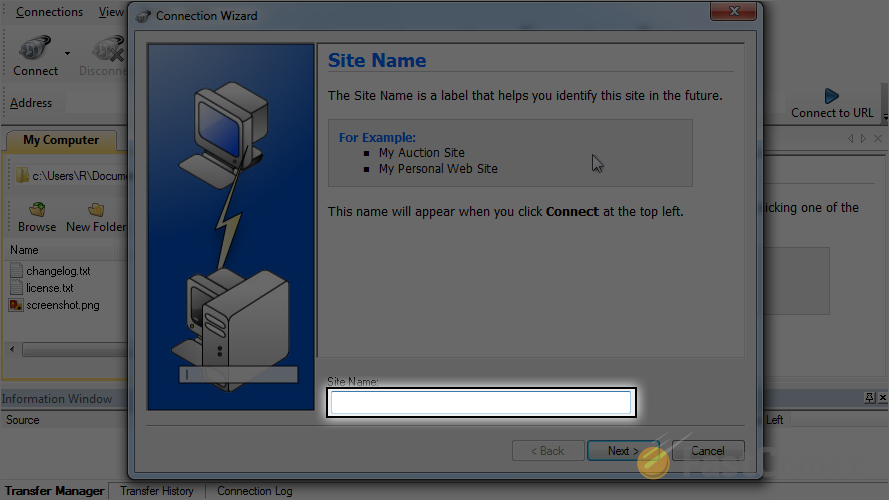
Click on the Next button to proceed with the configuration.
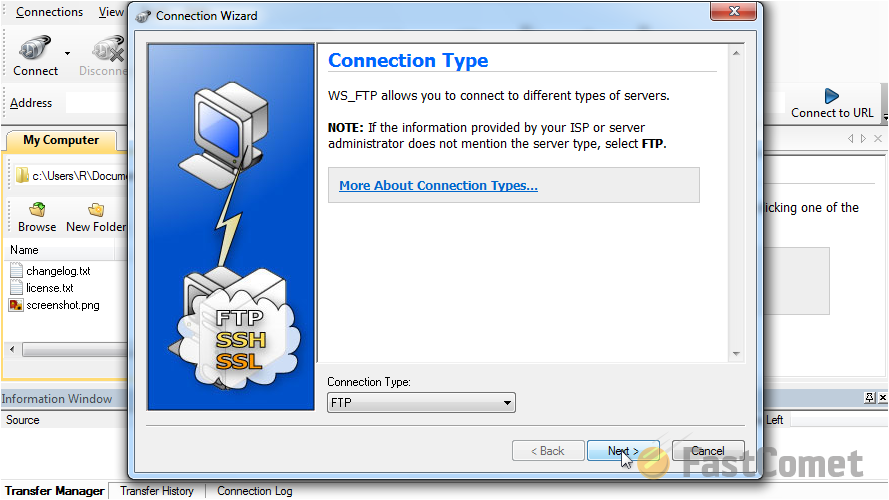
Enter the server address. Note that if your domain is pointed to the correct server that you are accessing, you can use example.com, ftp.example.com or the IP address of the server. Note that you need to substitute example.com with your actual domain.

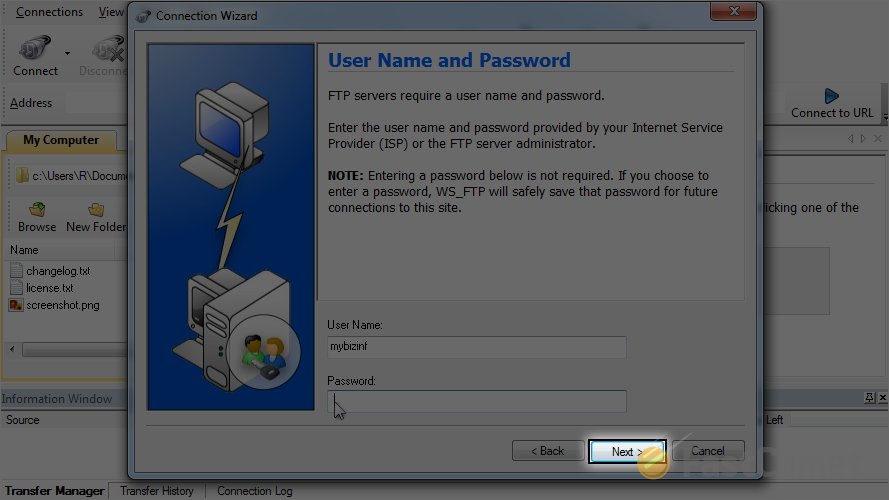
Enter the FTP Username and FTP Password for your account on the server.
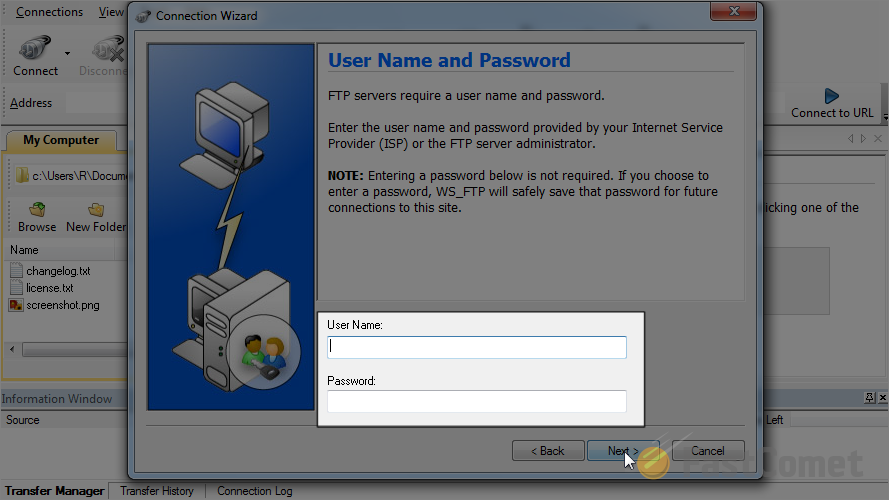
Click on the Next button again to proceed.
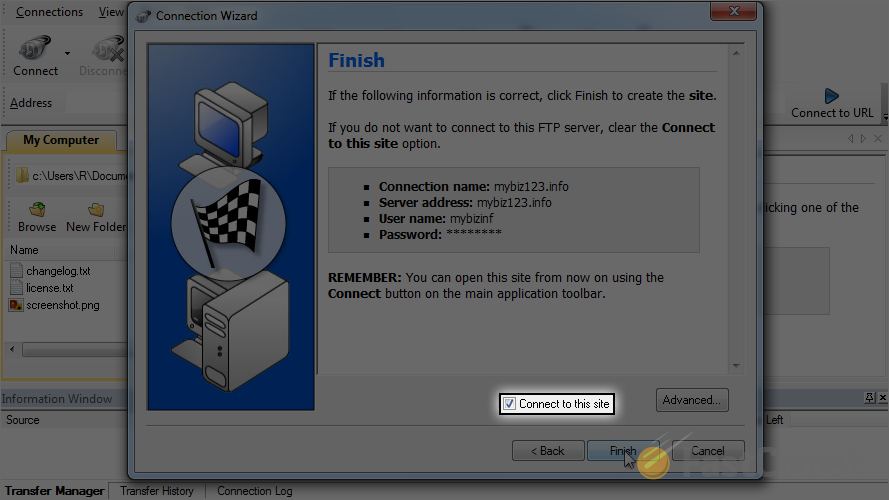
We are almost there. You have the option to save those details and connect to the server now. If you do not wish to connect to it and you simply want to keep the details within your WS_FTP client, simply deselect the Connect to the site option. When you are ready with that, click on Finish to complete the configuration.
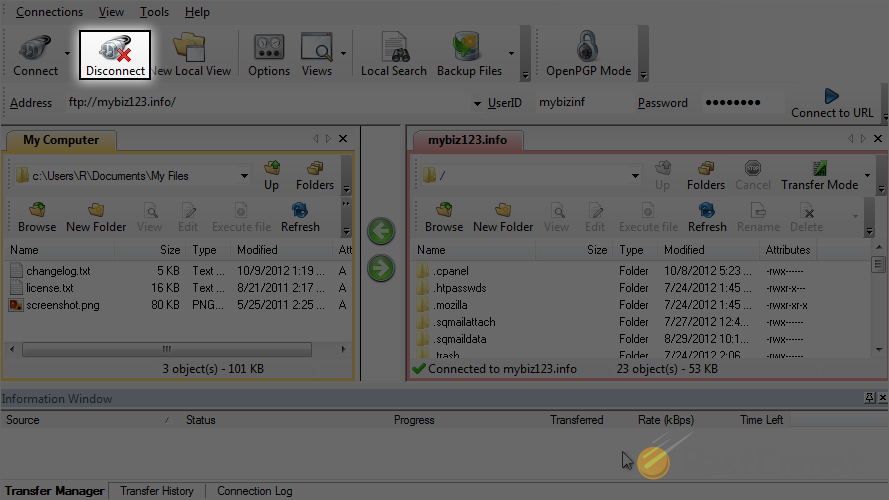
To disconnect from the server, you can simply click on the Disconnect button at the top menu.
On this page...

FTP Hosting
- Free Domain Transfer
- 24/7 Technical Support
- Fast SSD Storage
- Hack-free Protection
- Free Script Installation
- Free Website Transfer
- Free Cloudflare CDN
- Immediate Activation
