How to Manually Install X-Cart
Updated on Dec 10, 2015
This tutorial will review the process of installing X-Cart manually on your hosting account. This process will provide more options than the automated X-Cart Softaculous installation. This is why, it is intended for more advanced configuration of your new website during the installation process.
To Manually Install X-Cart, you need to:
step
Download X-Cart
The first step of the process is to download the latest stable release of X-Cart on your local computer. You can do that via the official X-Cart website. Enter your email address and click on the Download X-Cart button to proceed.
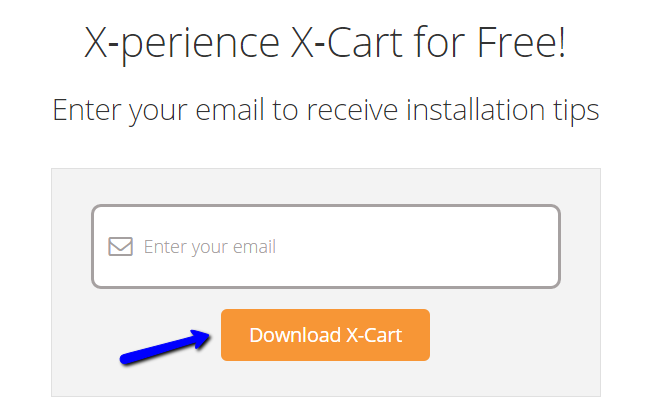
This will download the archive that contains all of the files you need for an X-Cart installation on your account.
step
Prepare X-Cart's Files
First, you need to extract the contents of the X-Cart archive on your local computer. You can do so using your favorite software, such as WinRar. This will create a folder called "xcart" on your local computer that contains all of the files you need for the new installation.
The next step is to upload all of the files from the "xcart" folder to your server. It is important to decide where you wish to install the application. For example, if you are planning to install it directly on the primary domain of your account, you need to upload the files to the public_html/ directory of your account. This configuration will be different if you are planning to install X-Cart in a subfolder of your account.
Upload Files
There are two ways of uploading your files to the server - using an FTP client, following our FTP tutorial, or uploading directly through your cPanel account > File Manager, following our cPanel tutorial.
step
Initiate the Installation
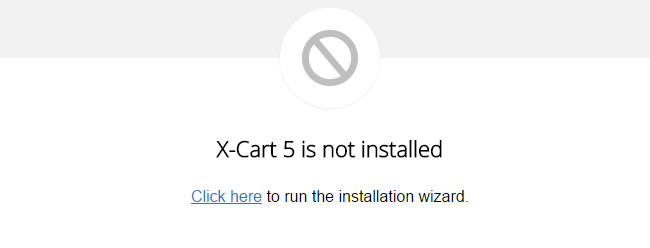
Up until this moment, you will have a location on your account that contains the X-Cart installation files. It is time to initiate the actual installation process. Open up your favorite browser and access your domain name, or the location where you have uploaded the X-Cart files. The system will display a message stating that X-Cart is not installed on your account yet. Click on the Click Here button to proceed.
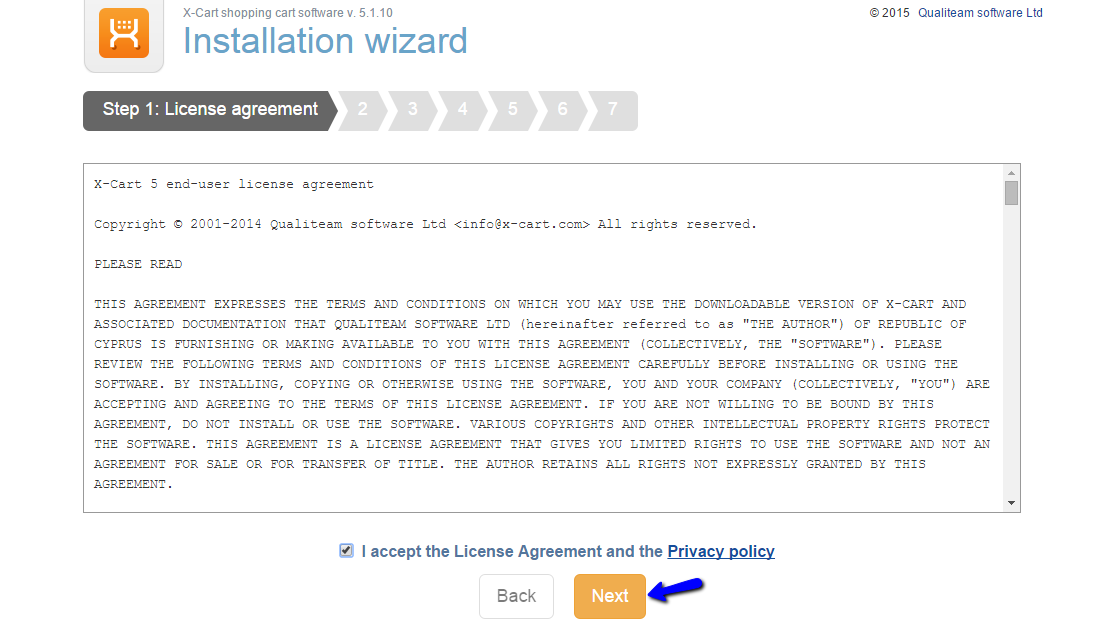
The first step of the process is the License Agreement. Read it in full, accept it and then click on the Next button to proceed with the installation.
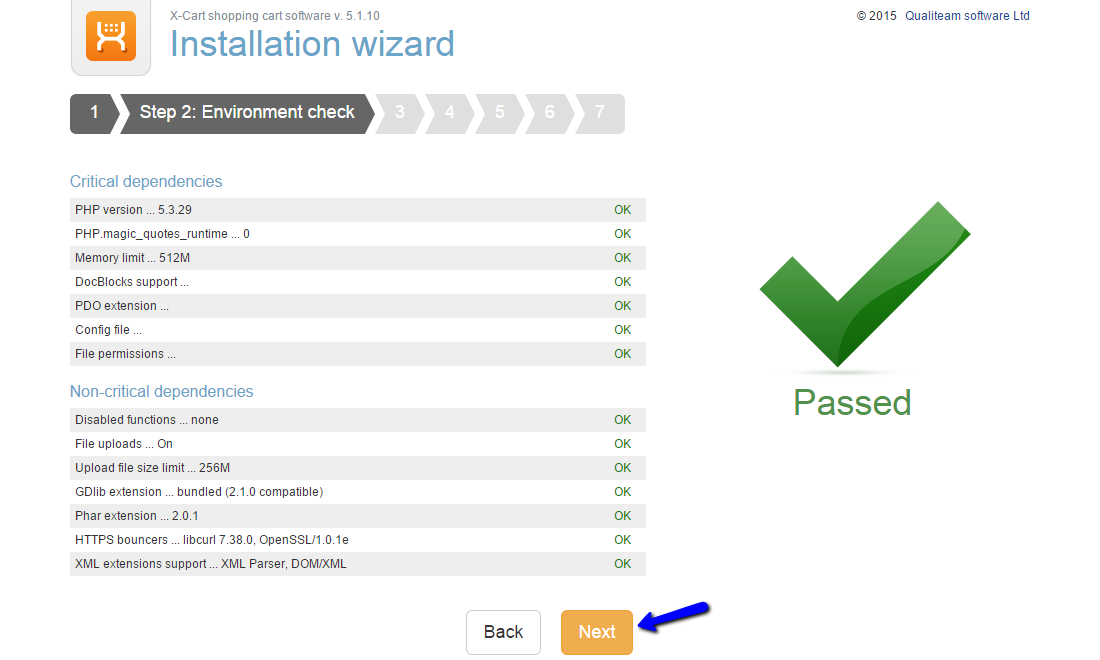
The next step is the Environment Check. The system will confirm if the hosting environment is suitable for X-Cart. Our servers are fully compatible with the application so you will not have any issues on this step.
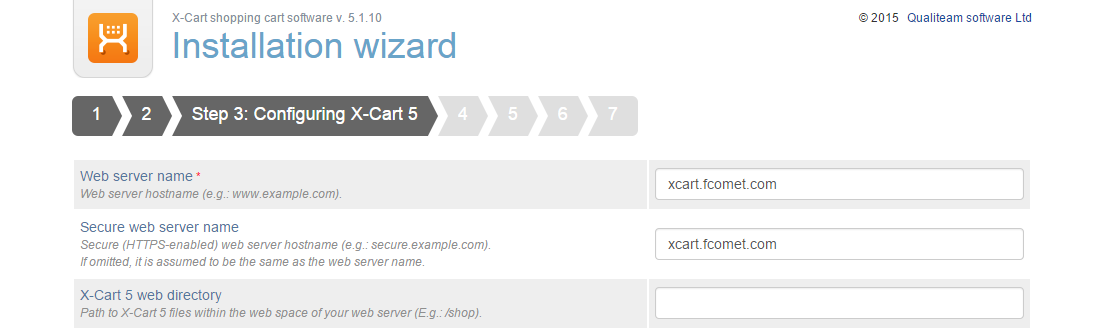
The next step is the Configuring X-Cart 5. Let us review the options that you have on it:
- Web Server Name - This will be automatically detected by the system. It is the hostname of your new installation;
- Secure Web Server Name - If you have a separate secured hostname for the installation, you can enter it here;
- X-Cart 5 Web Directory - If you are planning to install X-Cart in a subfolder, you can enter it's name here.
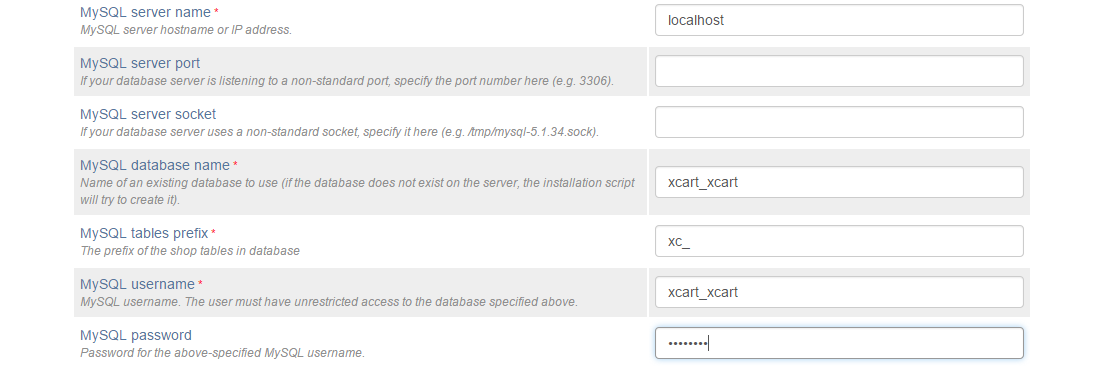
The next section on the page is about database to be used on your website. You need to create a new database and a user assigned to it with full privileges.
MySQL Configuration
You can create a new database and a user assigned to it via cPanel. Simply follow our MySQL Wizard tutorial for information on that.
- MySQL Server Name - If the database is hosted on the same server, you can simply enter "localhost" without the quotes;
- MySQL Server Port - Leave the field blank for the standard port;
- MySQL Database Name - Enter the name of the database to be used on the new installation;
- MySQL Tables Prefix - If you are using a database with data on it, you can specify a prefix for the tables of the new X-Cart installation. This will make it easier if you decide to review it;
- MySQL Username - The username, set with full privileges to your X-Cart database;
- MySQL Password - The password assigned for the user.
The last section on the page is about the sample data of X-Cart and the default timezone. Keep in mind that if you are new to X-Cart, it is recommended to install sample data on your website. This will make it easier to review all features of the application.
- Install a Sample Catalog - Select if you wish to install demo content on your new website;
- Default Time Zone - Enter the timezone you would like to use for your website.

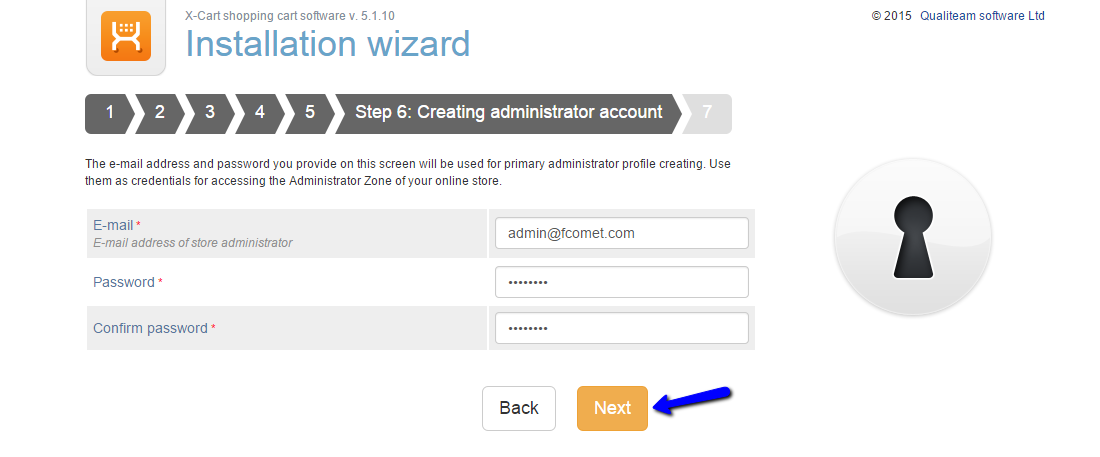
The next step is the Creating Administrator Account. It will allow you to set up the details of the administrative user for your website. The available options are:
- Email - Set the email of the administrator;
- Password - Set a password for the administrator;
- Confirm Password - Enter the password twice for verification.
Click on the Next button to proceed further with the installation. This is the last step so once completed, the system will handle the rest for you.
The installation of X-Cart on your account is now fully completed.
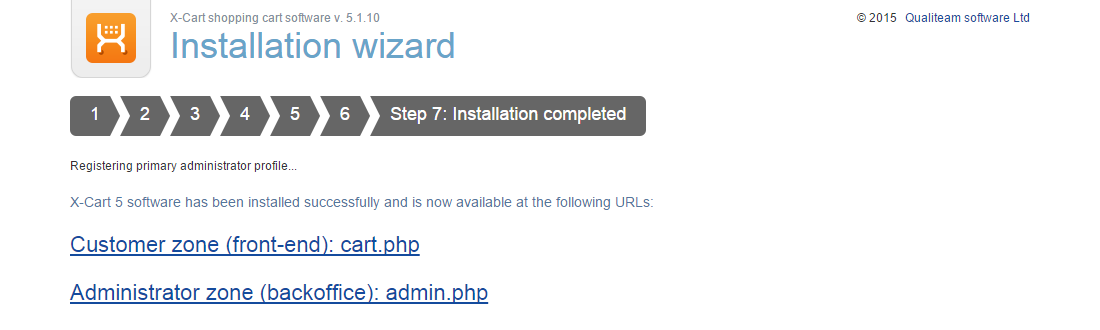
You will be presented with a successful message and information about the frontend and backend links to your website. Keep a note of them for your records.
On this page...

X-Cart Hosting - free features
- Free CS-Cart Install
- 24/7 Expert Support
- Free Domain Transfer
- Hack-free Protection
- Fast SSD Storage
- Free CubeCart Transfer
- Free Cloudflare CDN
- Immediate Activation
