Adding Product Categories
Updated on Mar 13, 2019
To keep your products well sorted and your Store easy to navigate in, you will need to create categories and place your products in those categories. This will make it easier for your clients to find the thing they are looking for and will improve their user experience regarding your website.
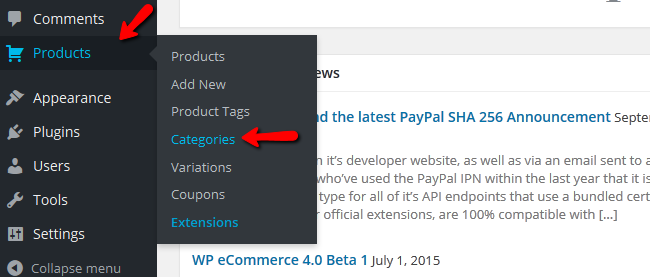
To add a new category you will need to be logged to your admin dashboard and navigate to Products>Categories.
This is the category manager. You can see the already existing categories on the right and a place to make a new category on the left. Lets add a new product category Shoes as child to category Men.
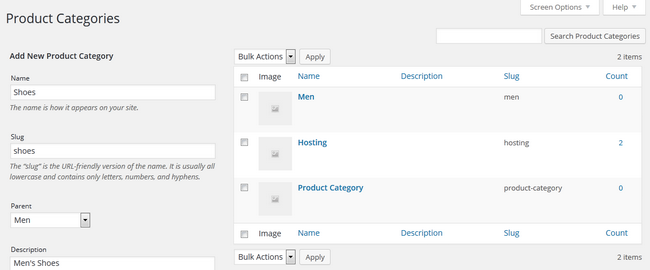
- Name - The name of the category
- Slug: - URL-friendly version of the name
- Parent - The parent category of this category (can be none)
- Description - Description of the category
You will also be able to choose an image for the category and a thumbnail dimensions. Next, are the Markets on which you want to be selling the products from this category and the address for which you want to calculate shipping.
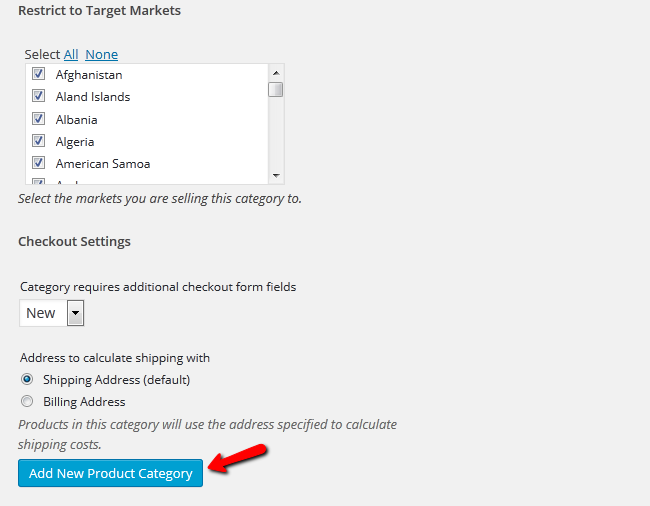
When you are ready configuring the category, click the Add New Product Category button and it will be added to the rest of the categories. You can now use it as a home for your new products.
On this page...

WP eCommerce Hosting
- Free Installation
- 24/7 WP eCommerce Support
- Free Domain Transfer
- Hack-free Protection
- Fast SSD Storage
- Free Cloudflare CDN
- Free WP eCommerce Transfer
